
Yukikaze
| ||||||||||||||||||||||||||||||||||||||||||||||||||||||||||||||||
Yukikaze (雪風 Yukikaze, lit. "Snowy Wind") was a Kagero-class destroyer originally in service with the Imperial Japanese Navy (IJN), commissioned in 1940 and took part in many naval operations during World War II, most notably the Naval Battle of Guadalcanal, the Battle of Leyte Gulf, and Operation Ten-Go, where she served as one of the destroyers tasked with escorting the Yamato to Okinawa. Yukikaze survived the war almost completely undamaged - despite taking part in over 10 major battles and over 100 escort and resupply missions, earning it the nickname of the "Miracle Ship" - and was given to the Republic of China as war reparations, rechristened as ROCS Dan Yang (丹陽). It then served as the Republic of China Navy's flagship for a further 23 years until it was ultimately scrapped in 1970 after being damaged beyond repair in 1969 by a typhoon. In an alternate universe explored in the 2023 film Godzilla Minus One, the Yukikaze was returned to Japan in 1947, albeit stripped of its weapons, and played a crucial role in the defeat of Godzilla during Operation Wada Tsumi. During the campaign, it was captained by Tatsuo Hotta, who had previously served as the ship's captain during the war.
Development
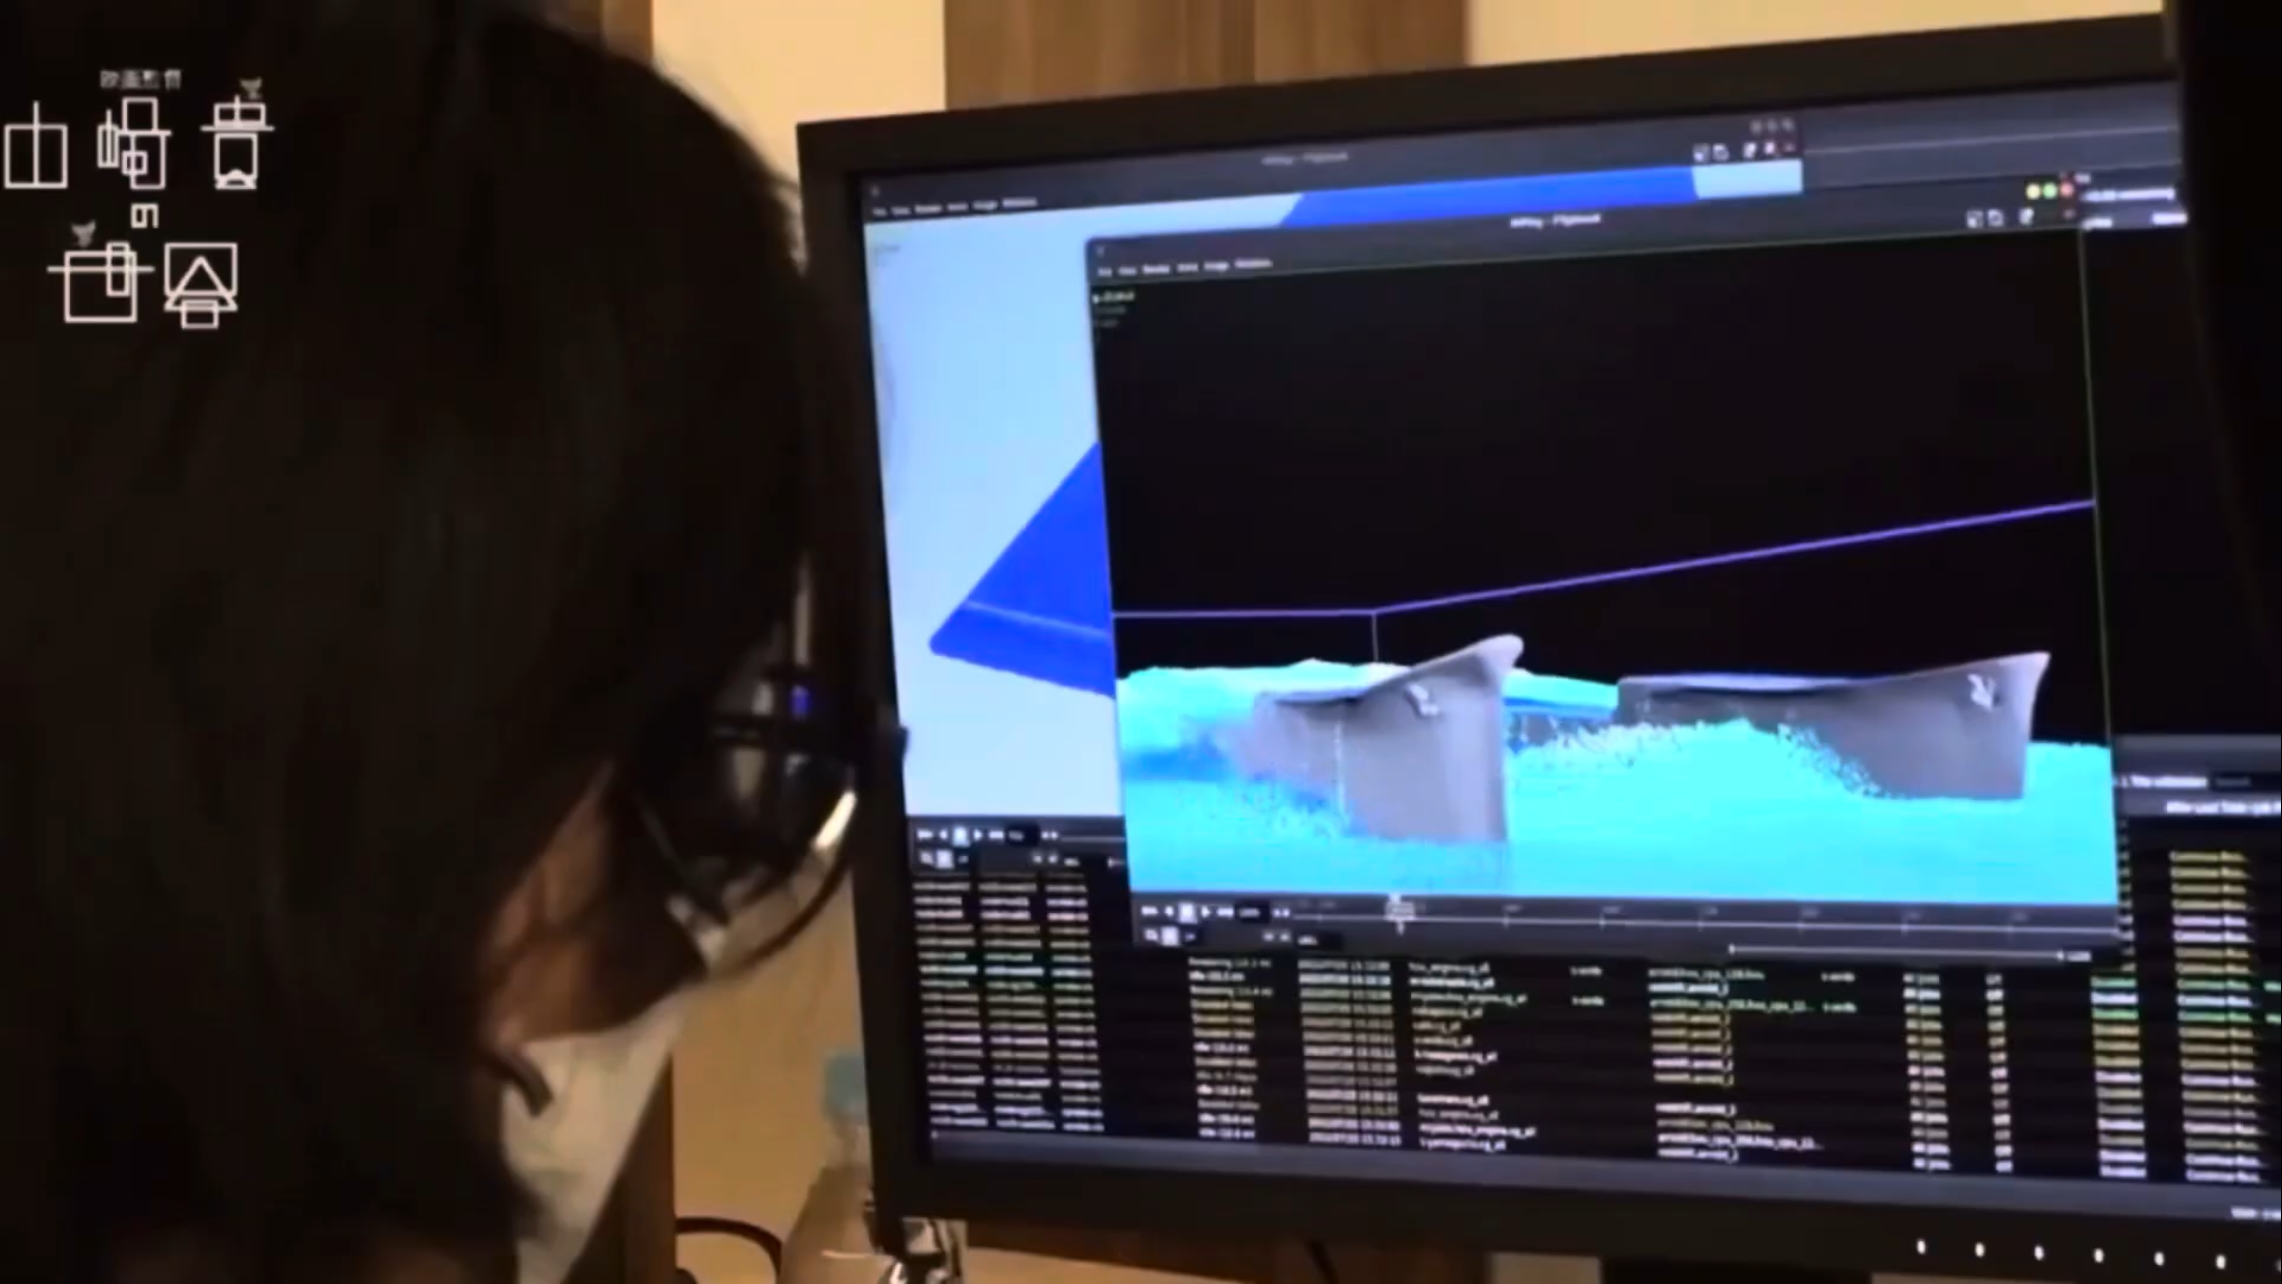
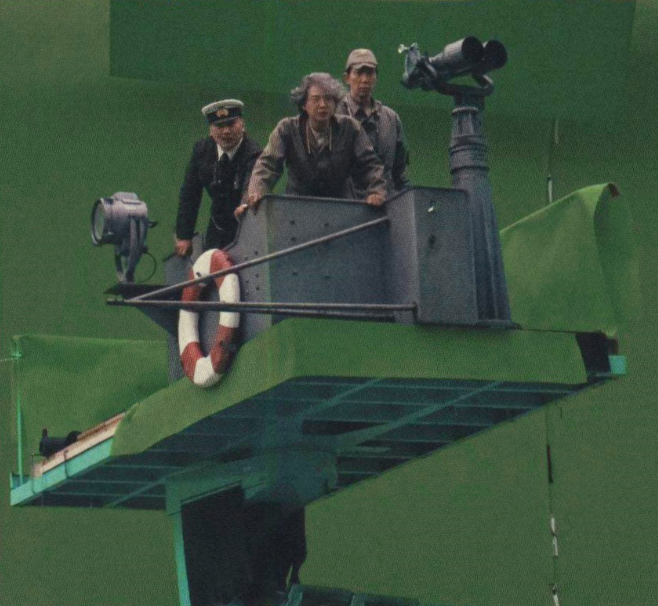
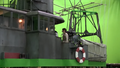
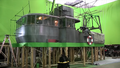
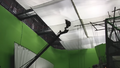
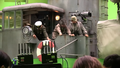
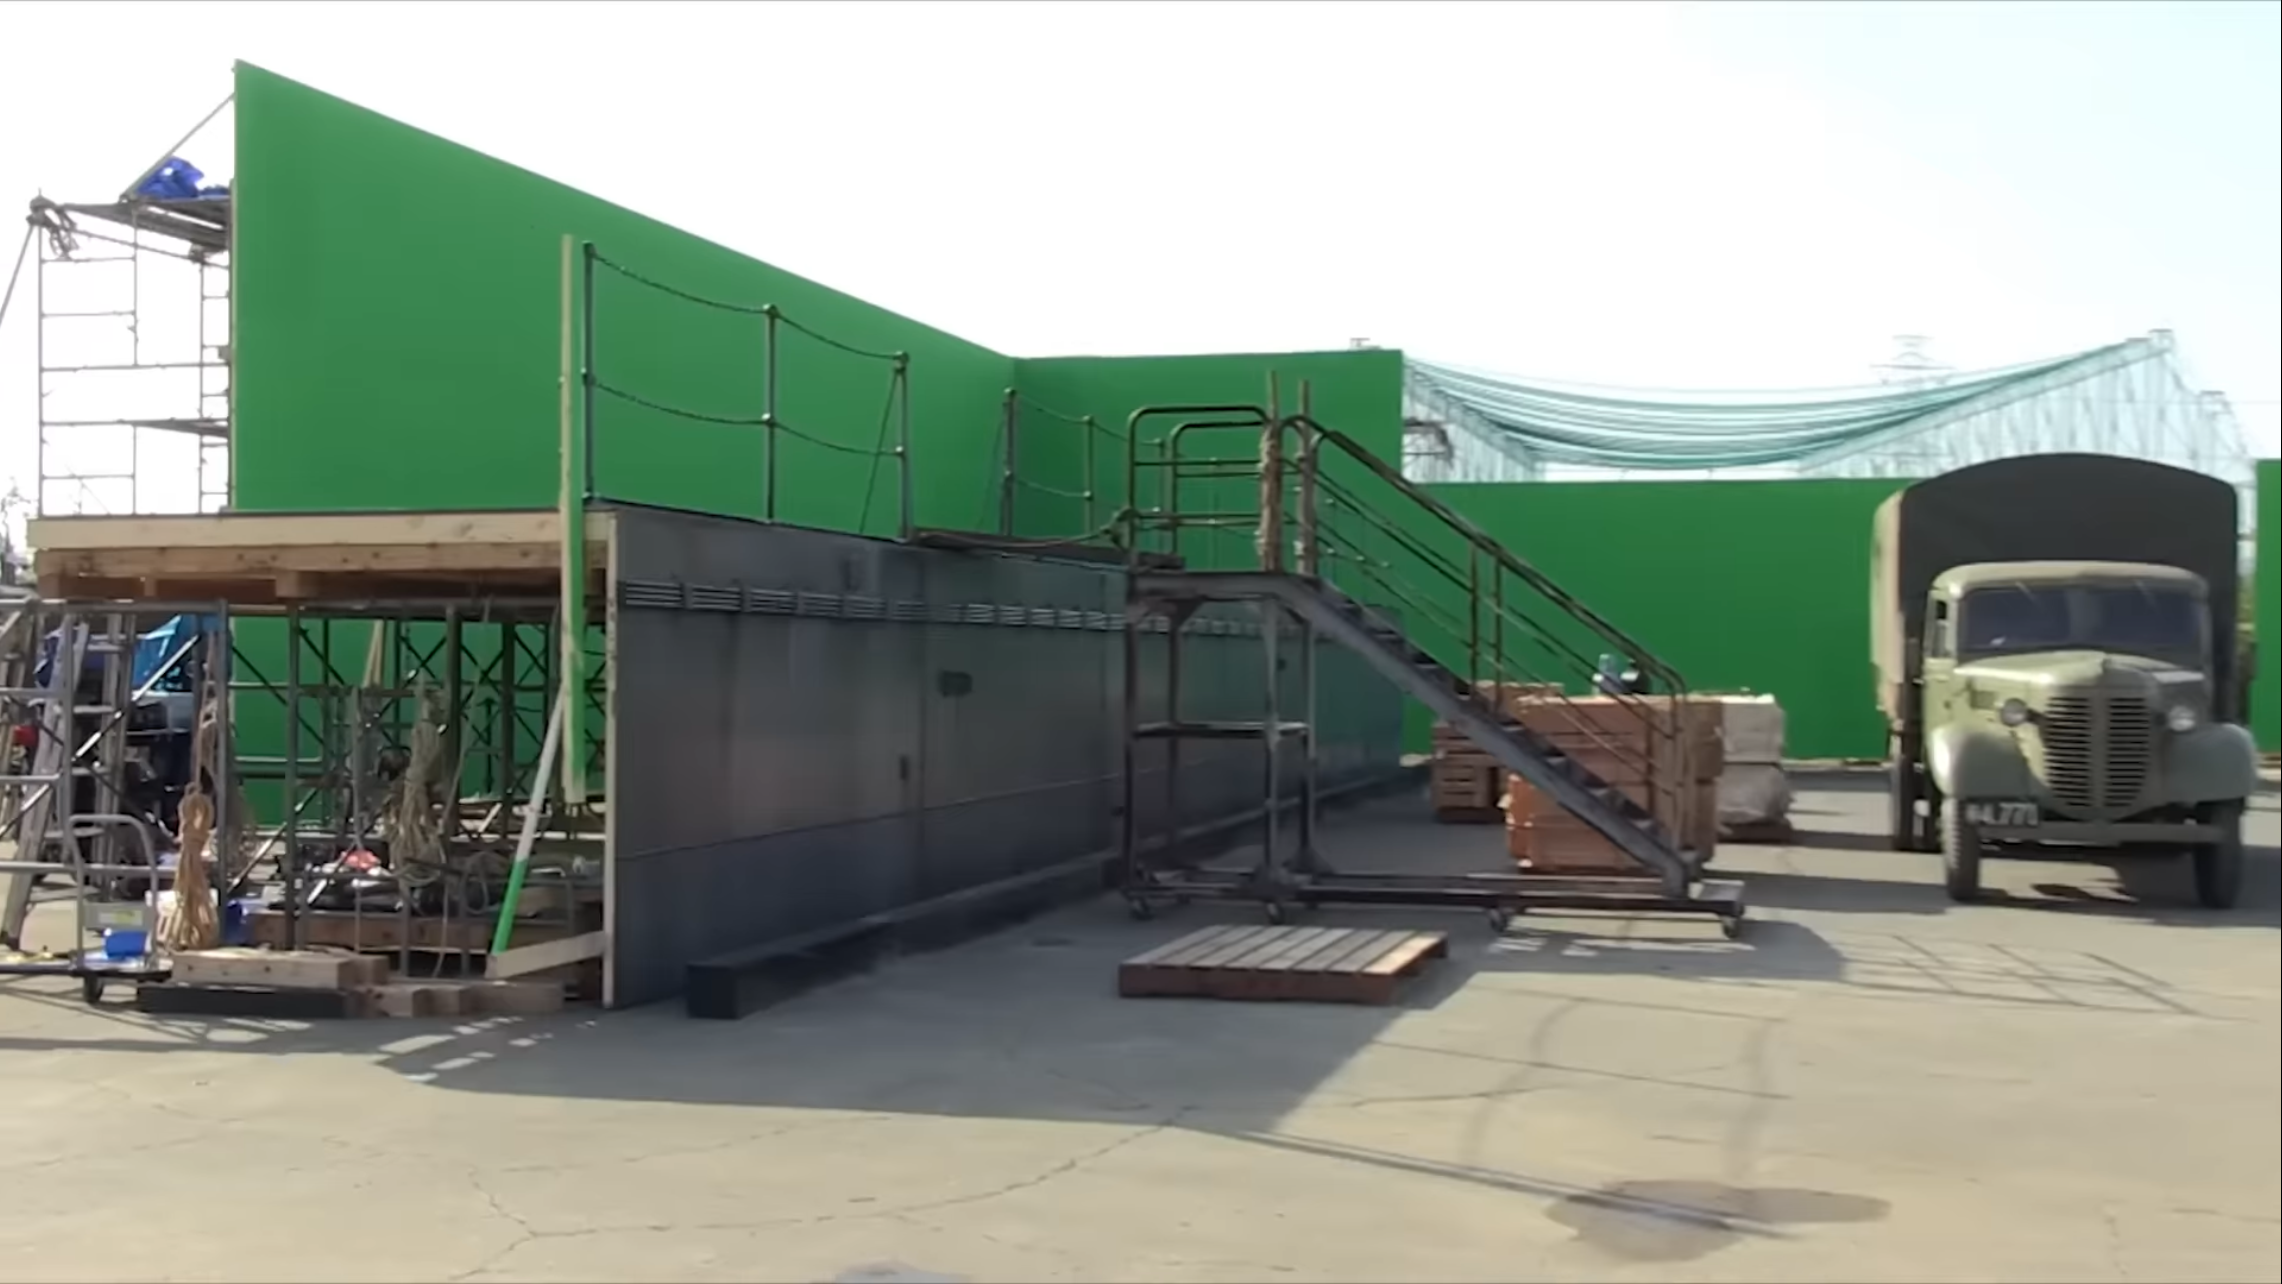
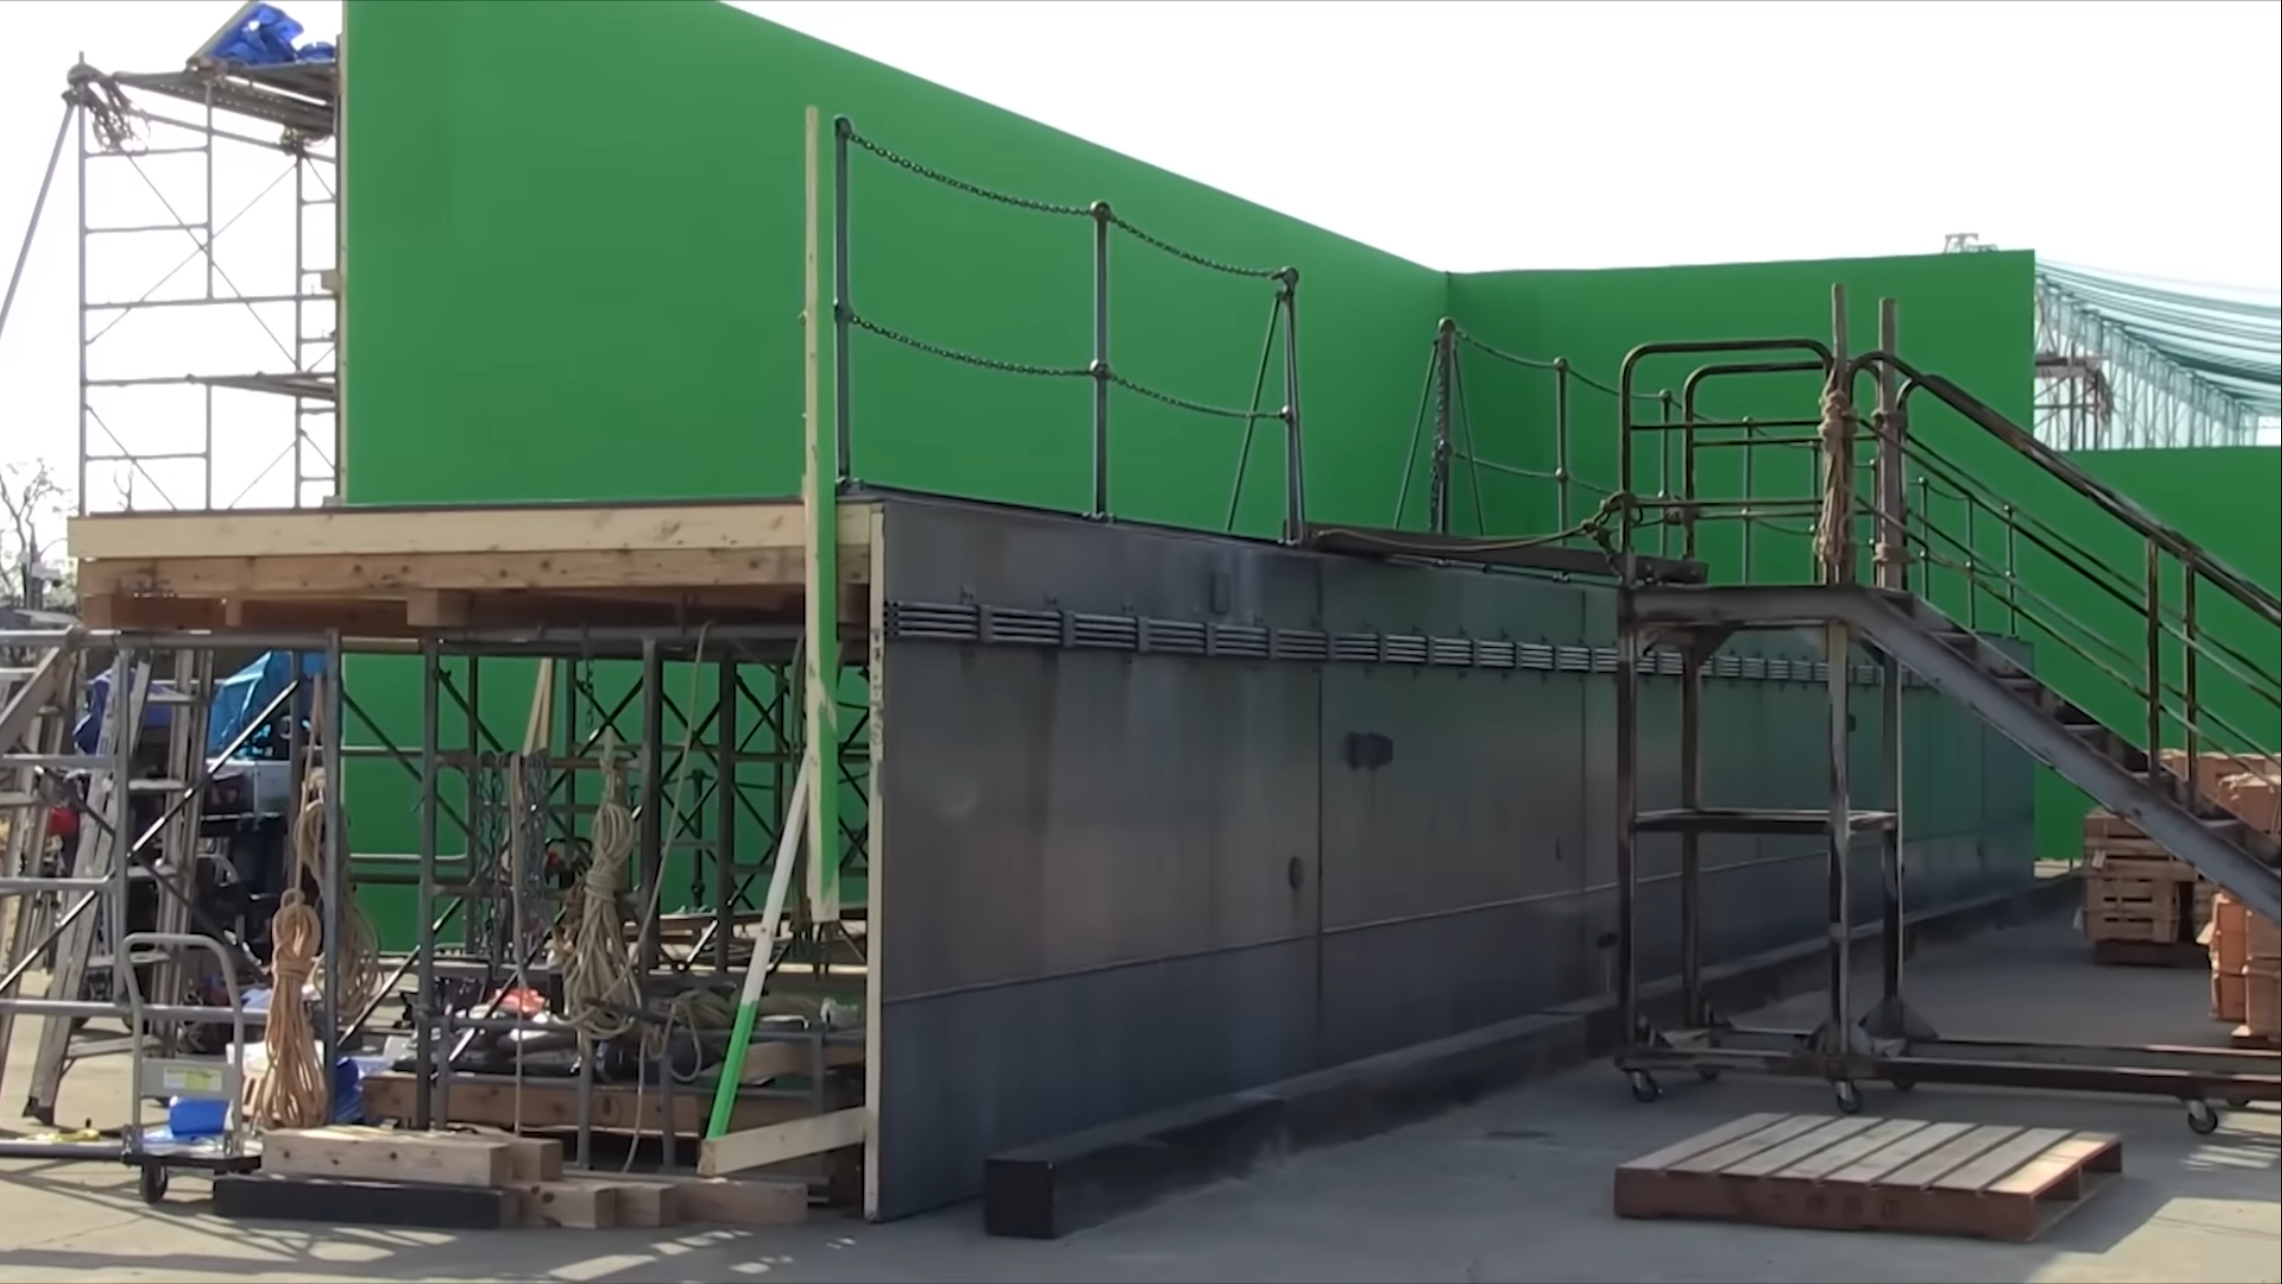
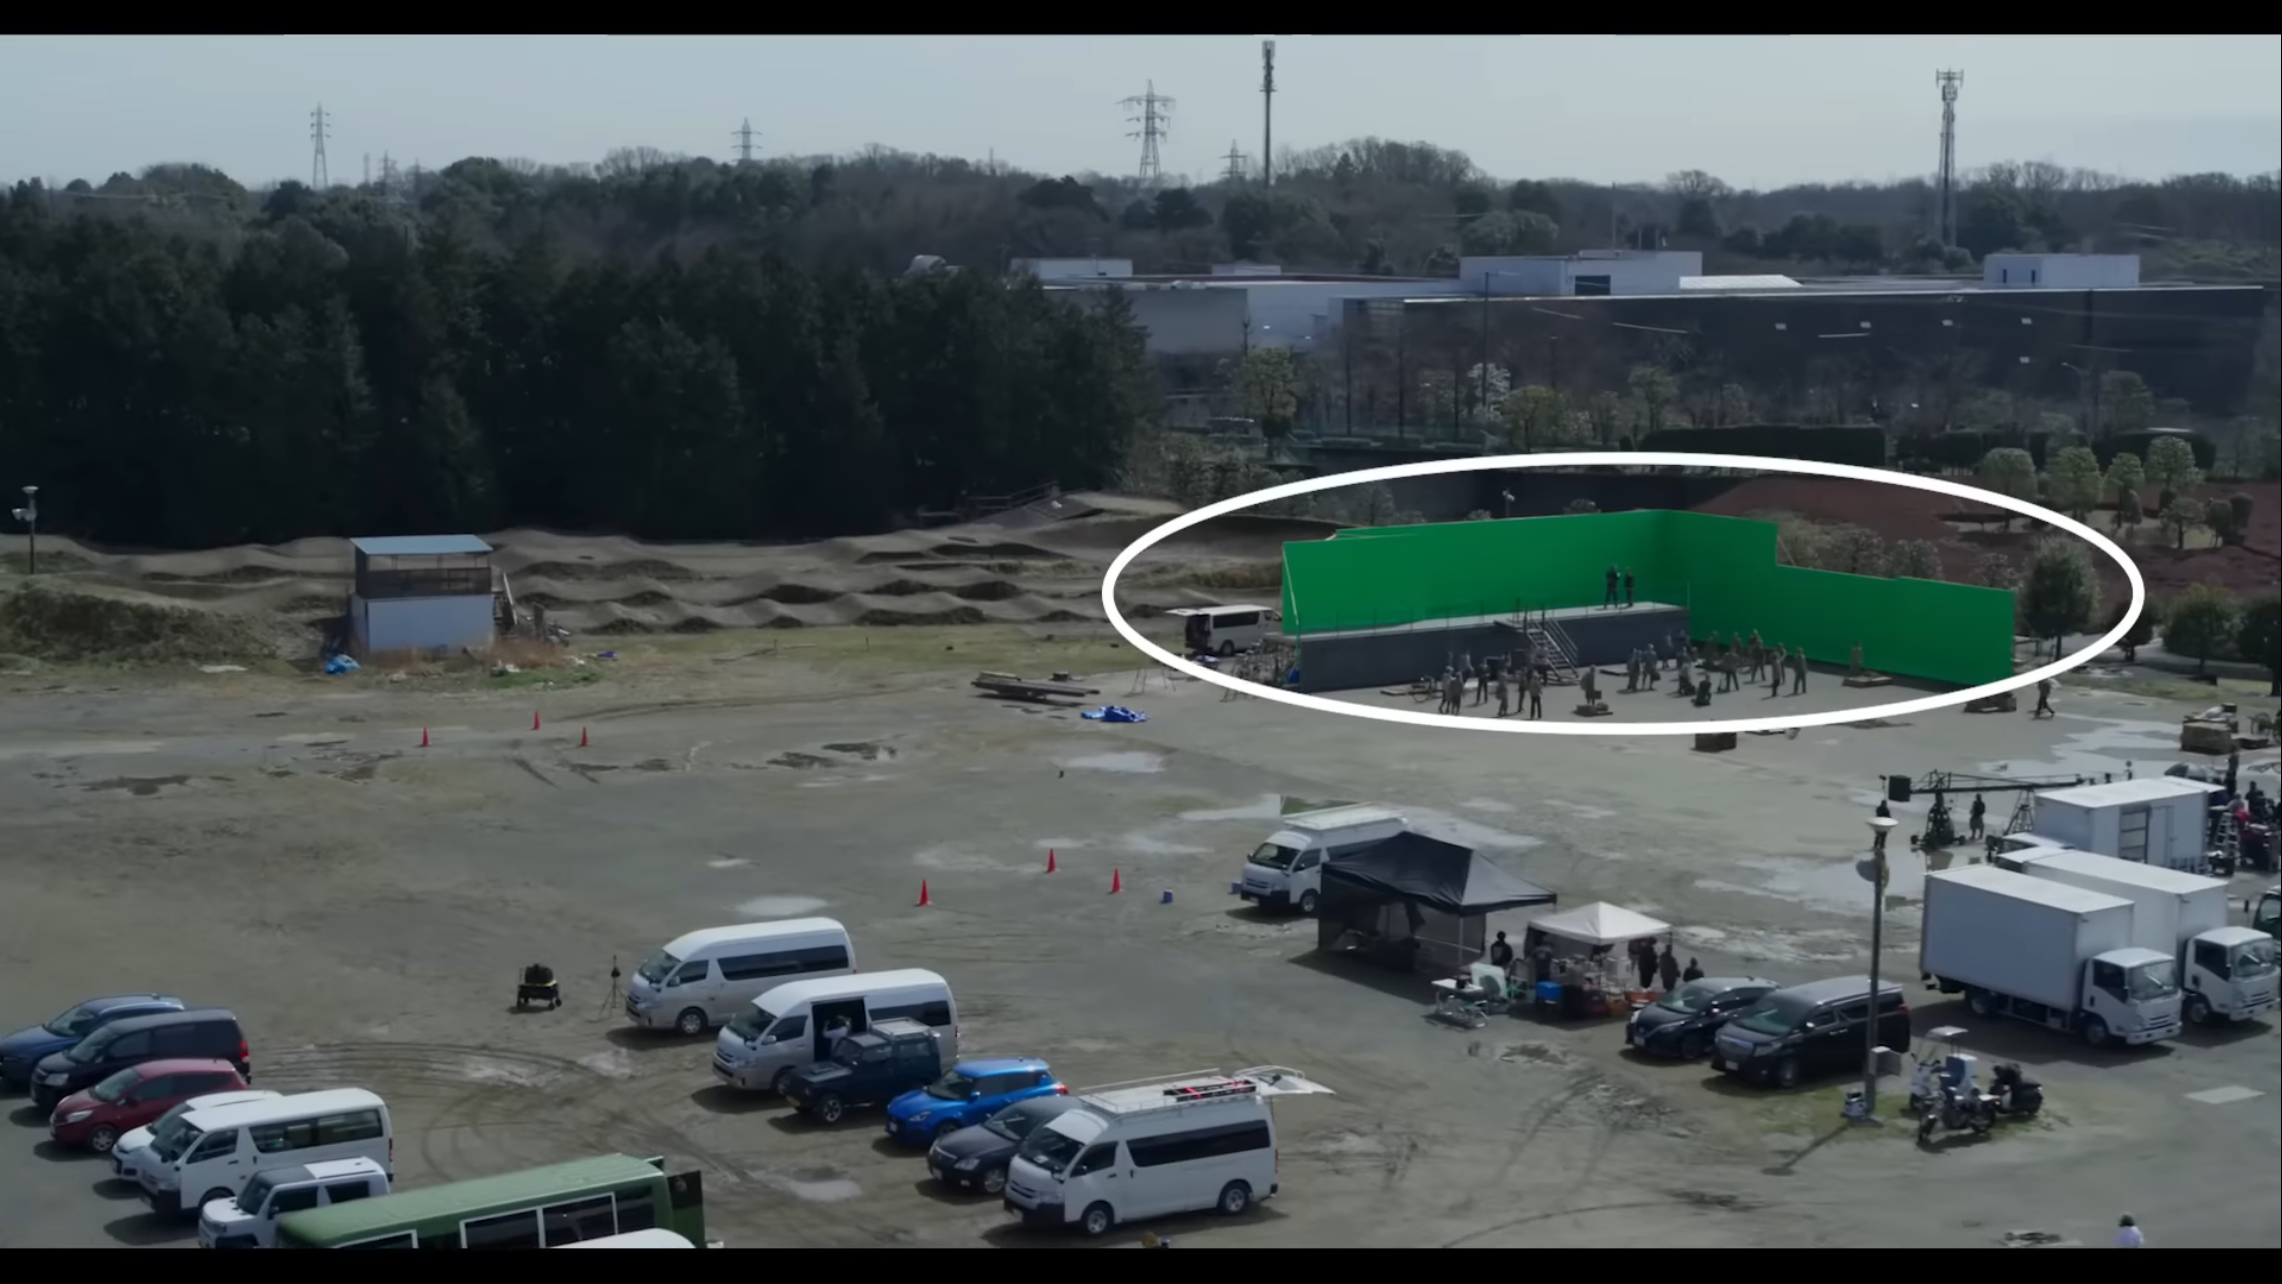
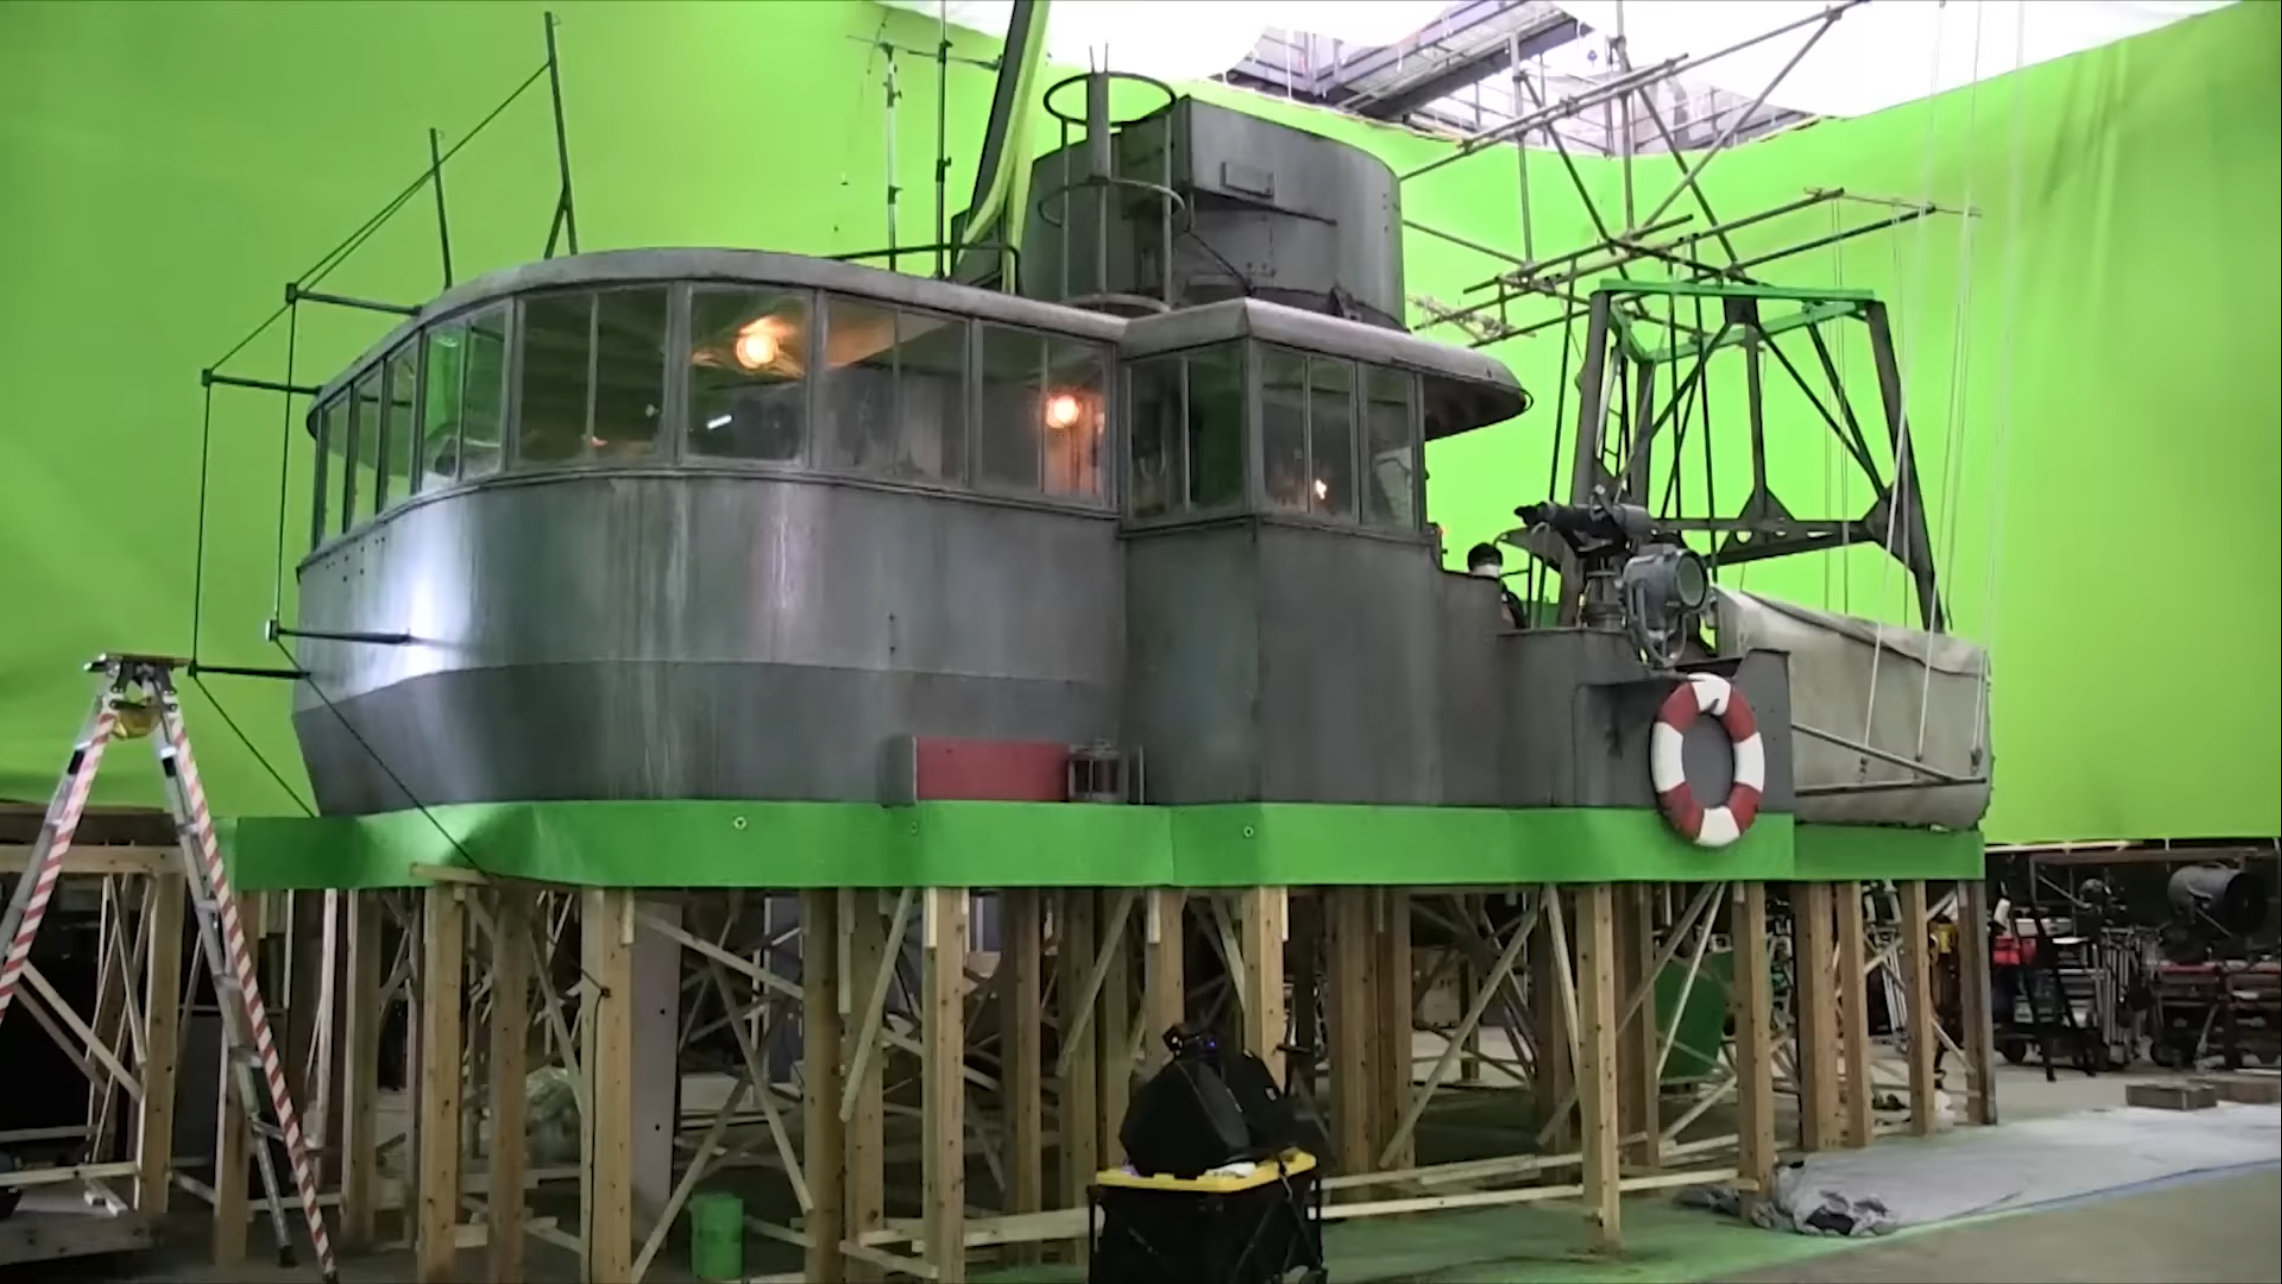
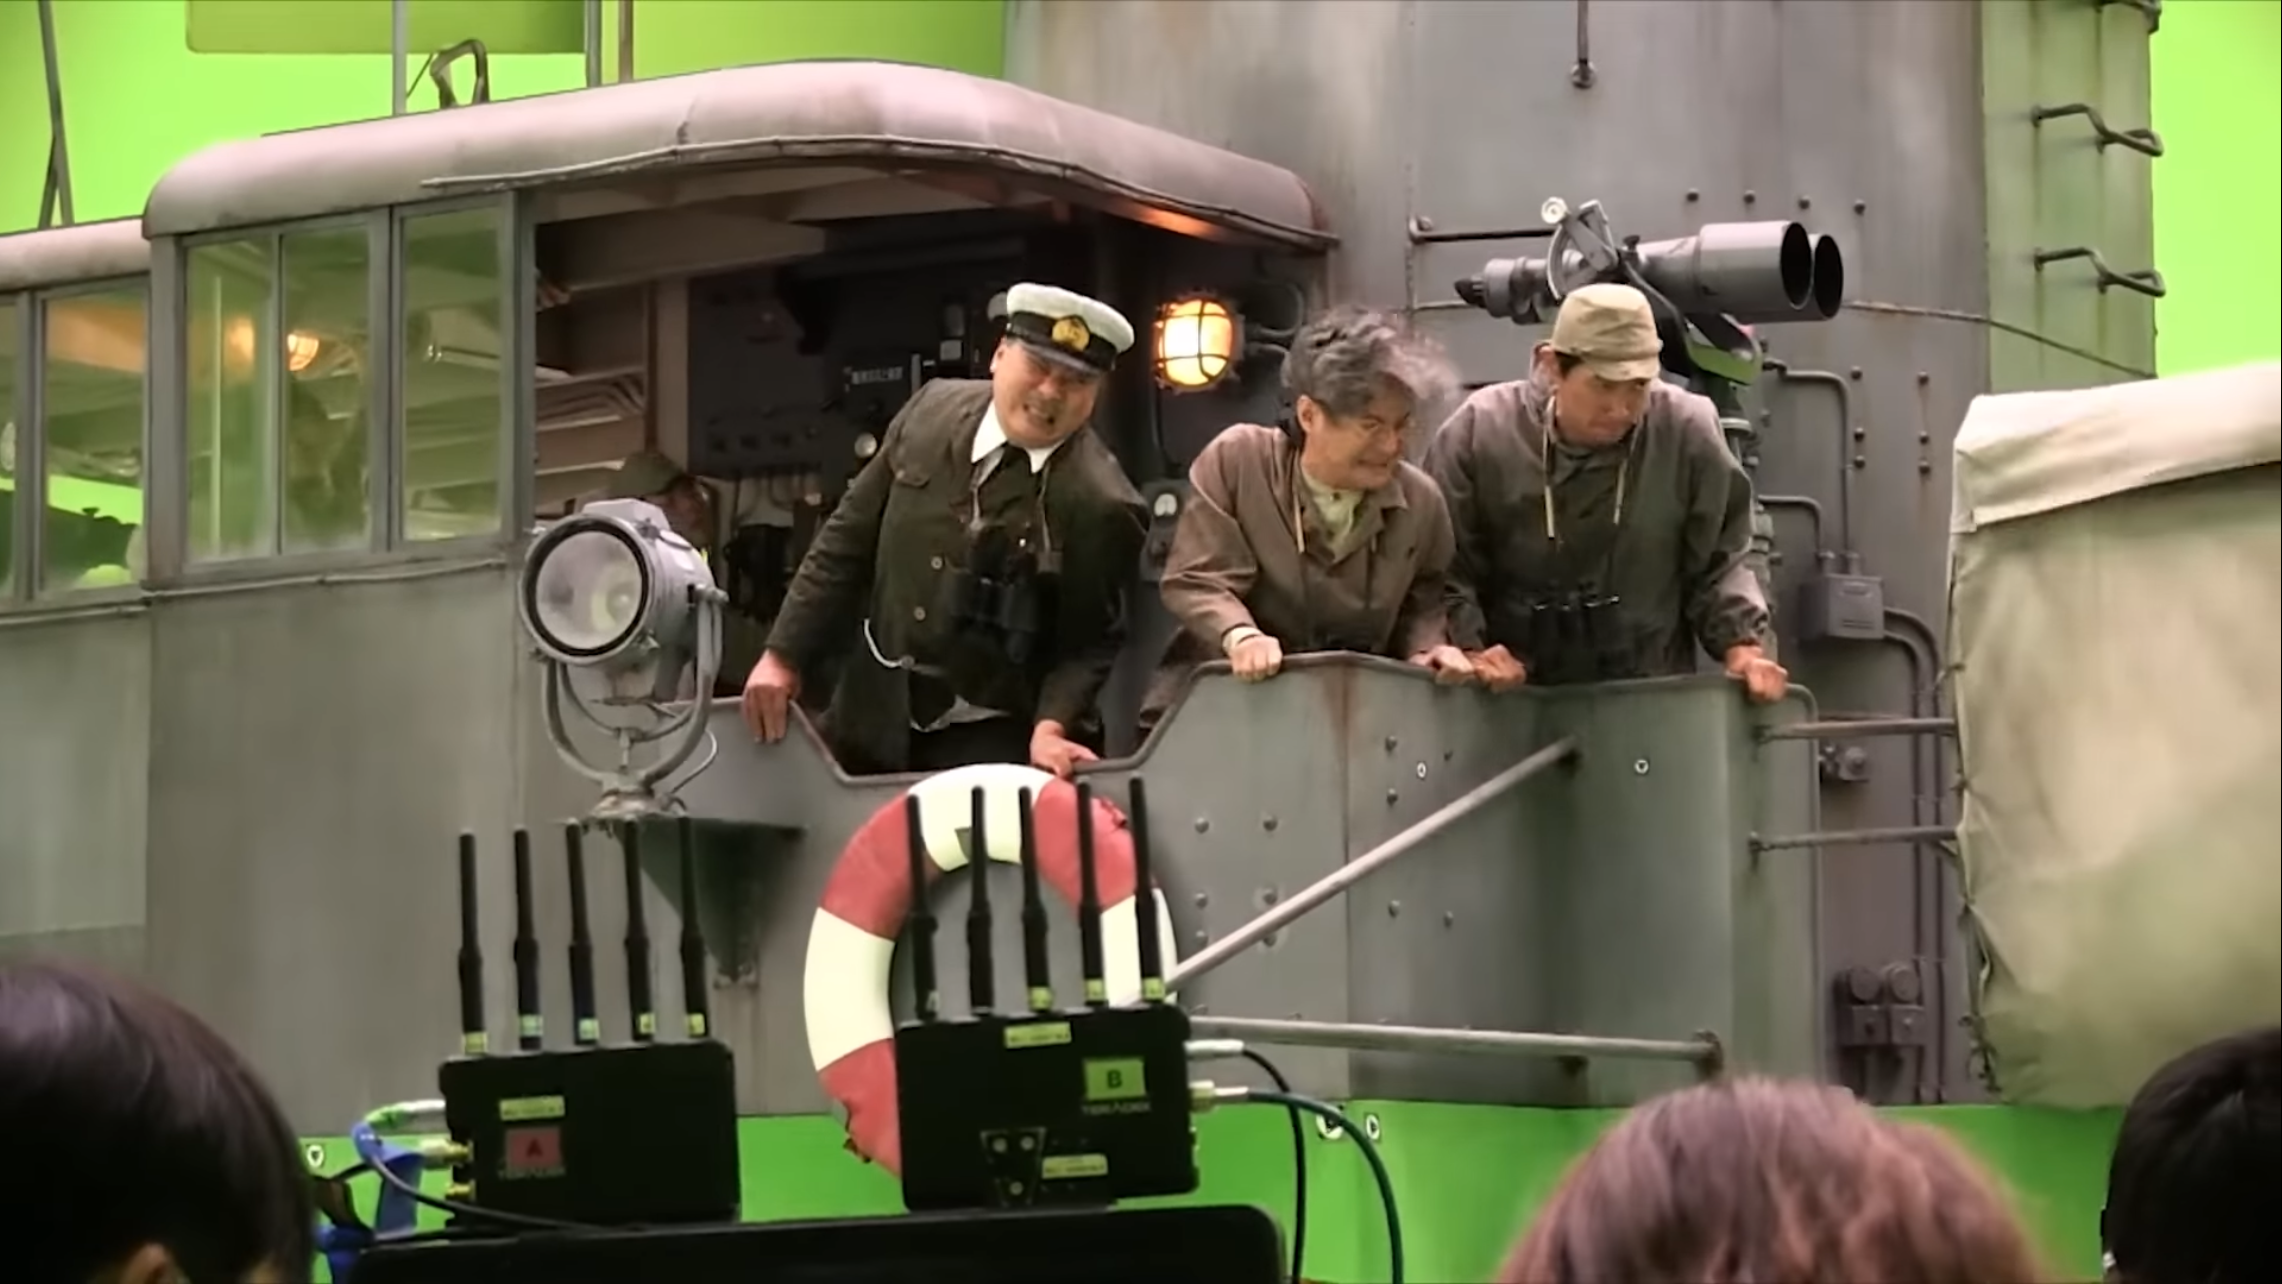
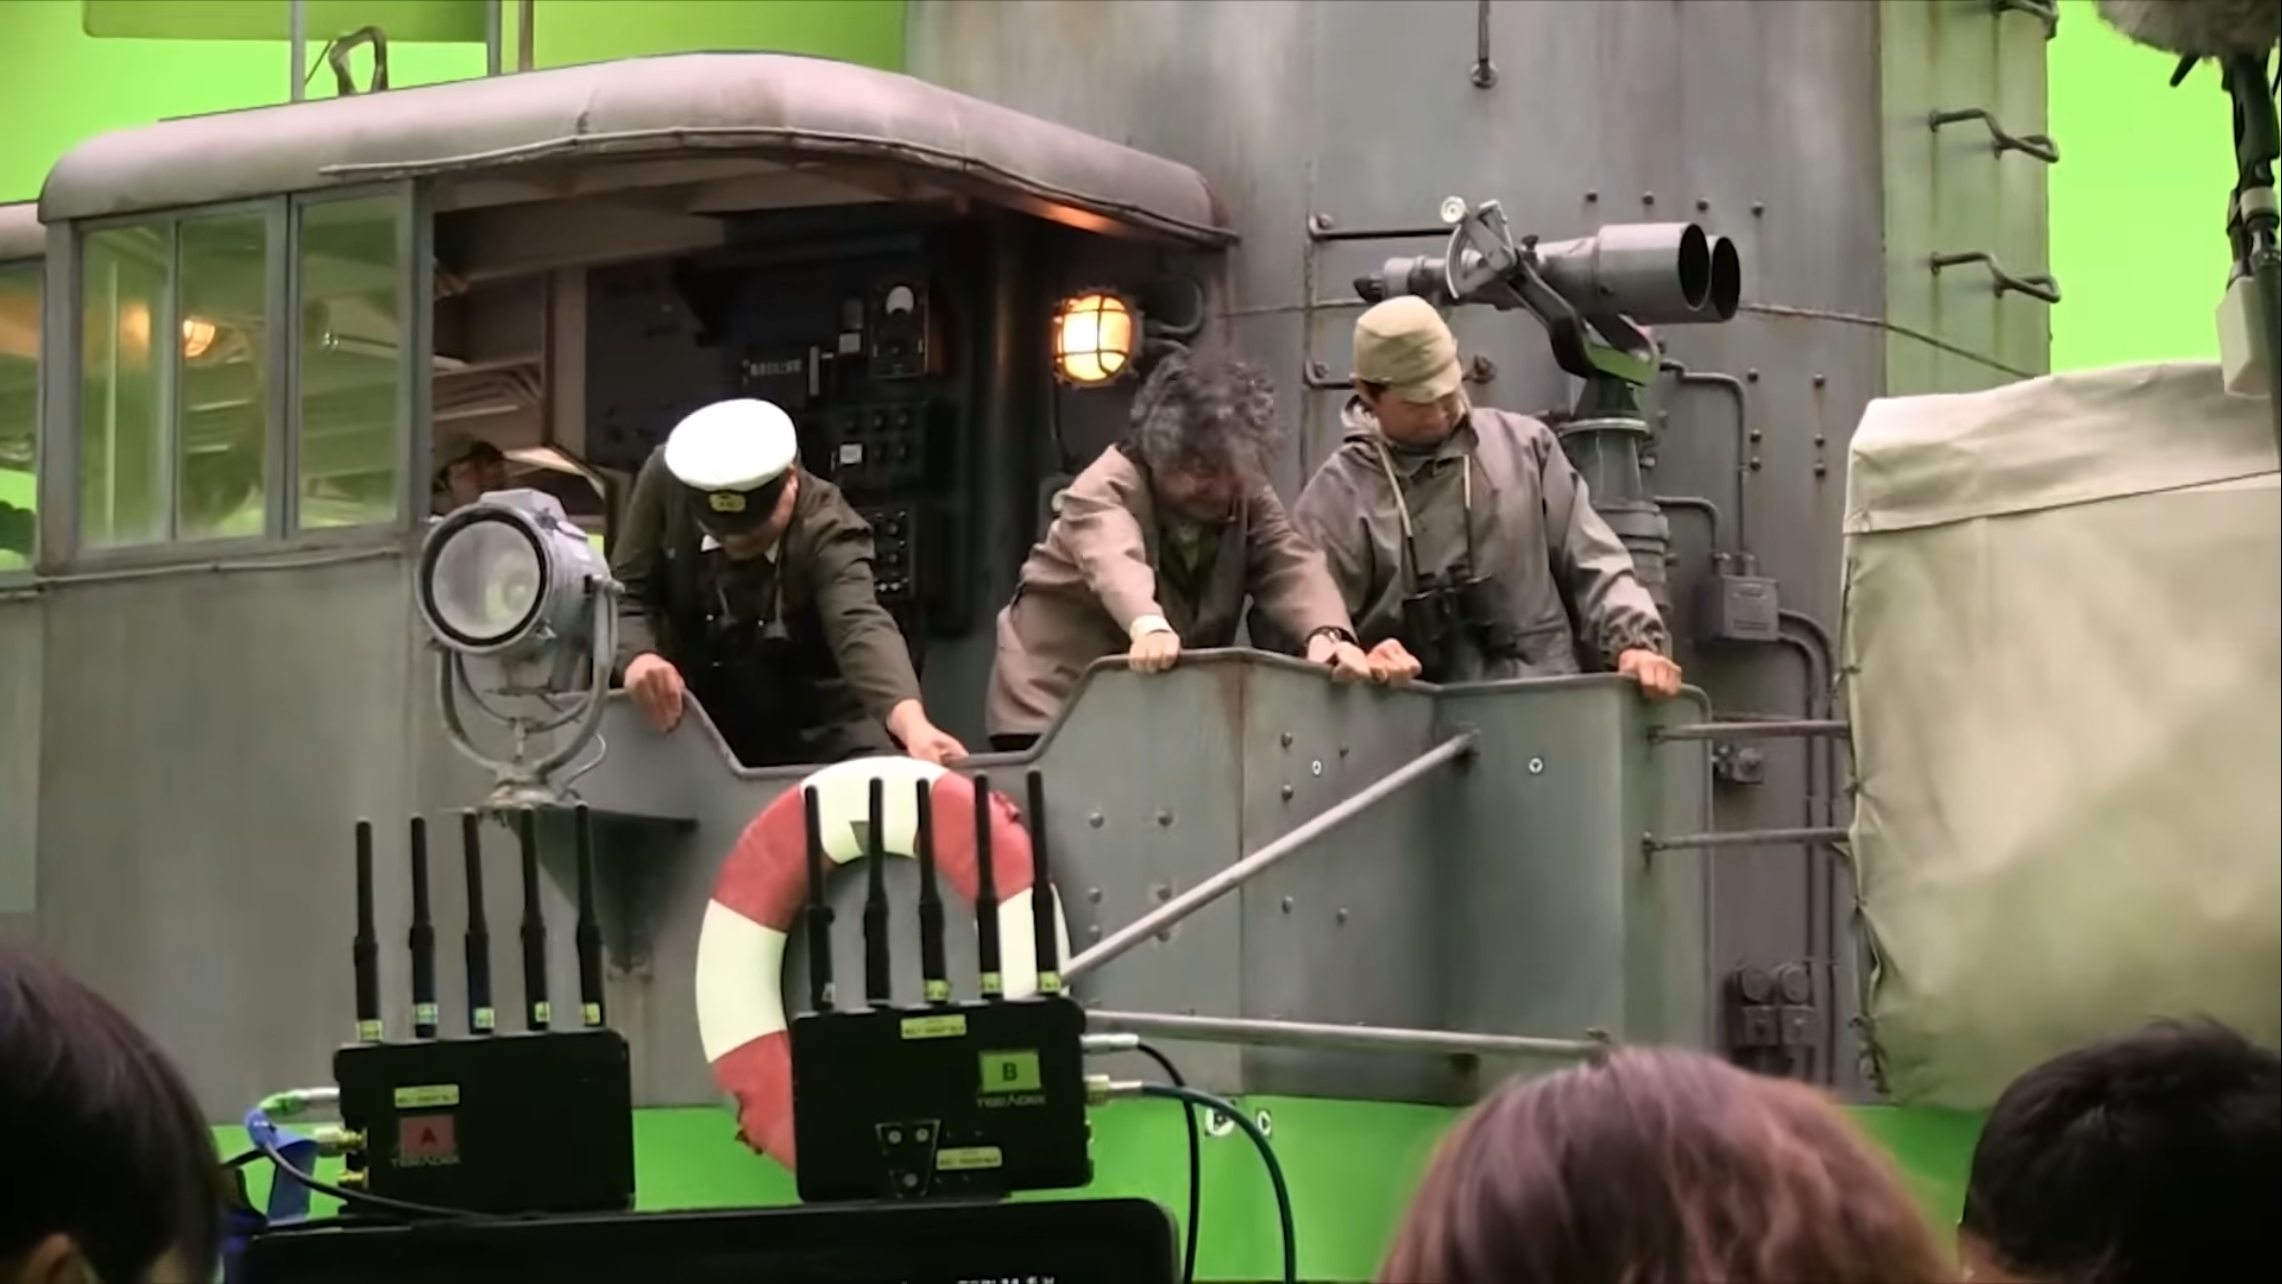
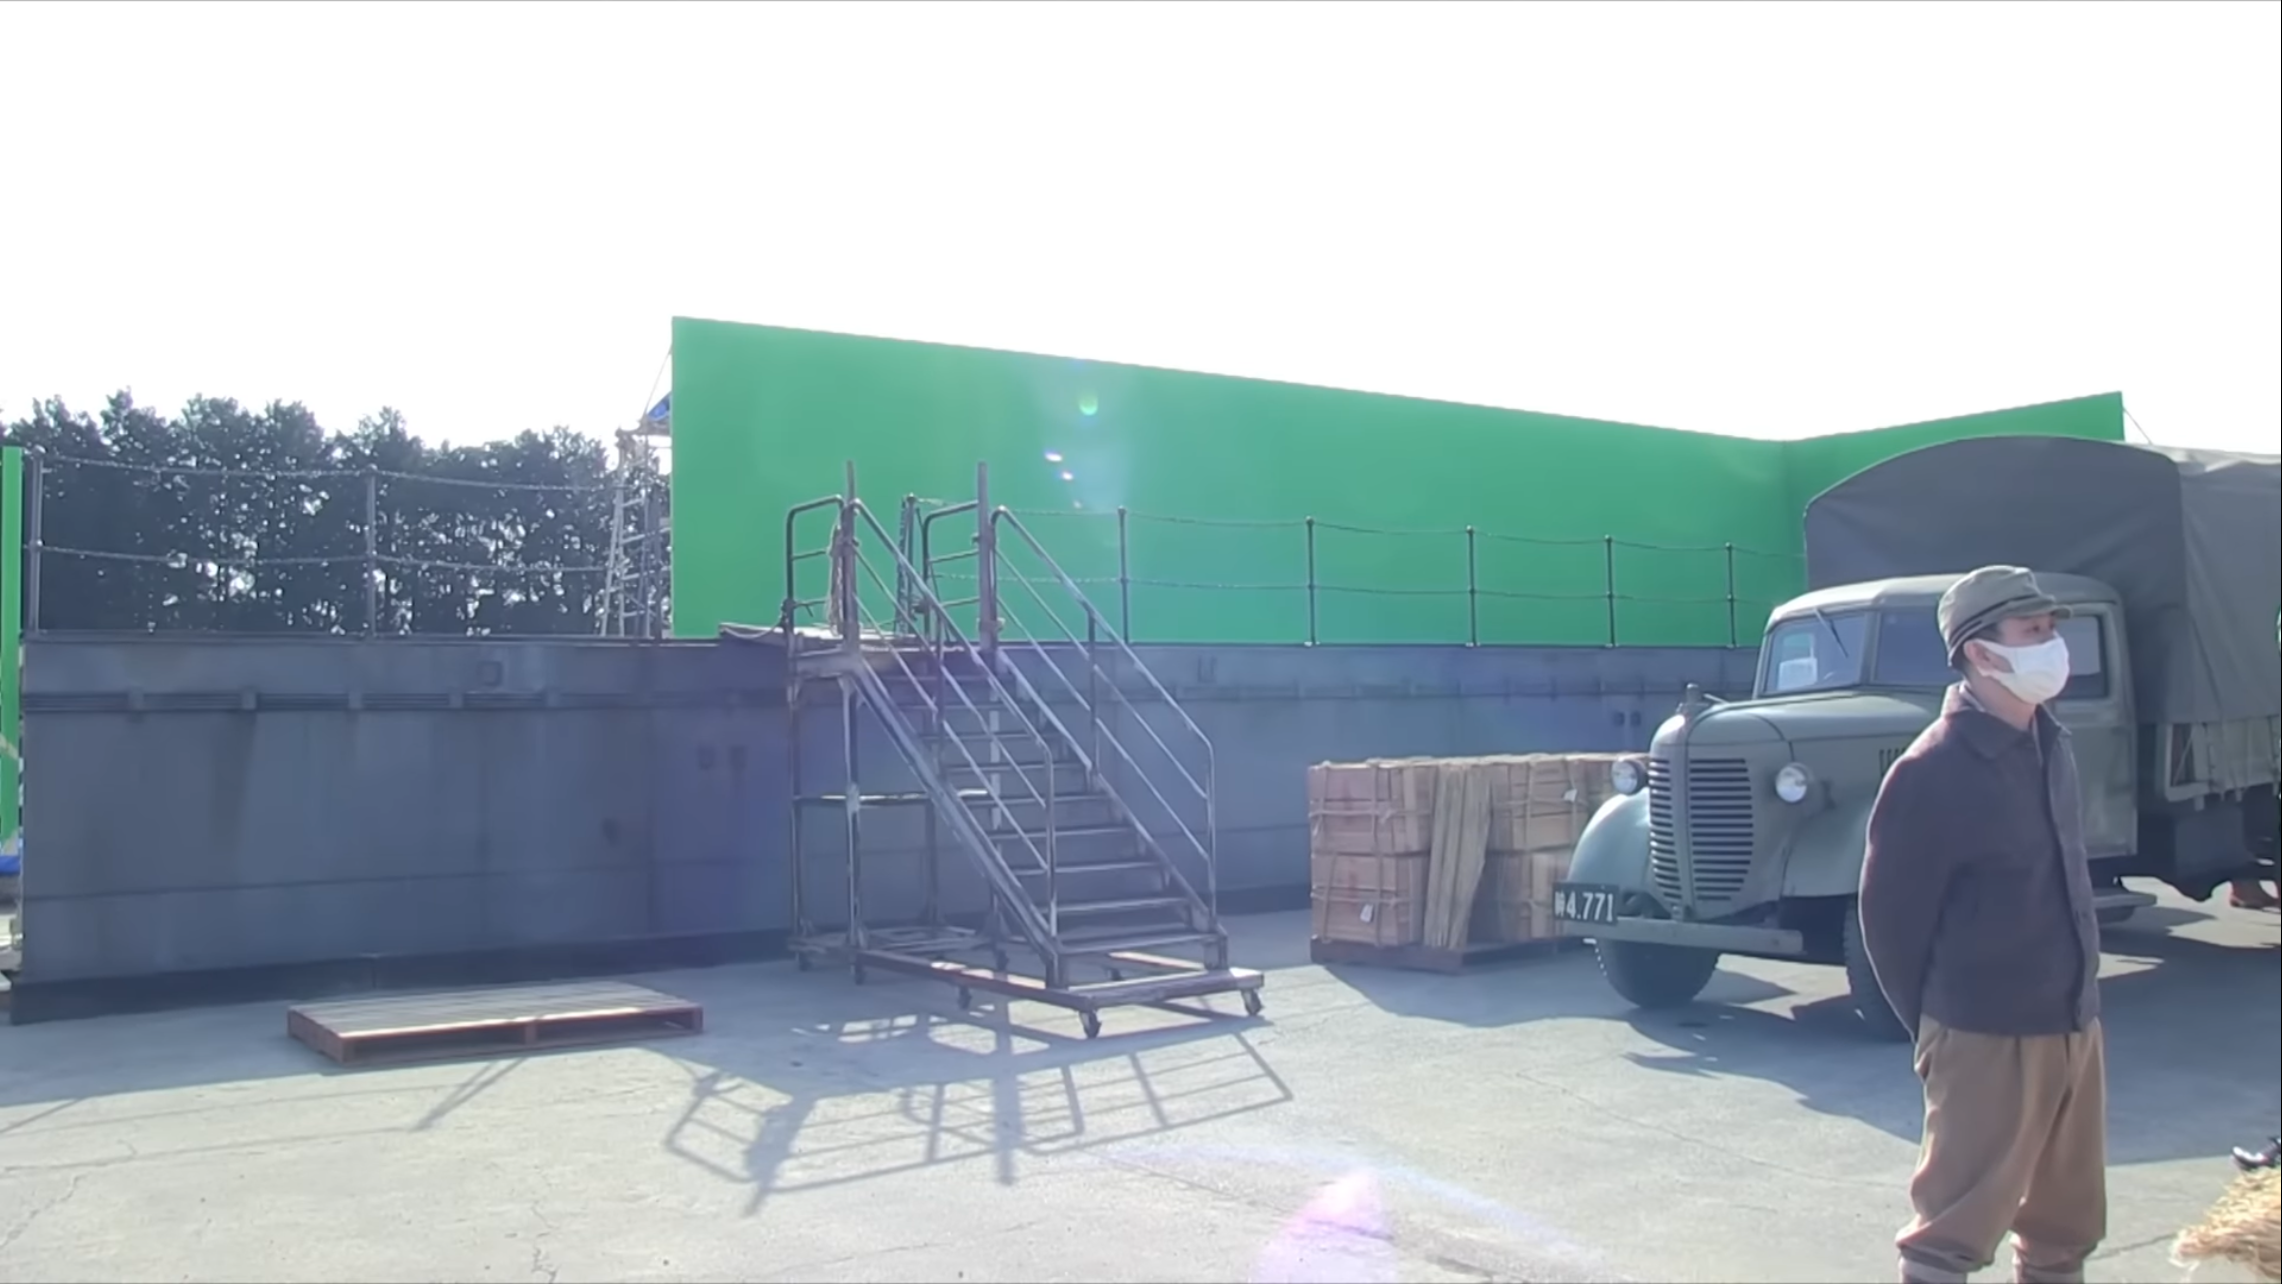
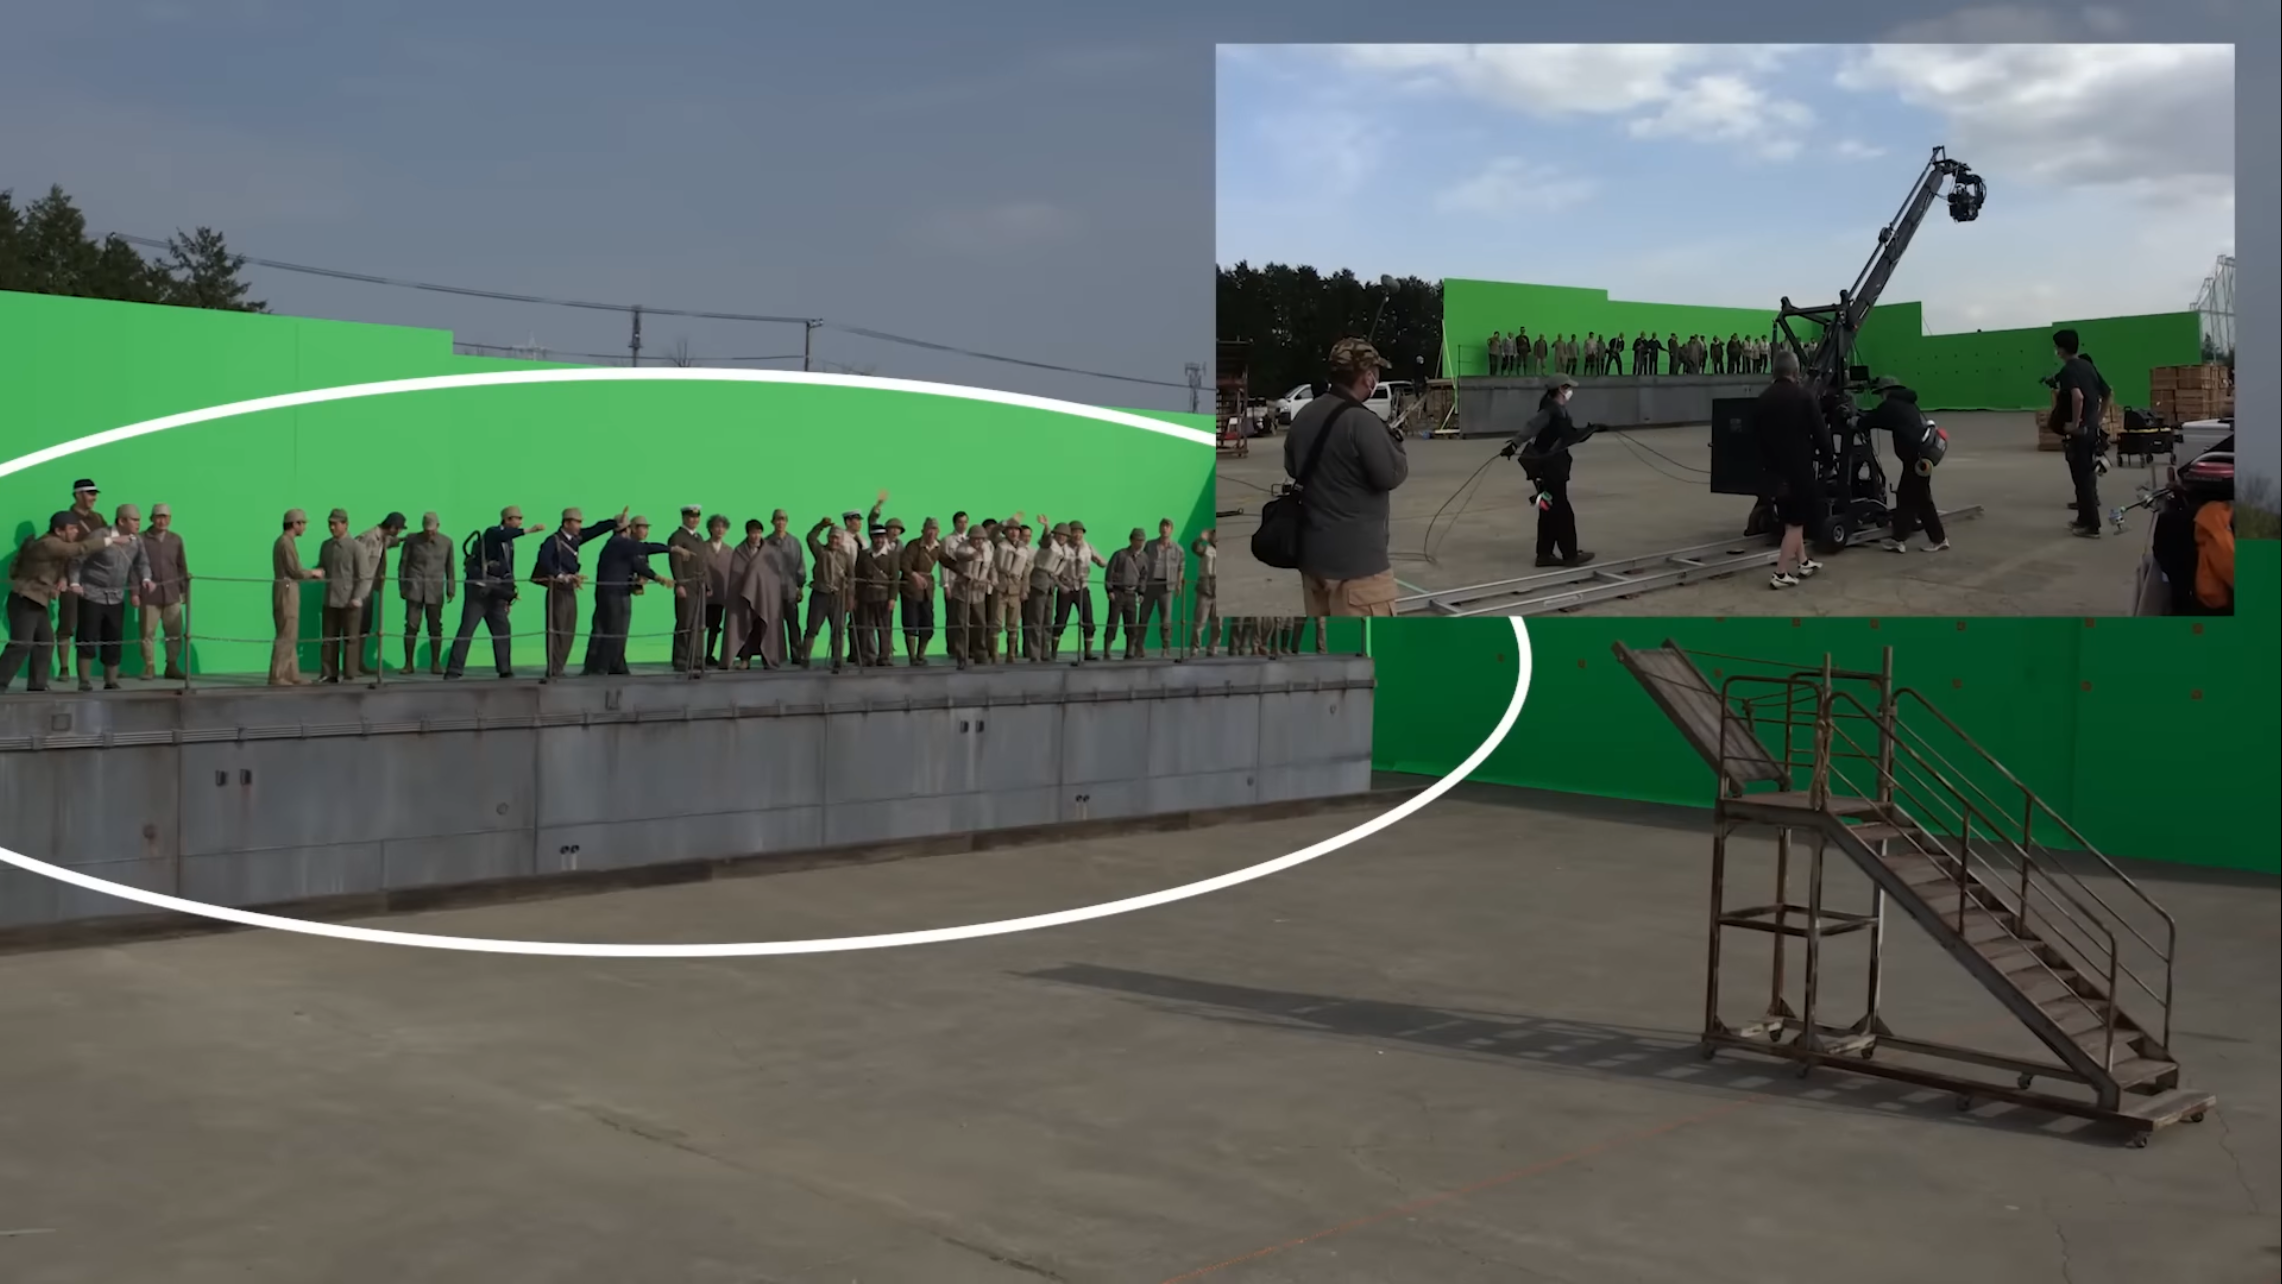
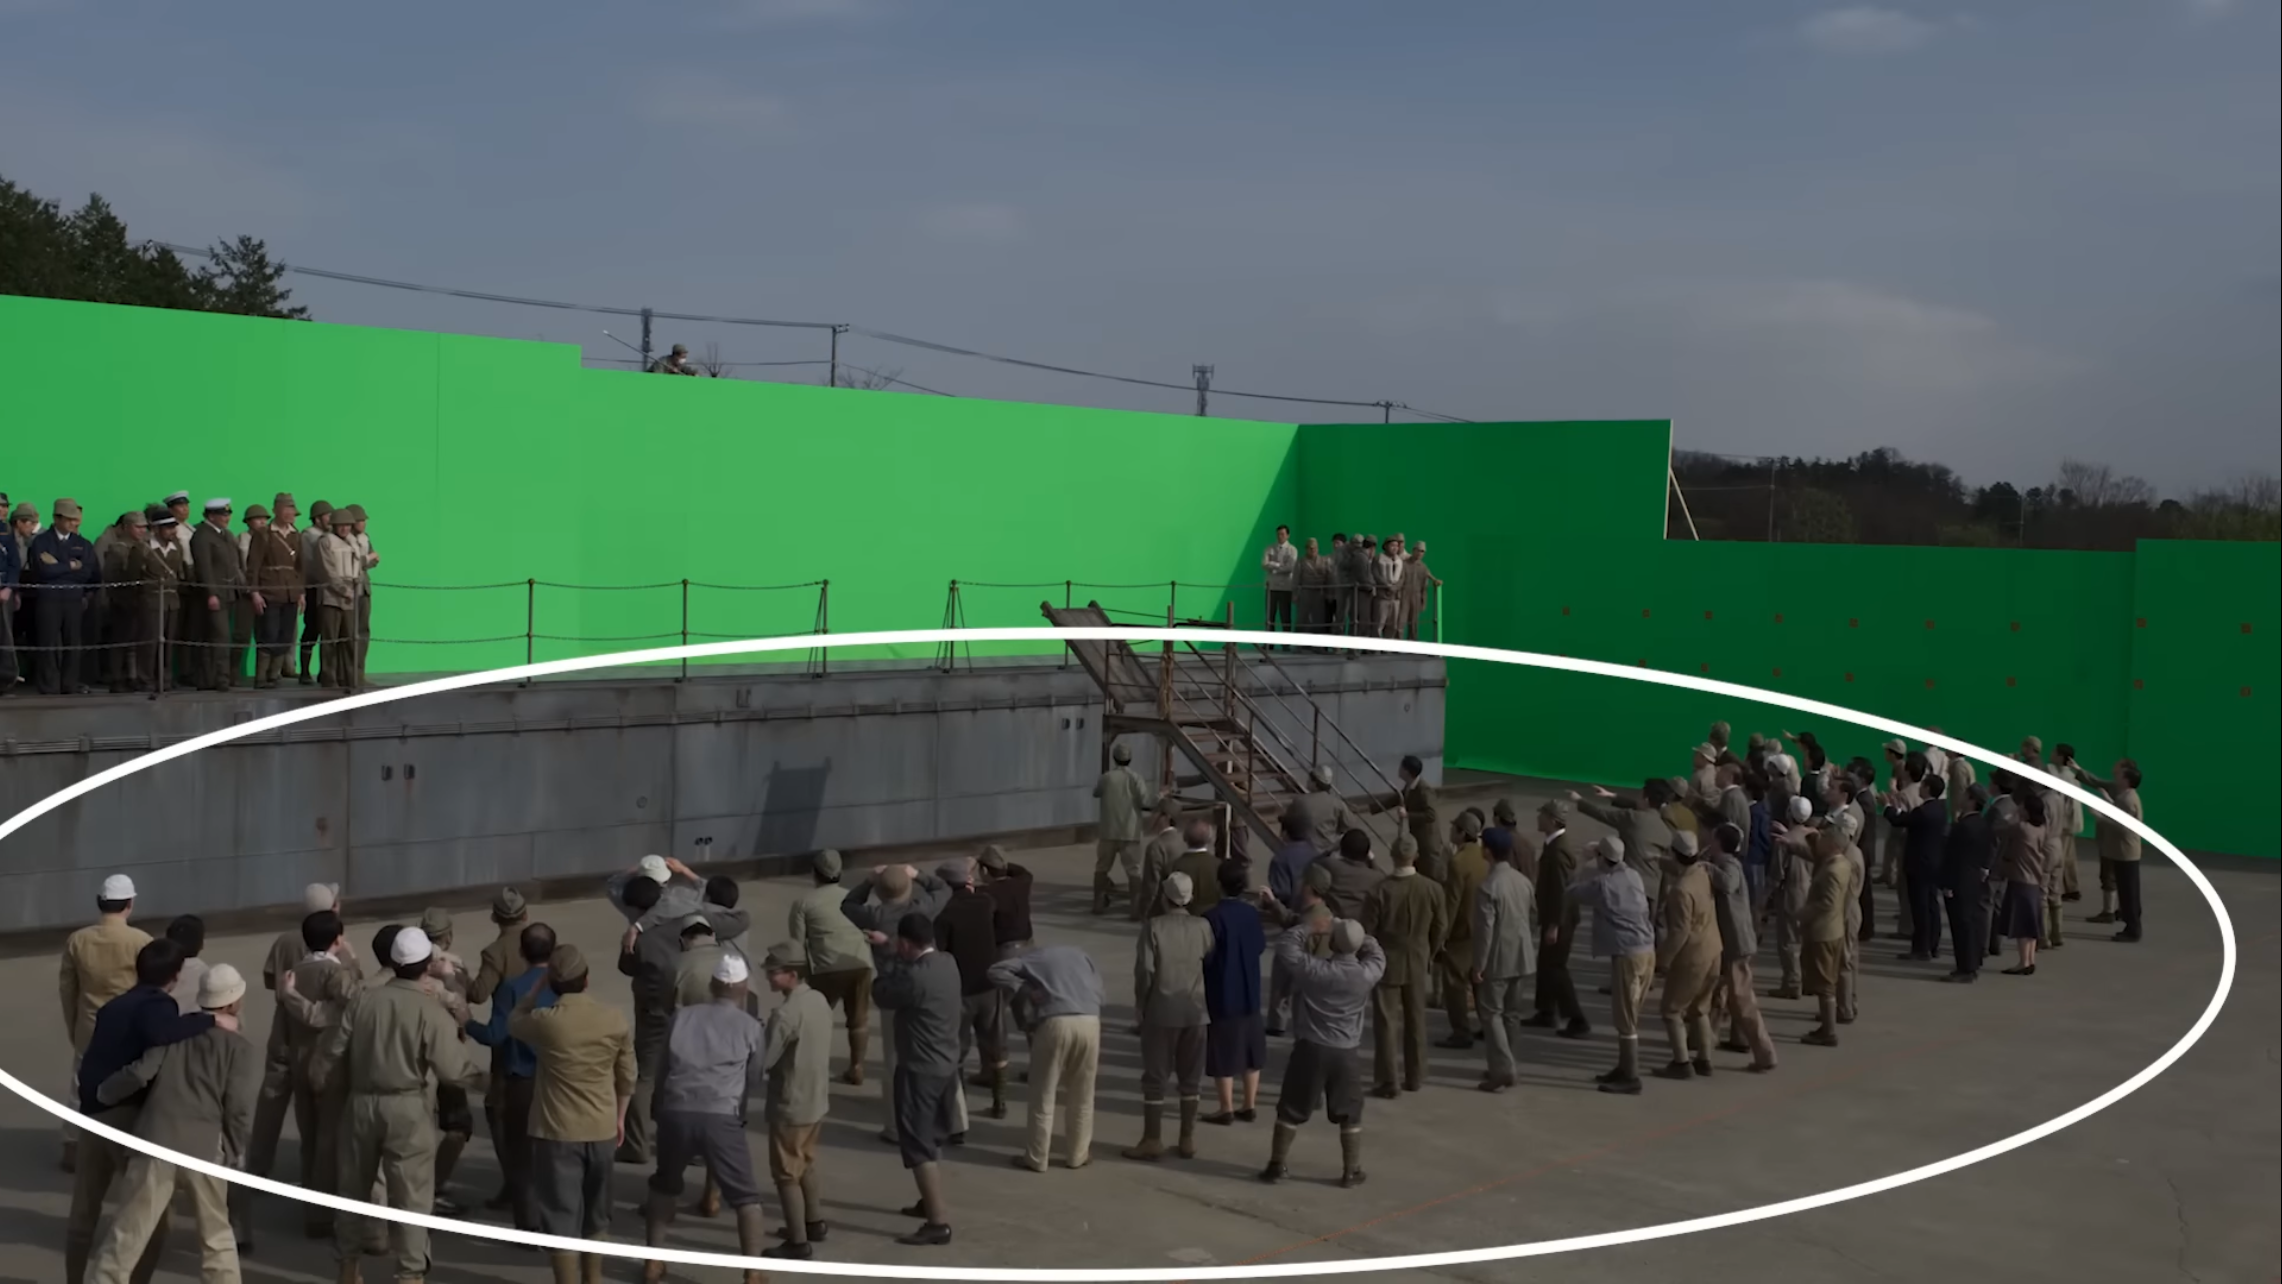
The limited budget of Godzilla Minus One made it impossible to create individual sets for every warship that appeared in the film, so only one side deck section of a ship was built. Every ship in the film used the same stationary set, including Yukikaze, Takao, and the Ukuru-class escort ship Ikuno. Shirogumi used VFX to extend the ship set and its surroundings in accordance with the needs of each scene. A set was also built for Yukikaze's bridge, but the budget didn't allow for hydraulic cylinders to be installed to make the bridge sway. Instead, a combination of cranes and actor performances were utilized to create the illusion of Yukikaze rocking during Operation Wada Tsumi. For the scene of Yukikaze returning to port, the side deck section was stationary, so the camera was moved on a rail.[2]
History
- Godzilla Minus One (2023)
Reiwa era
Godzilla Minus One
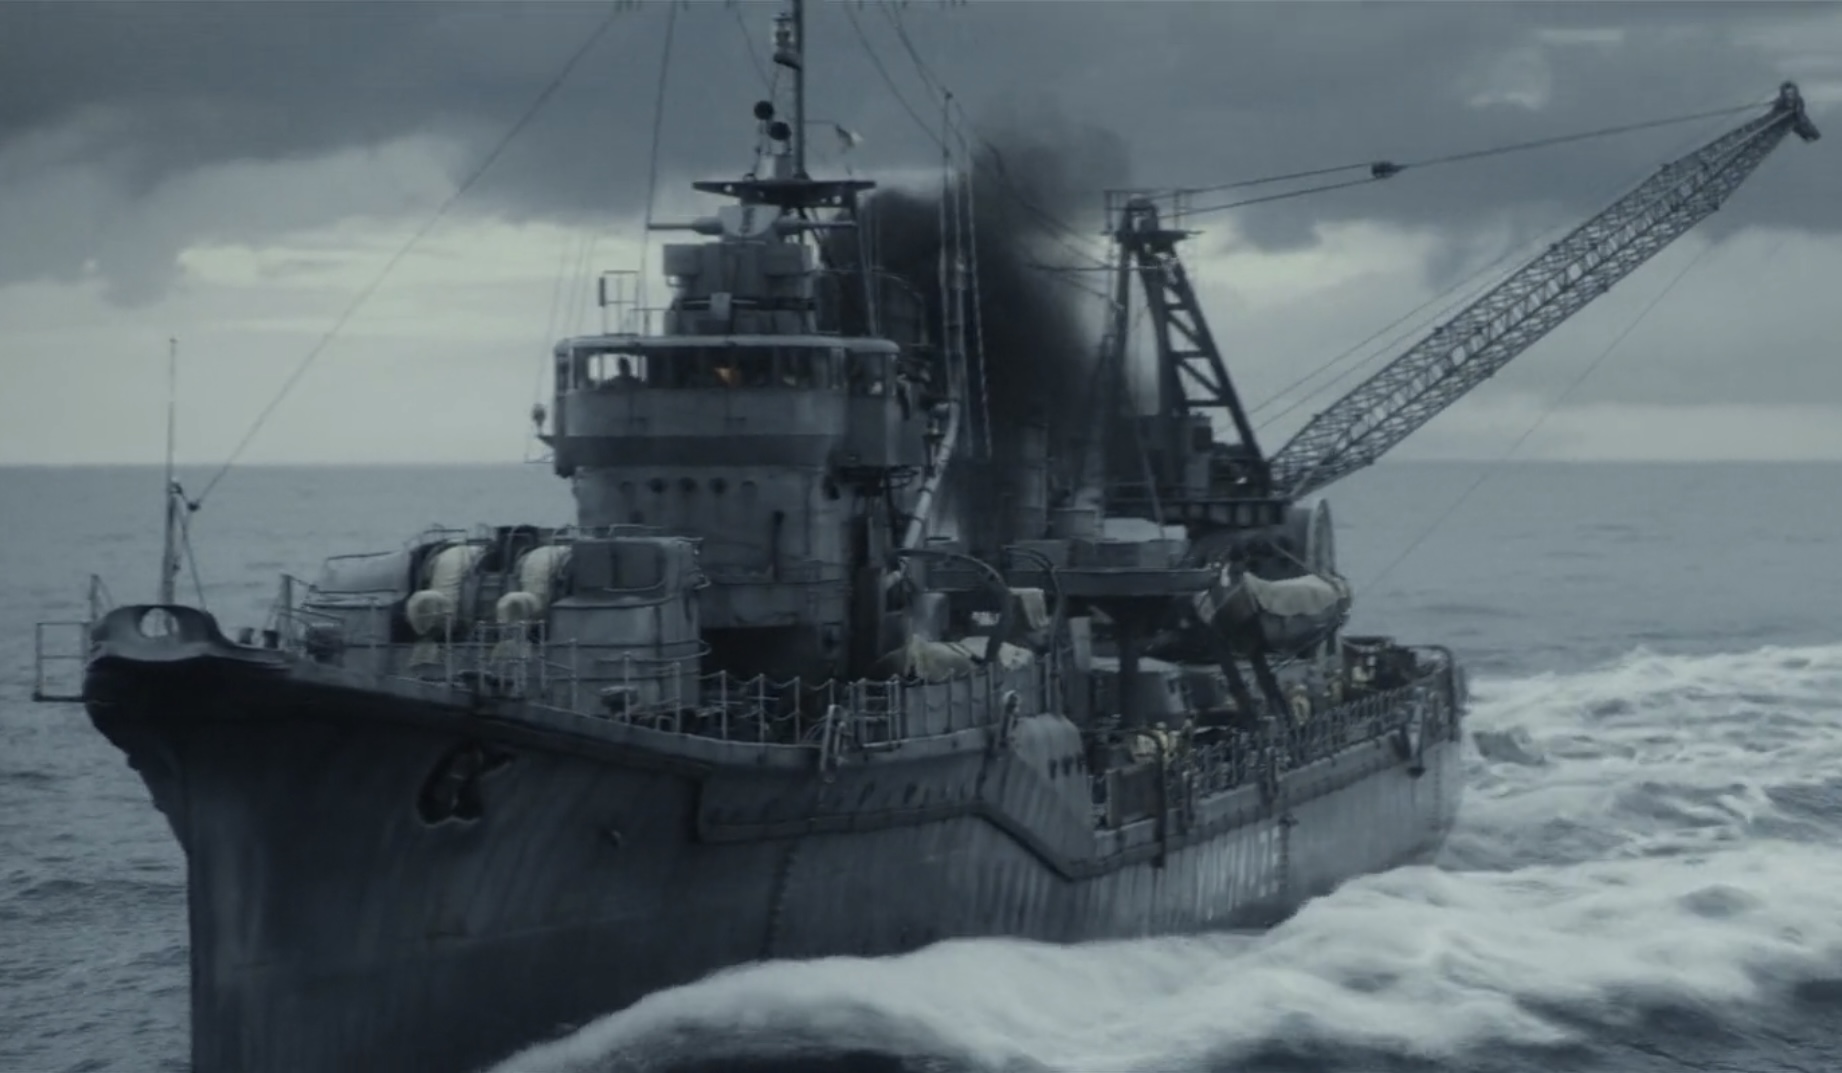
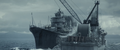
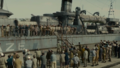
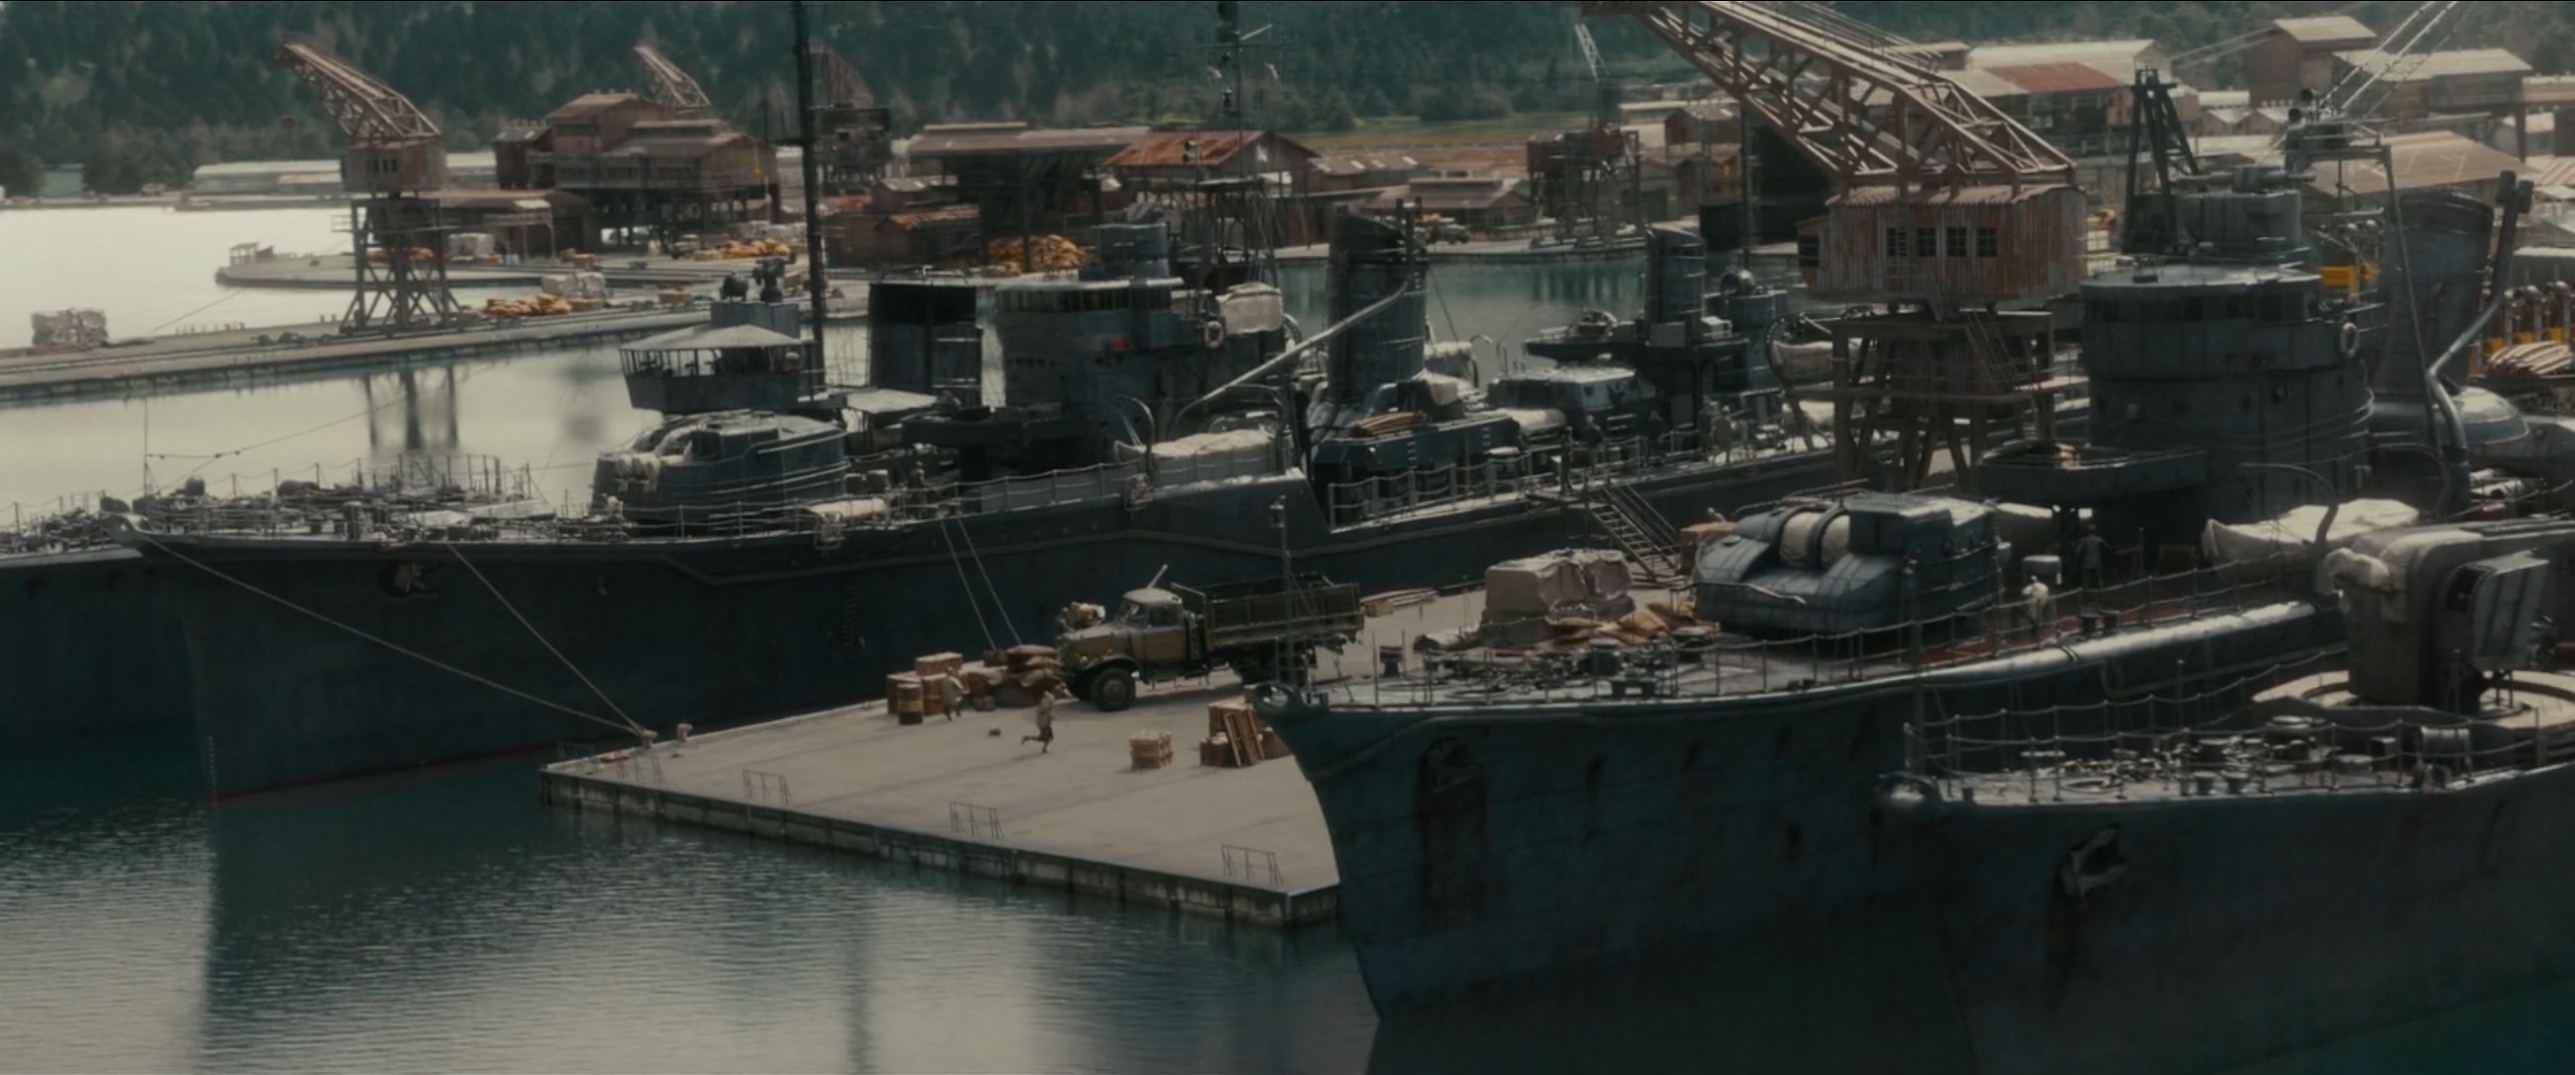
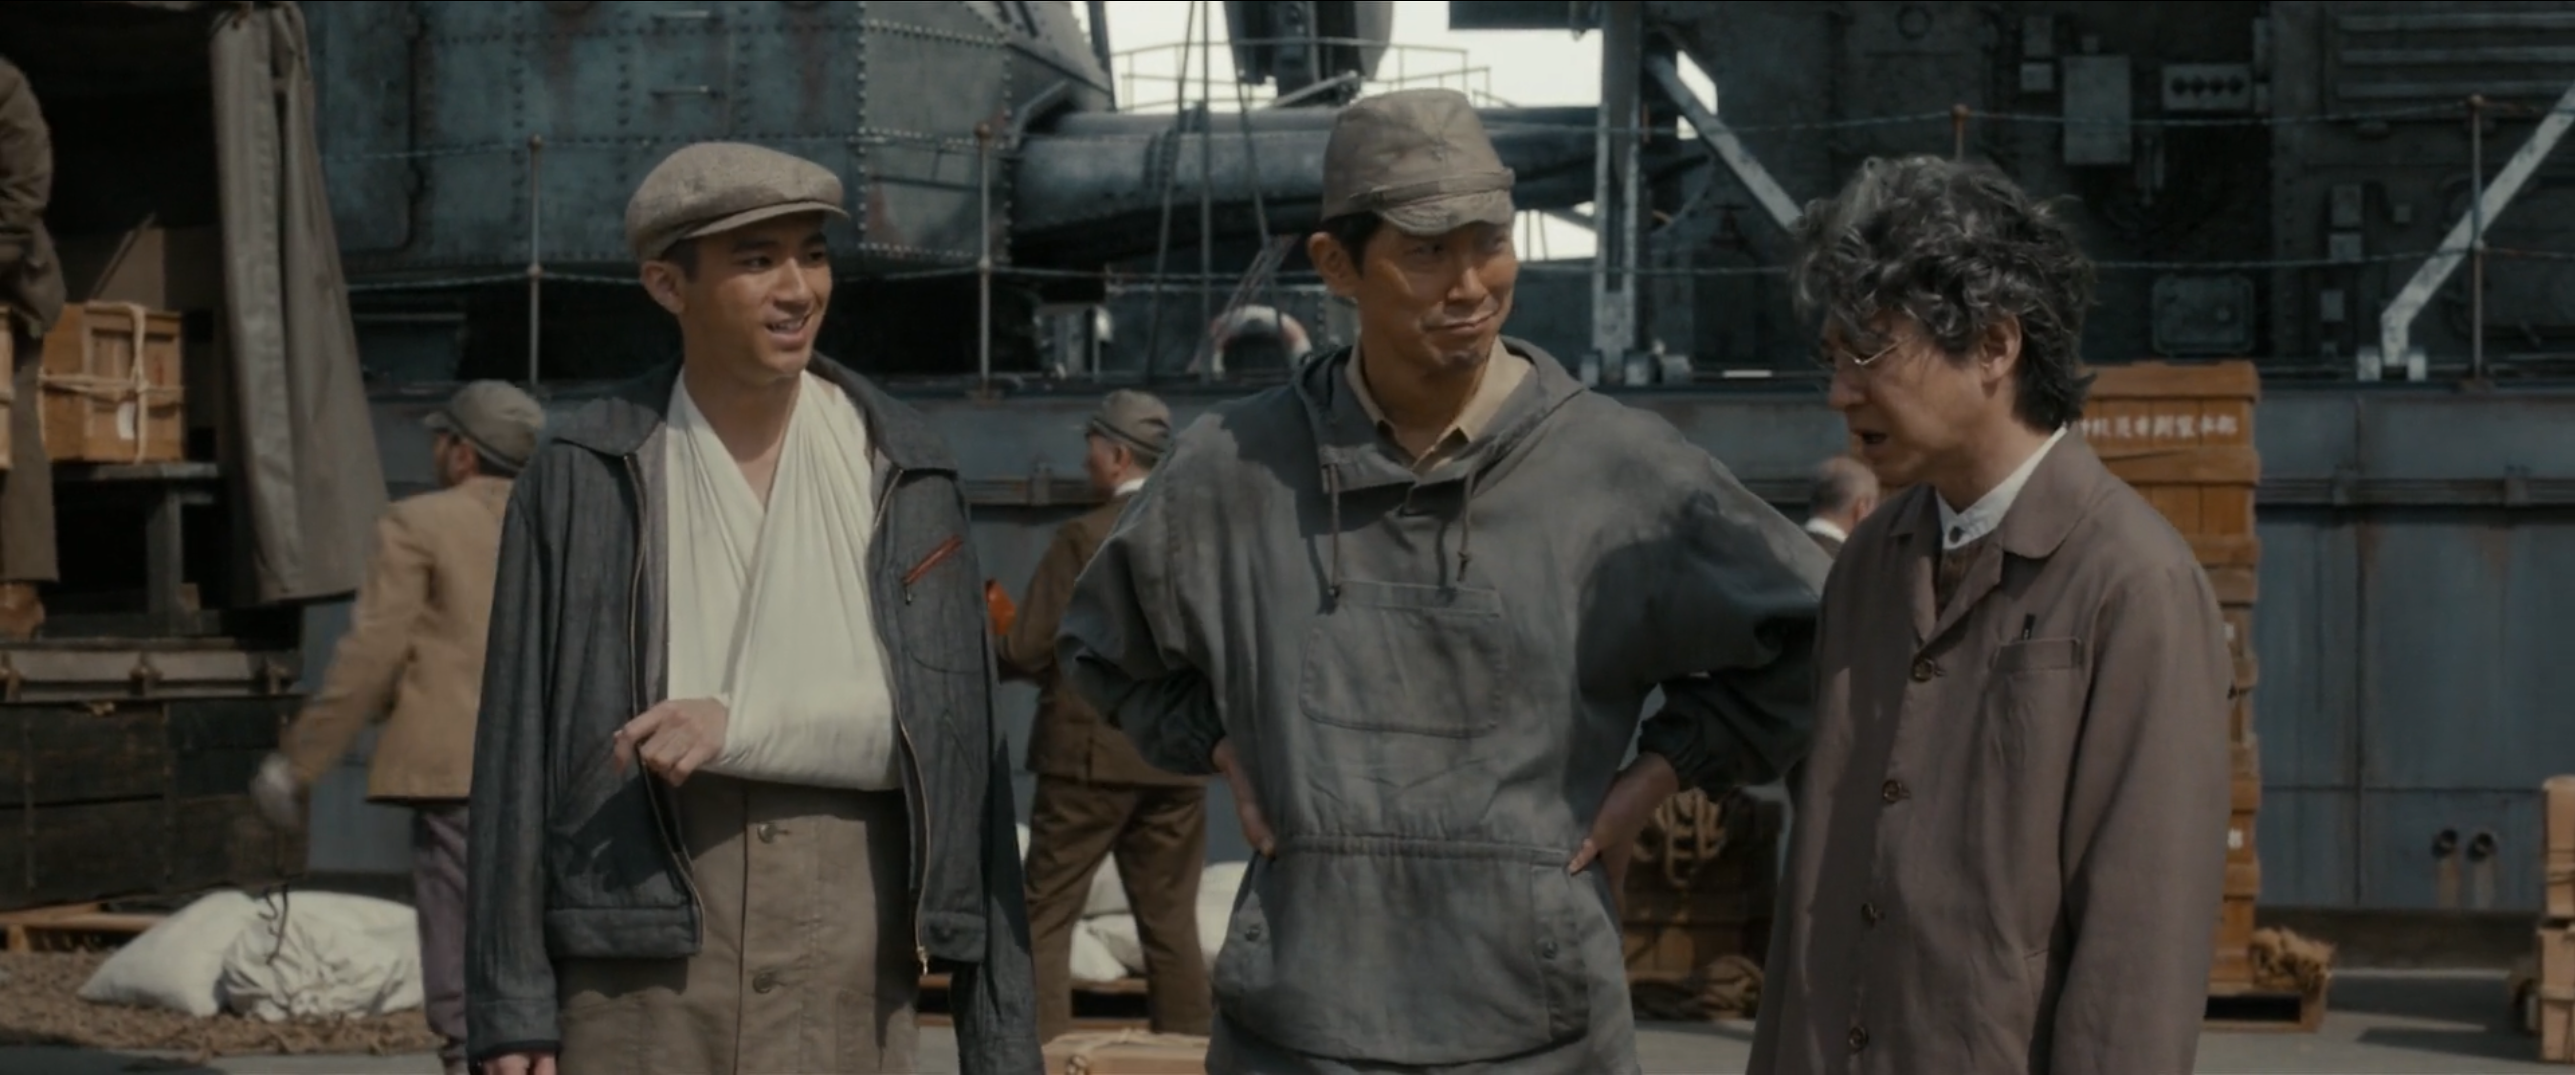
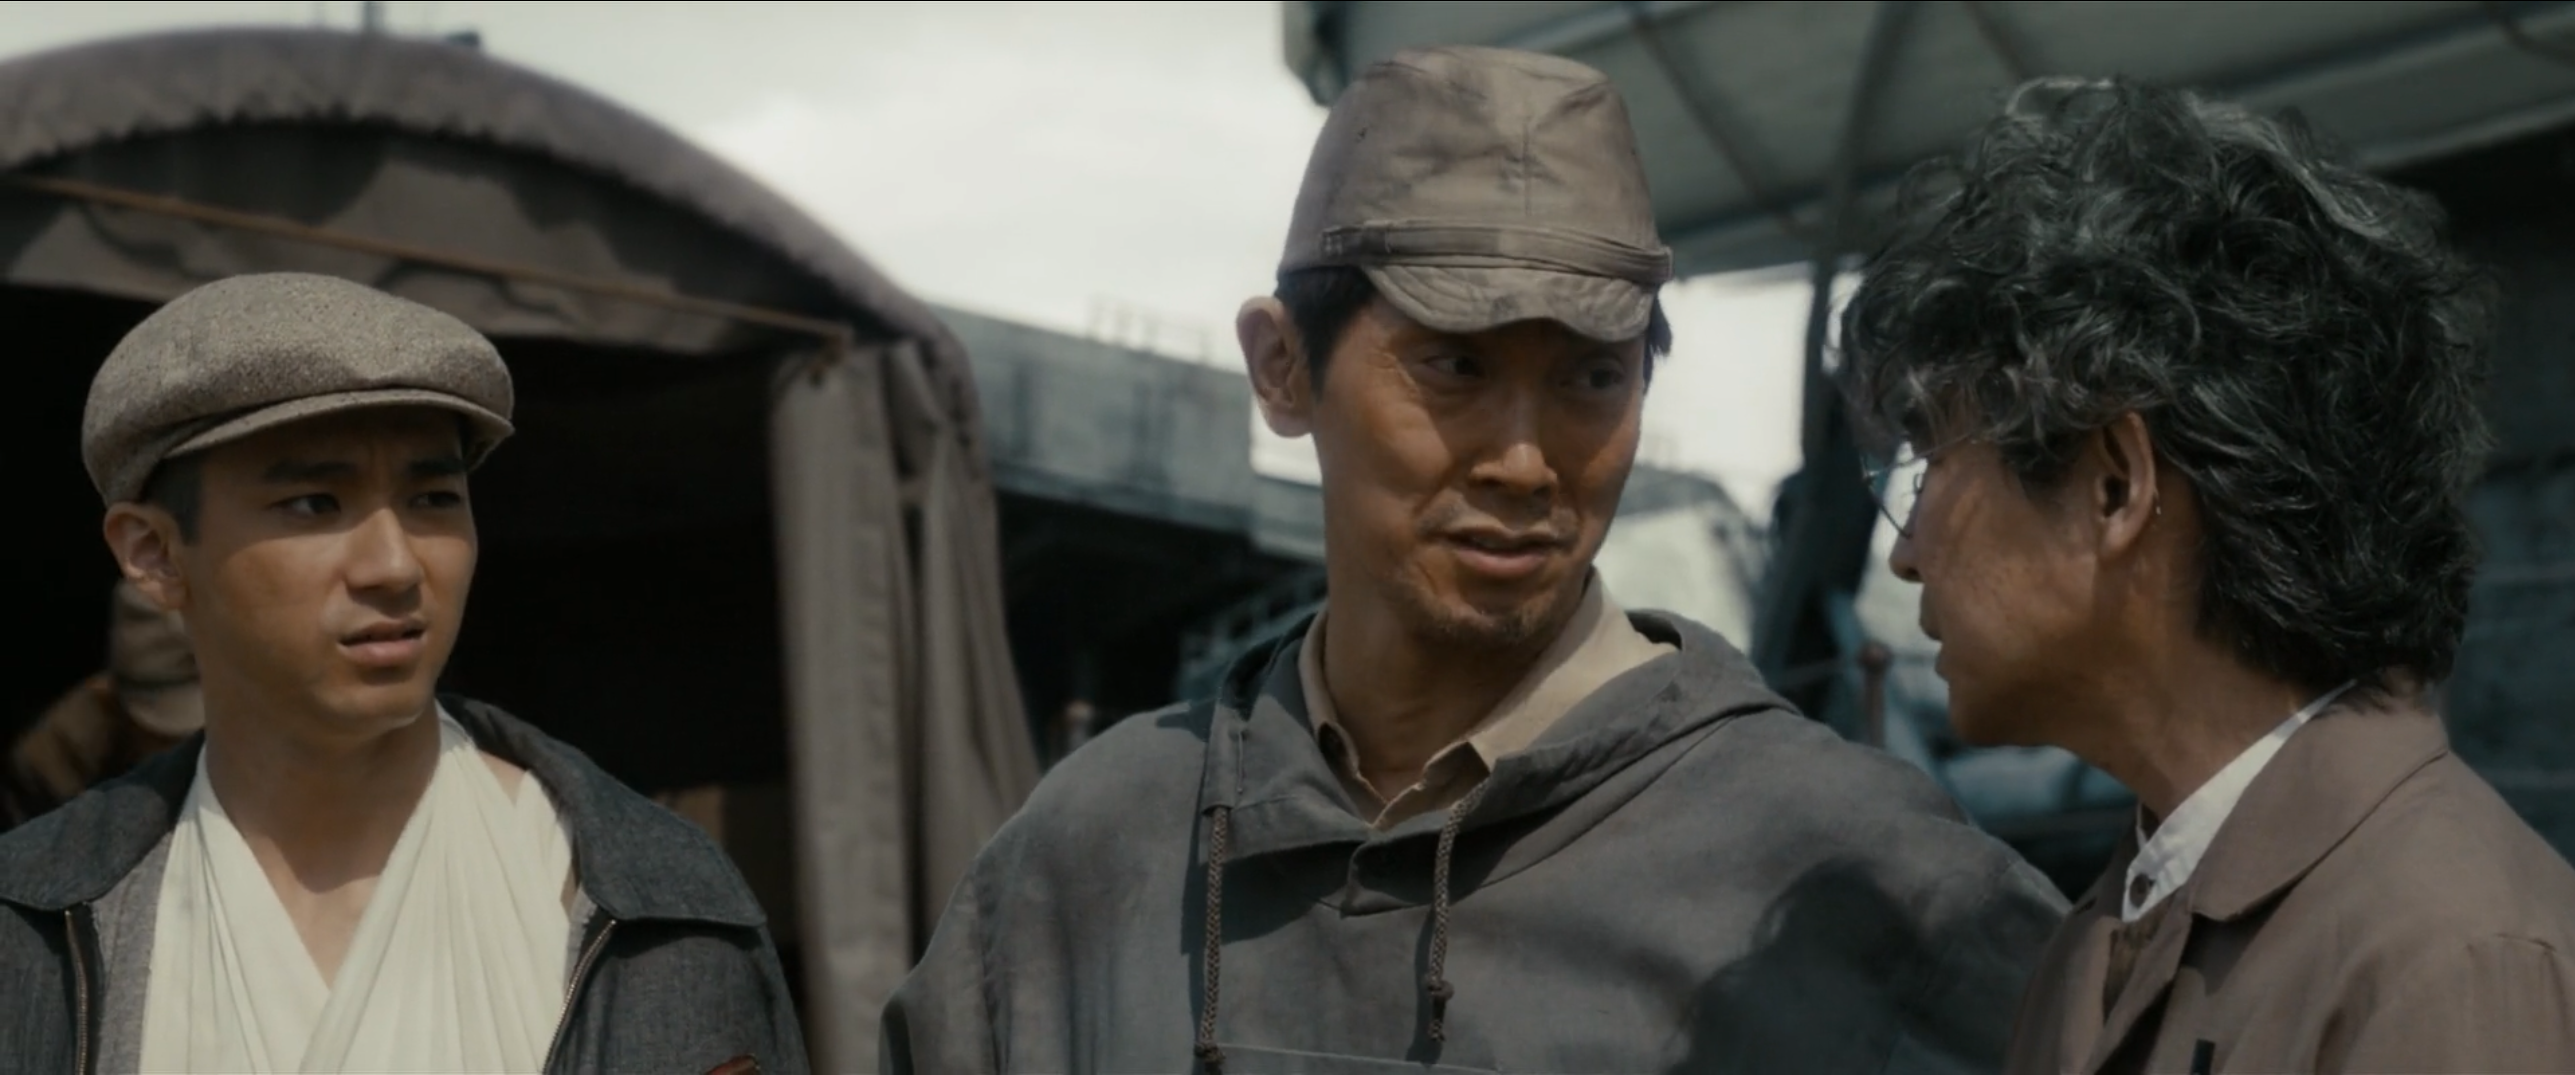
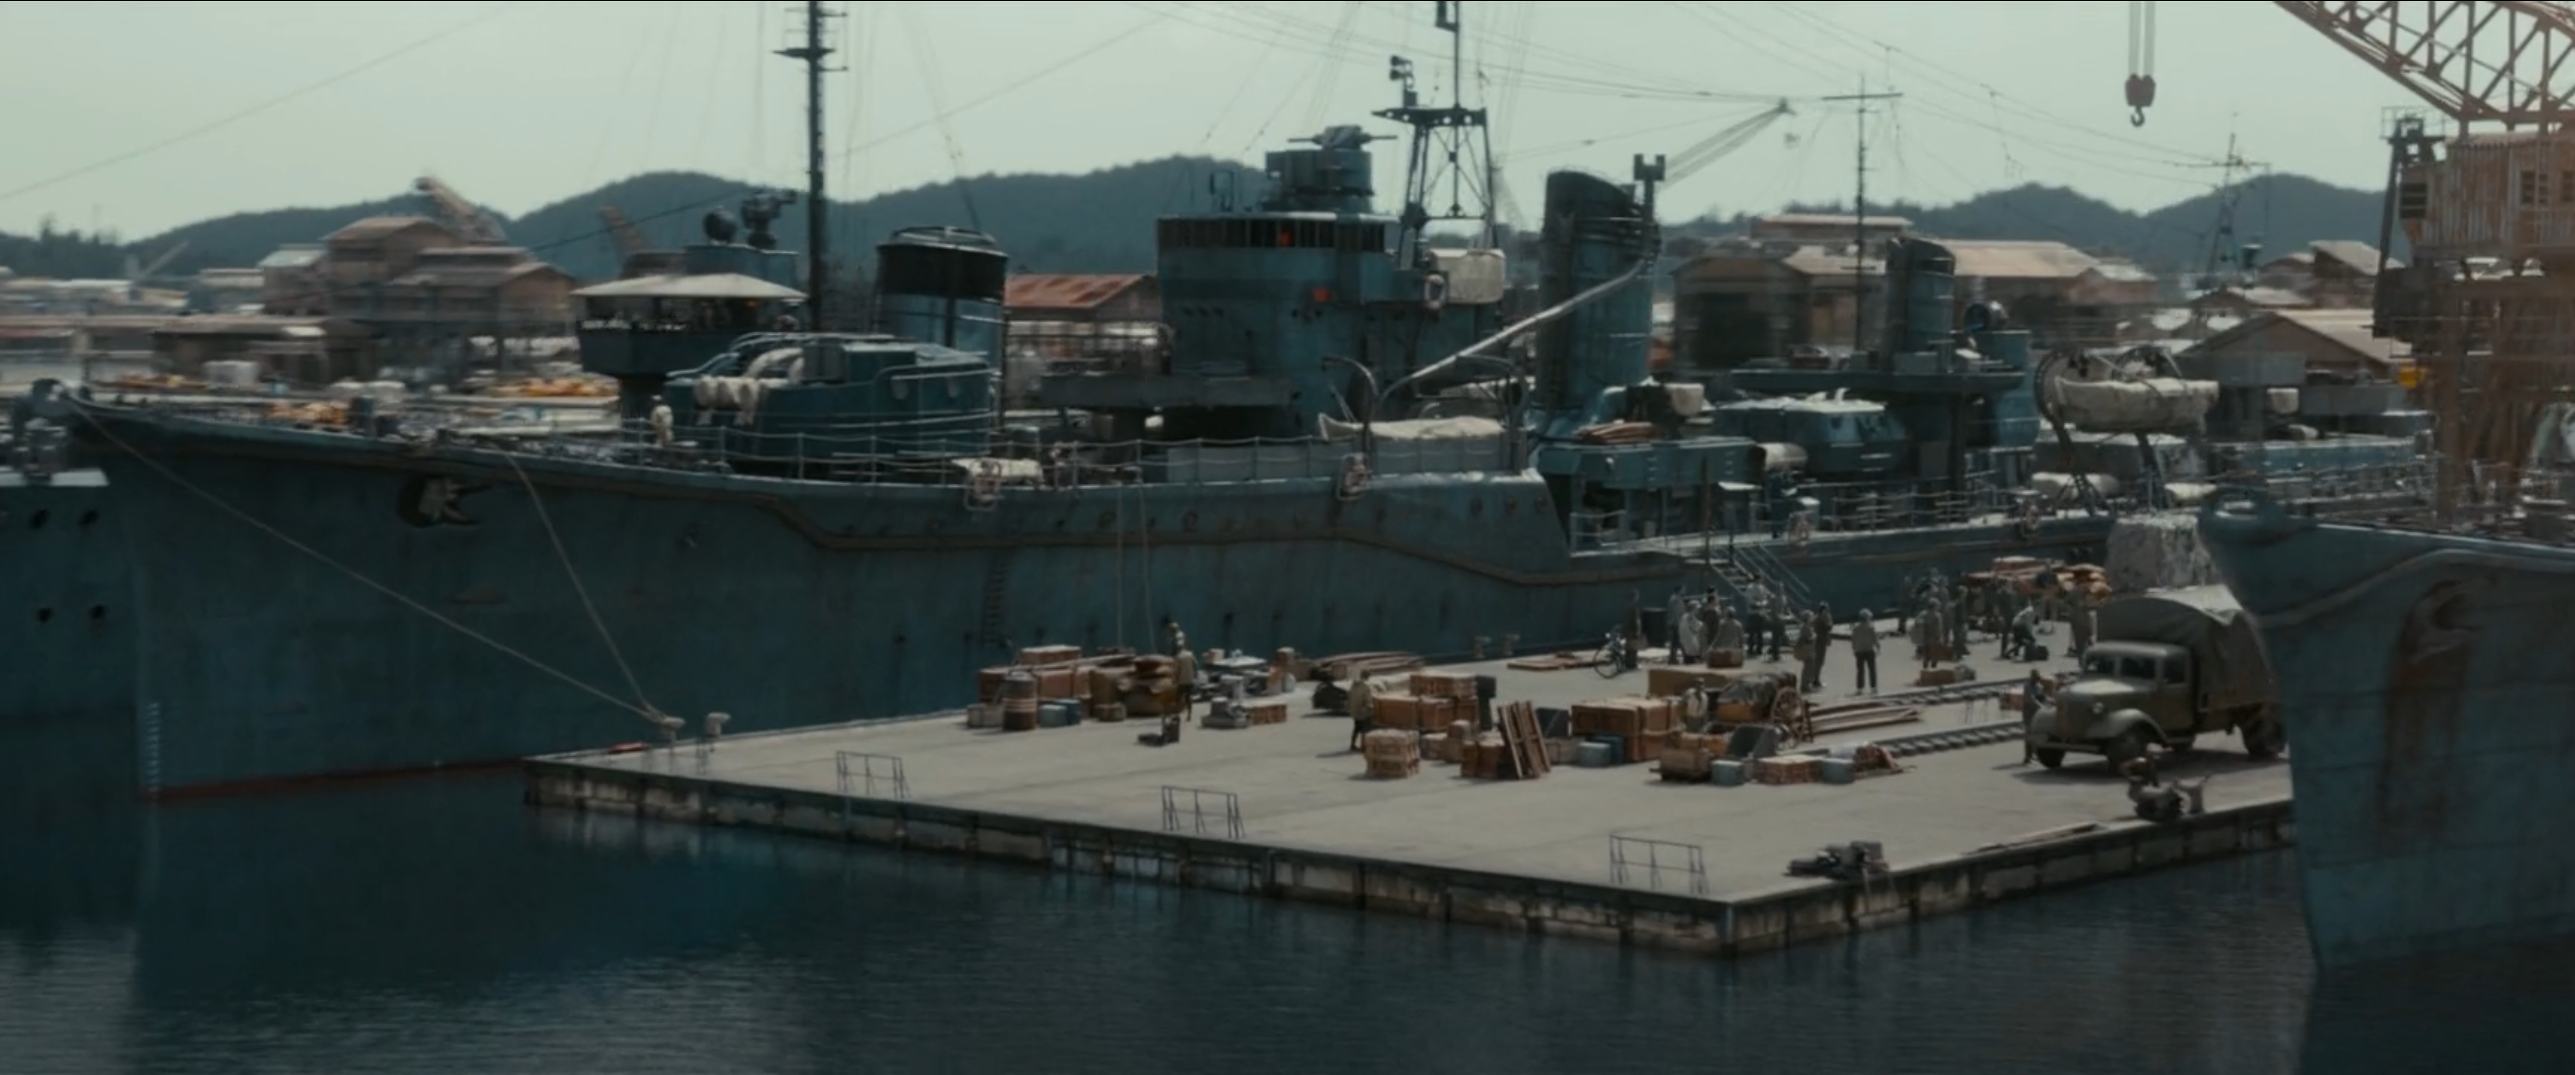
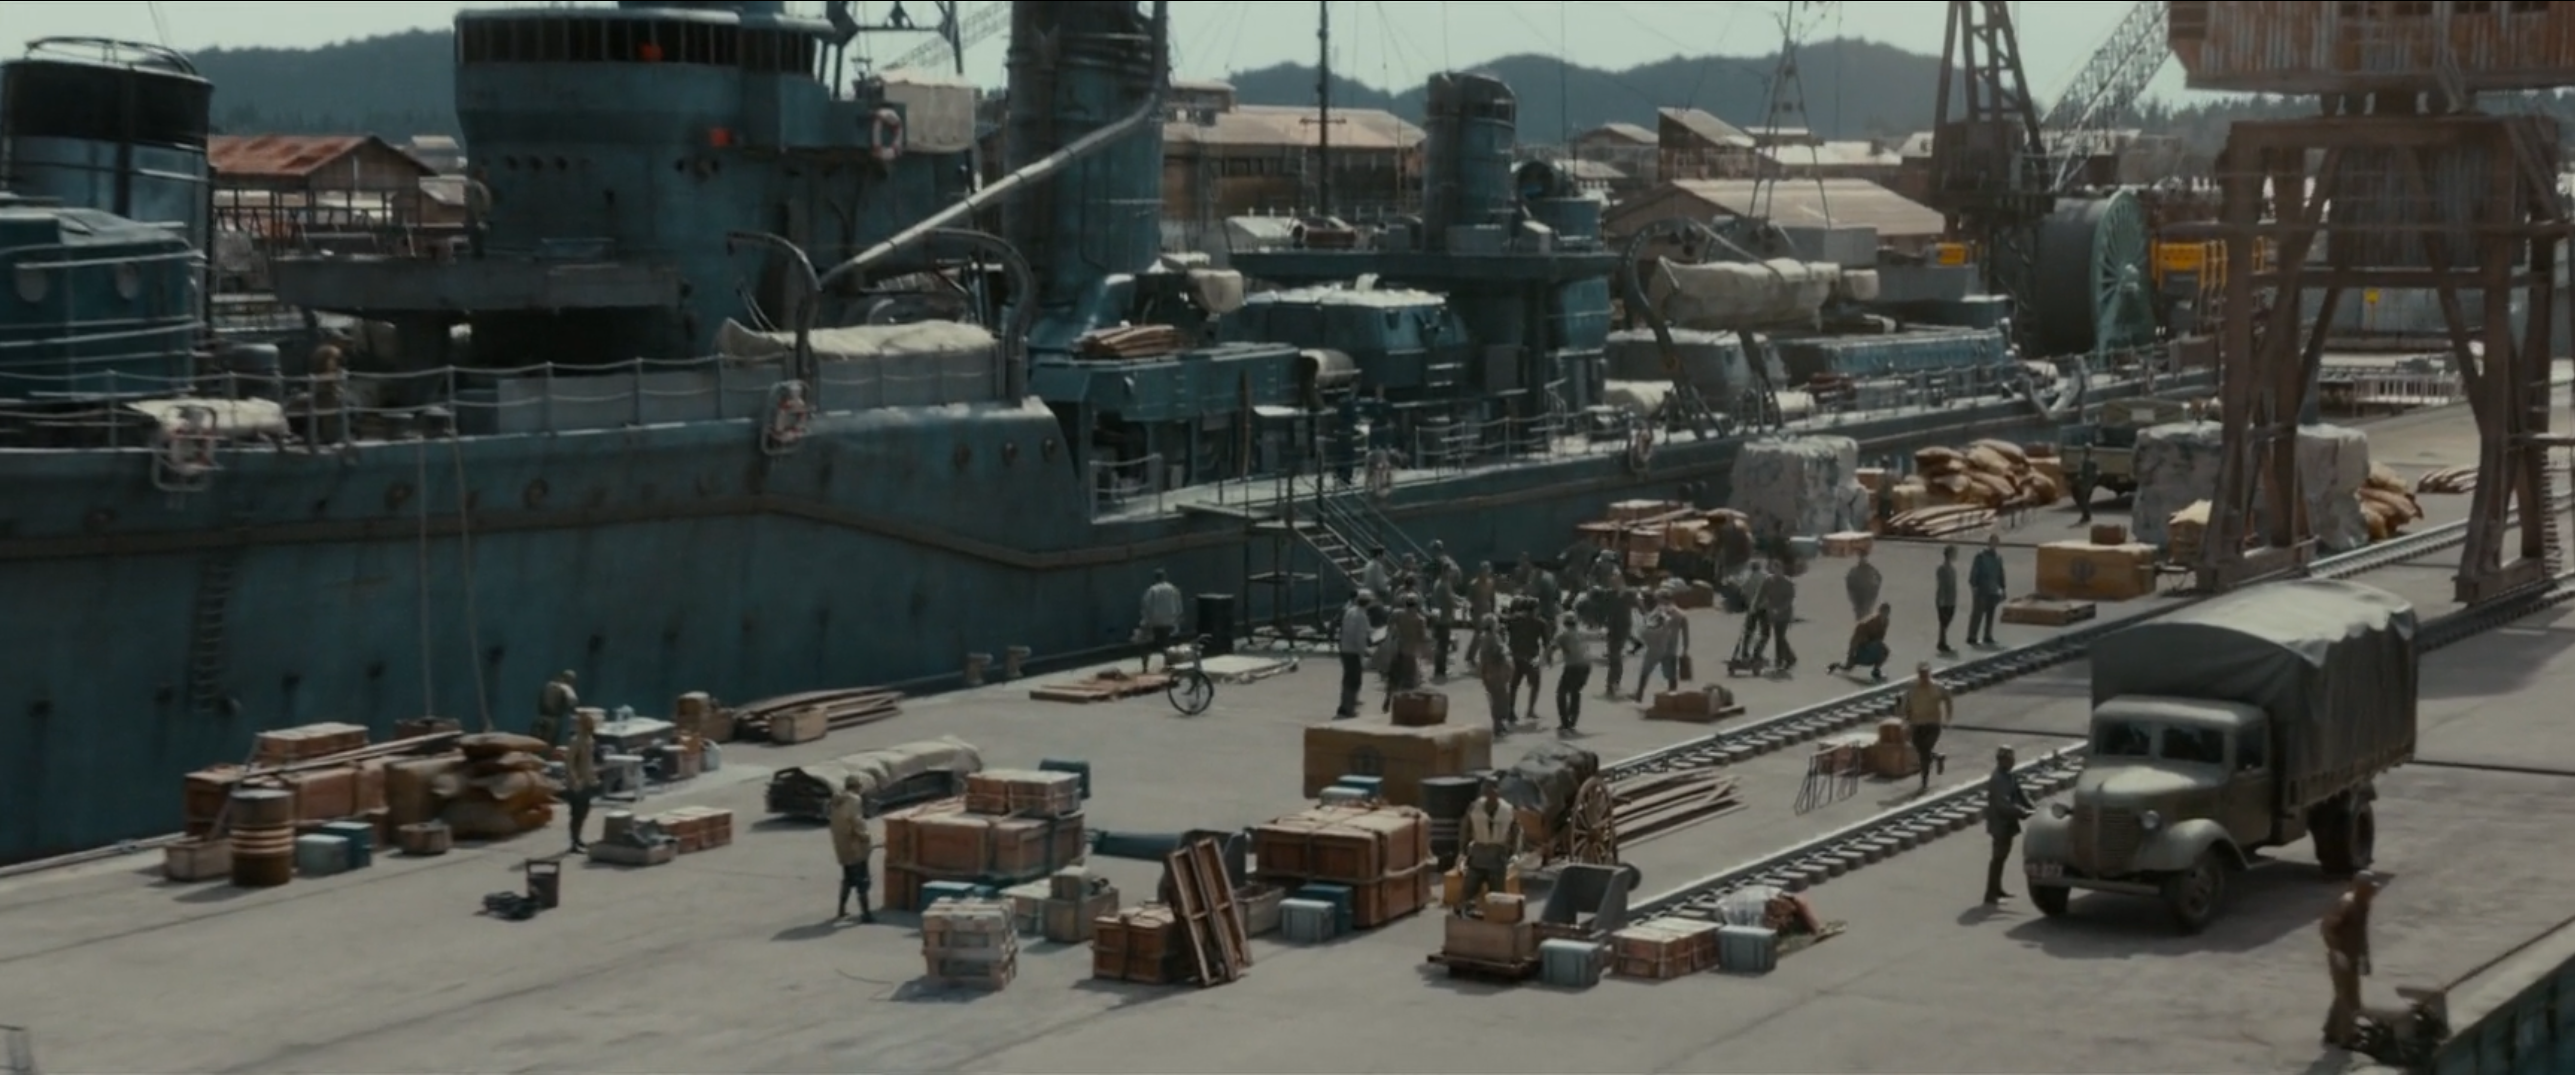
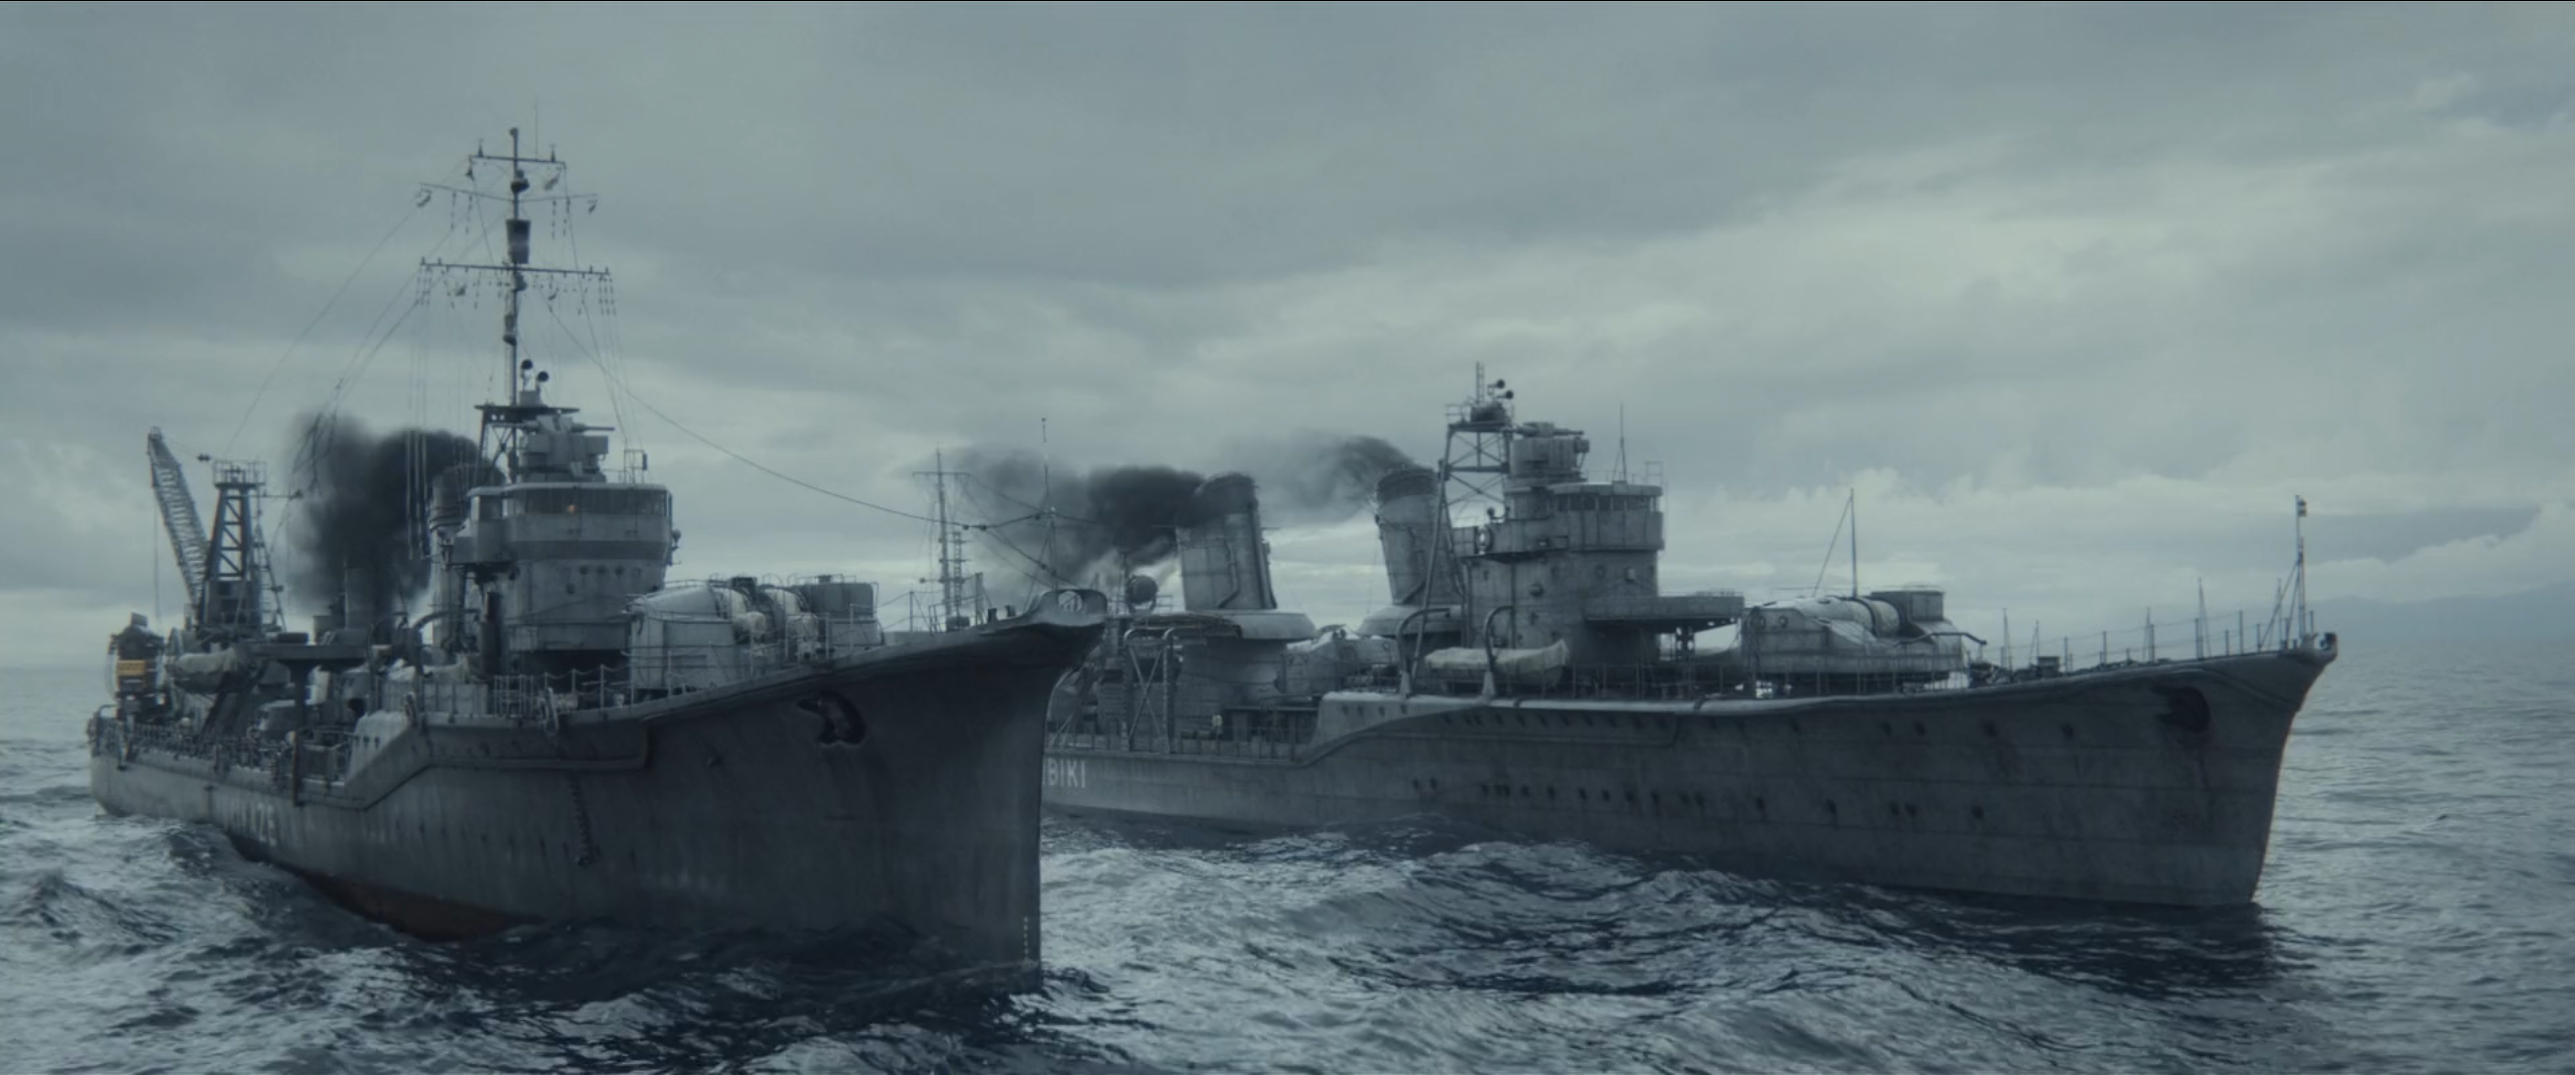
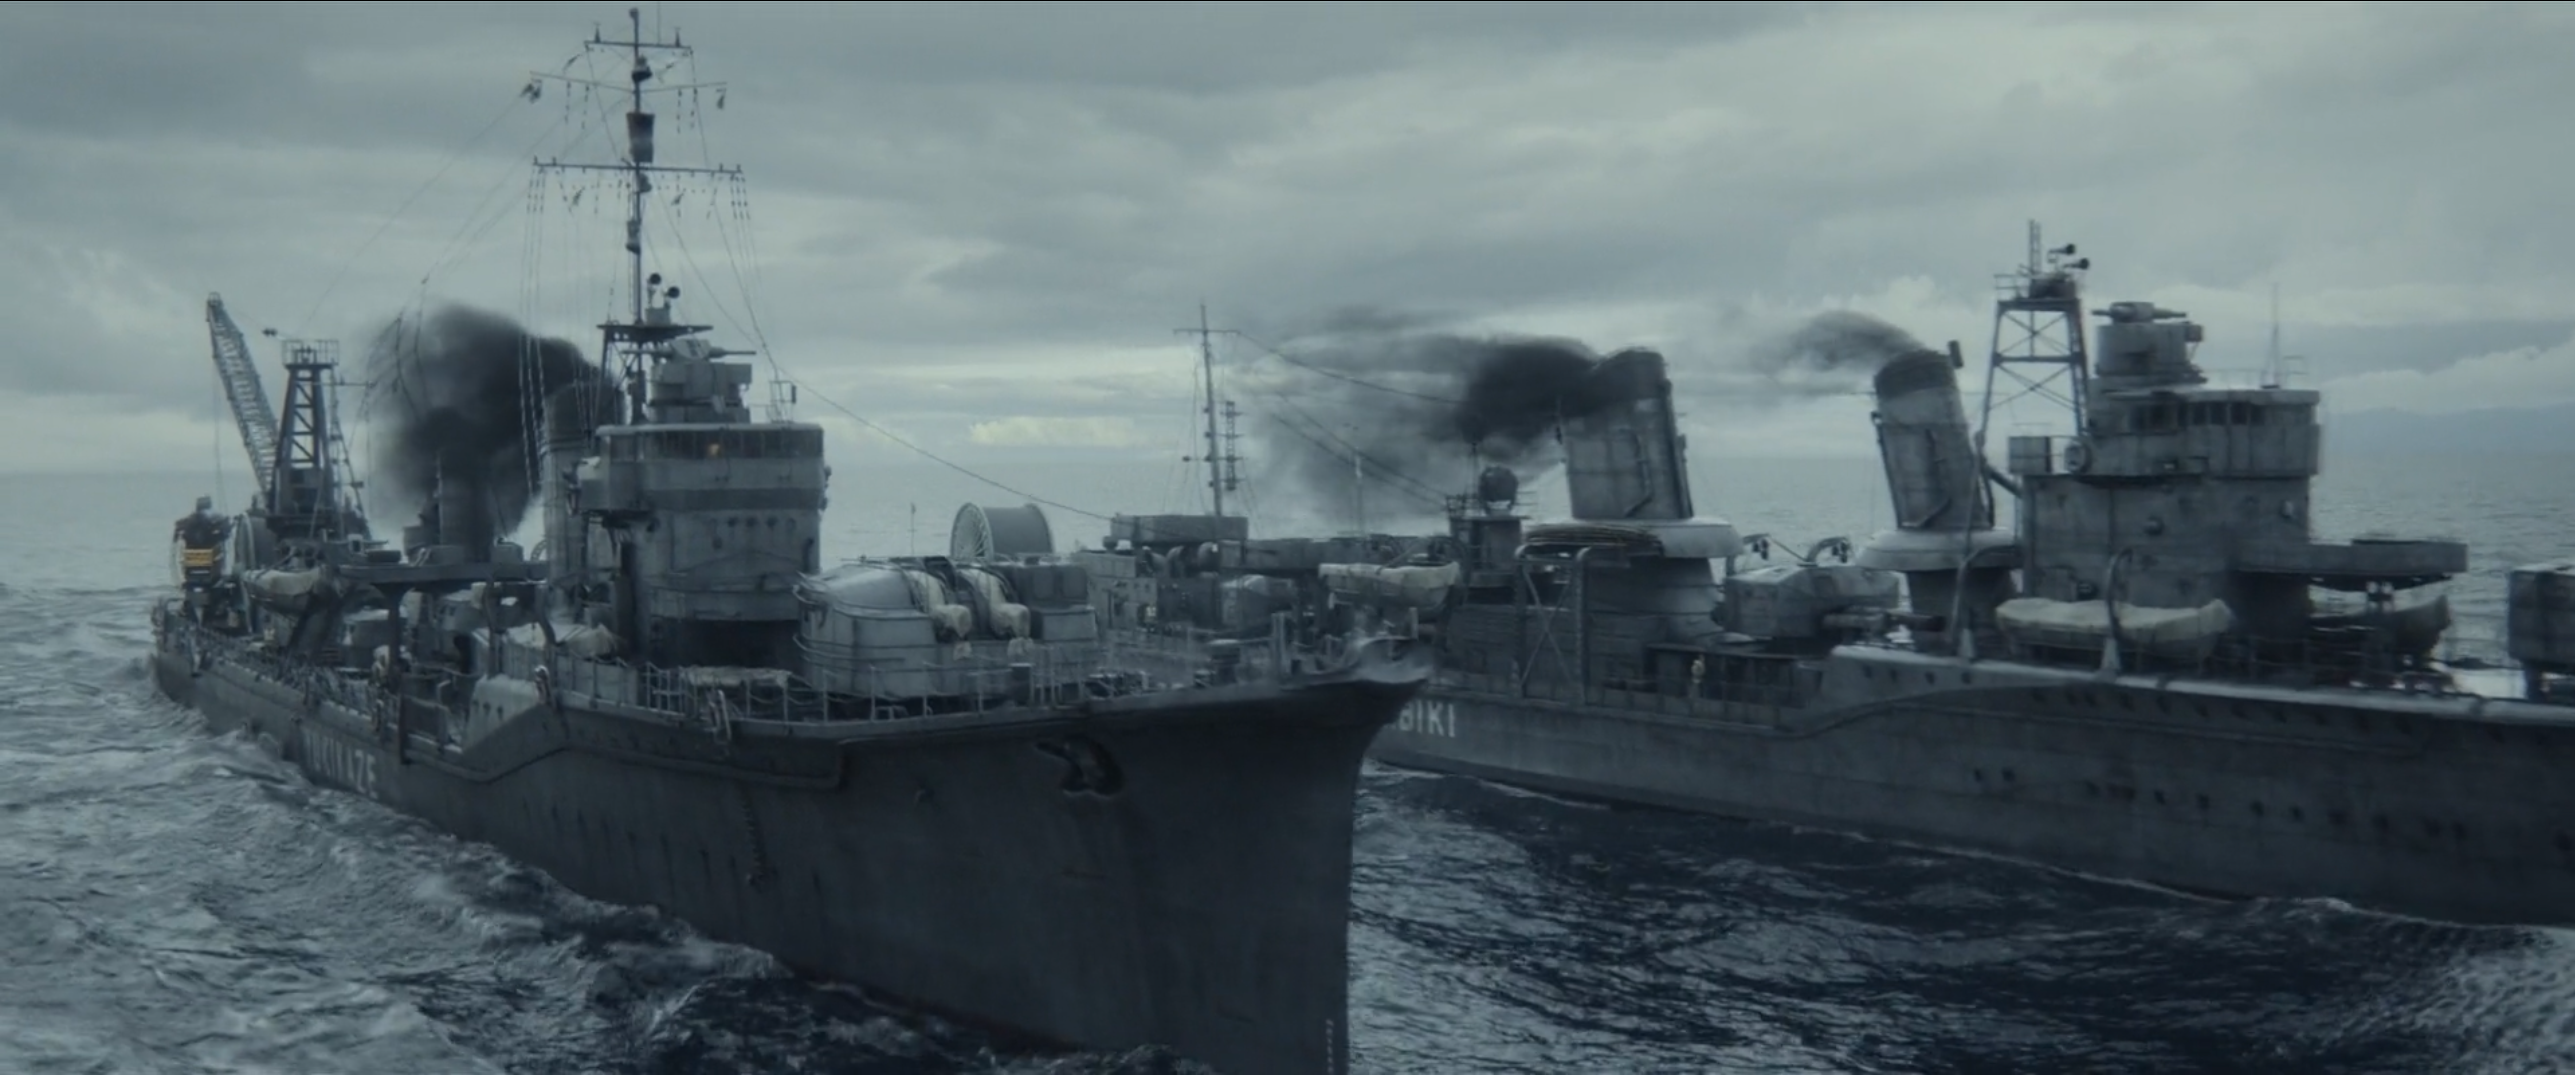
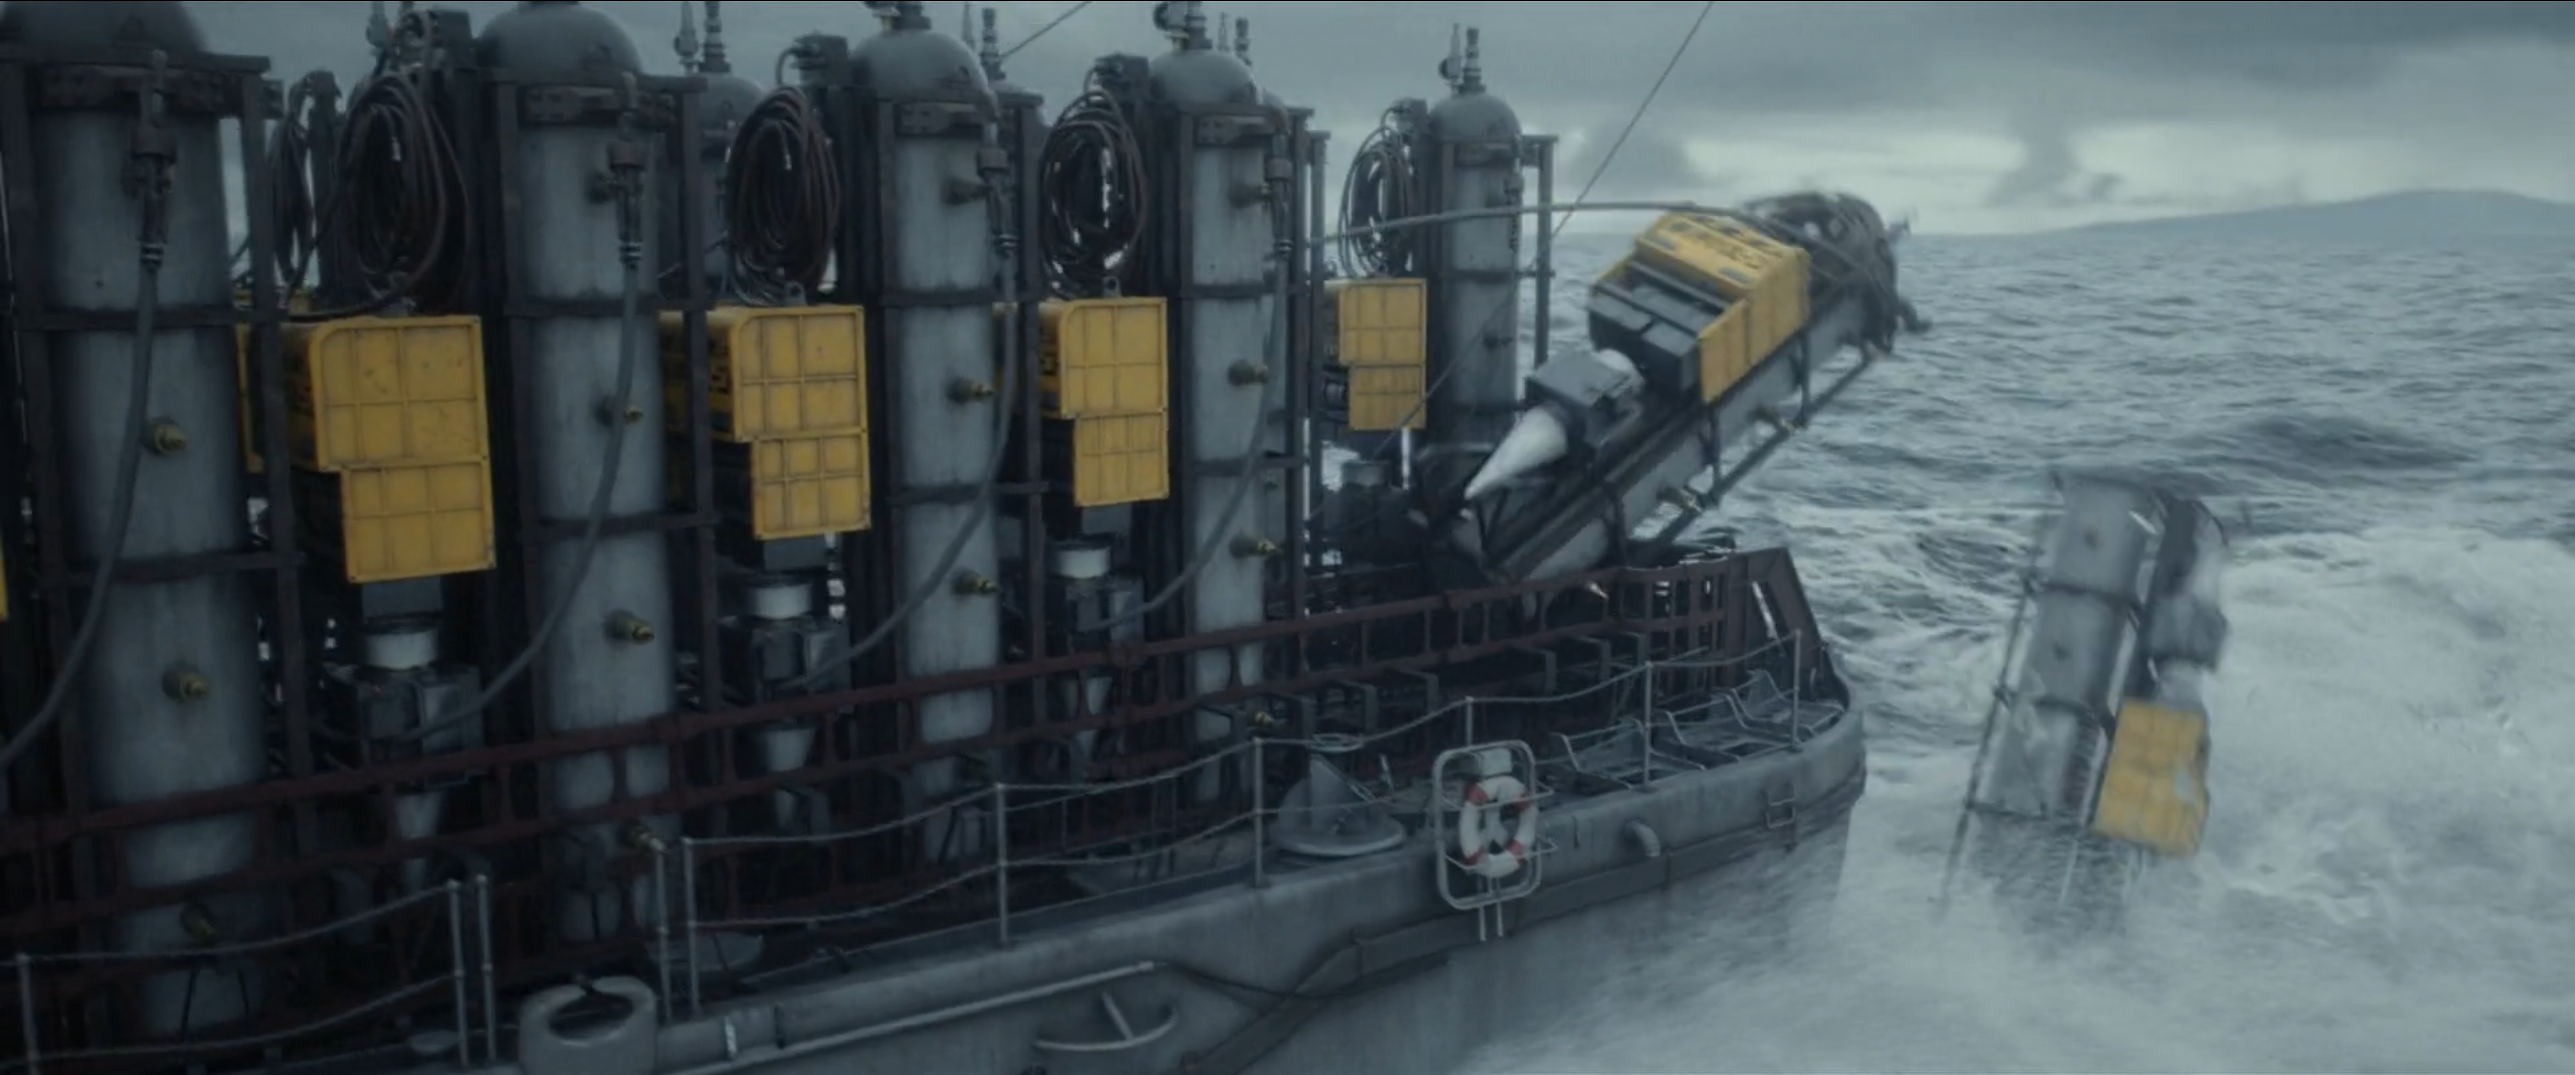
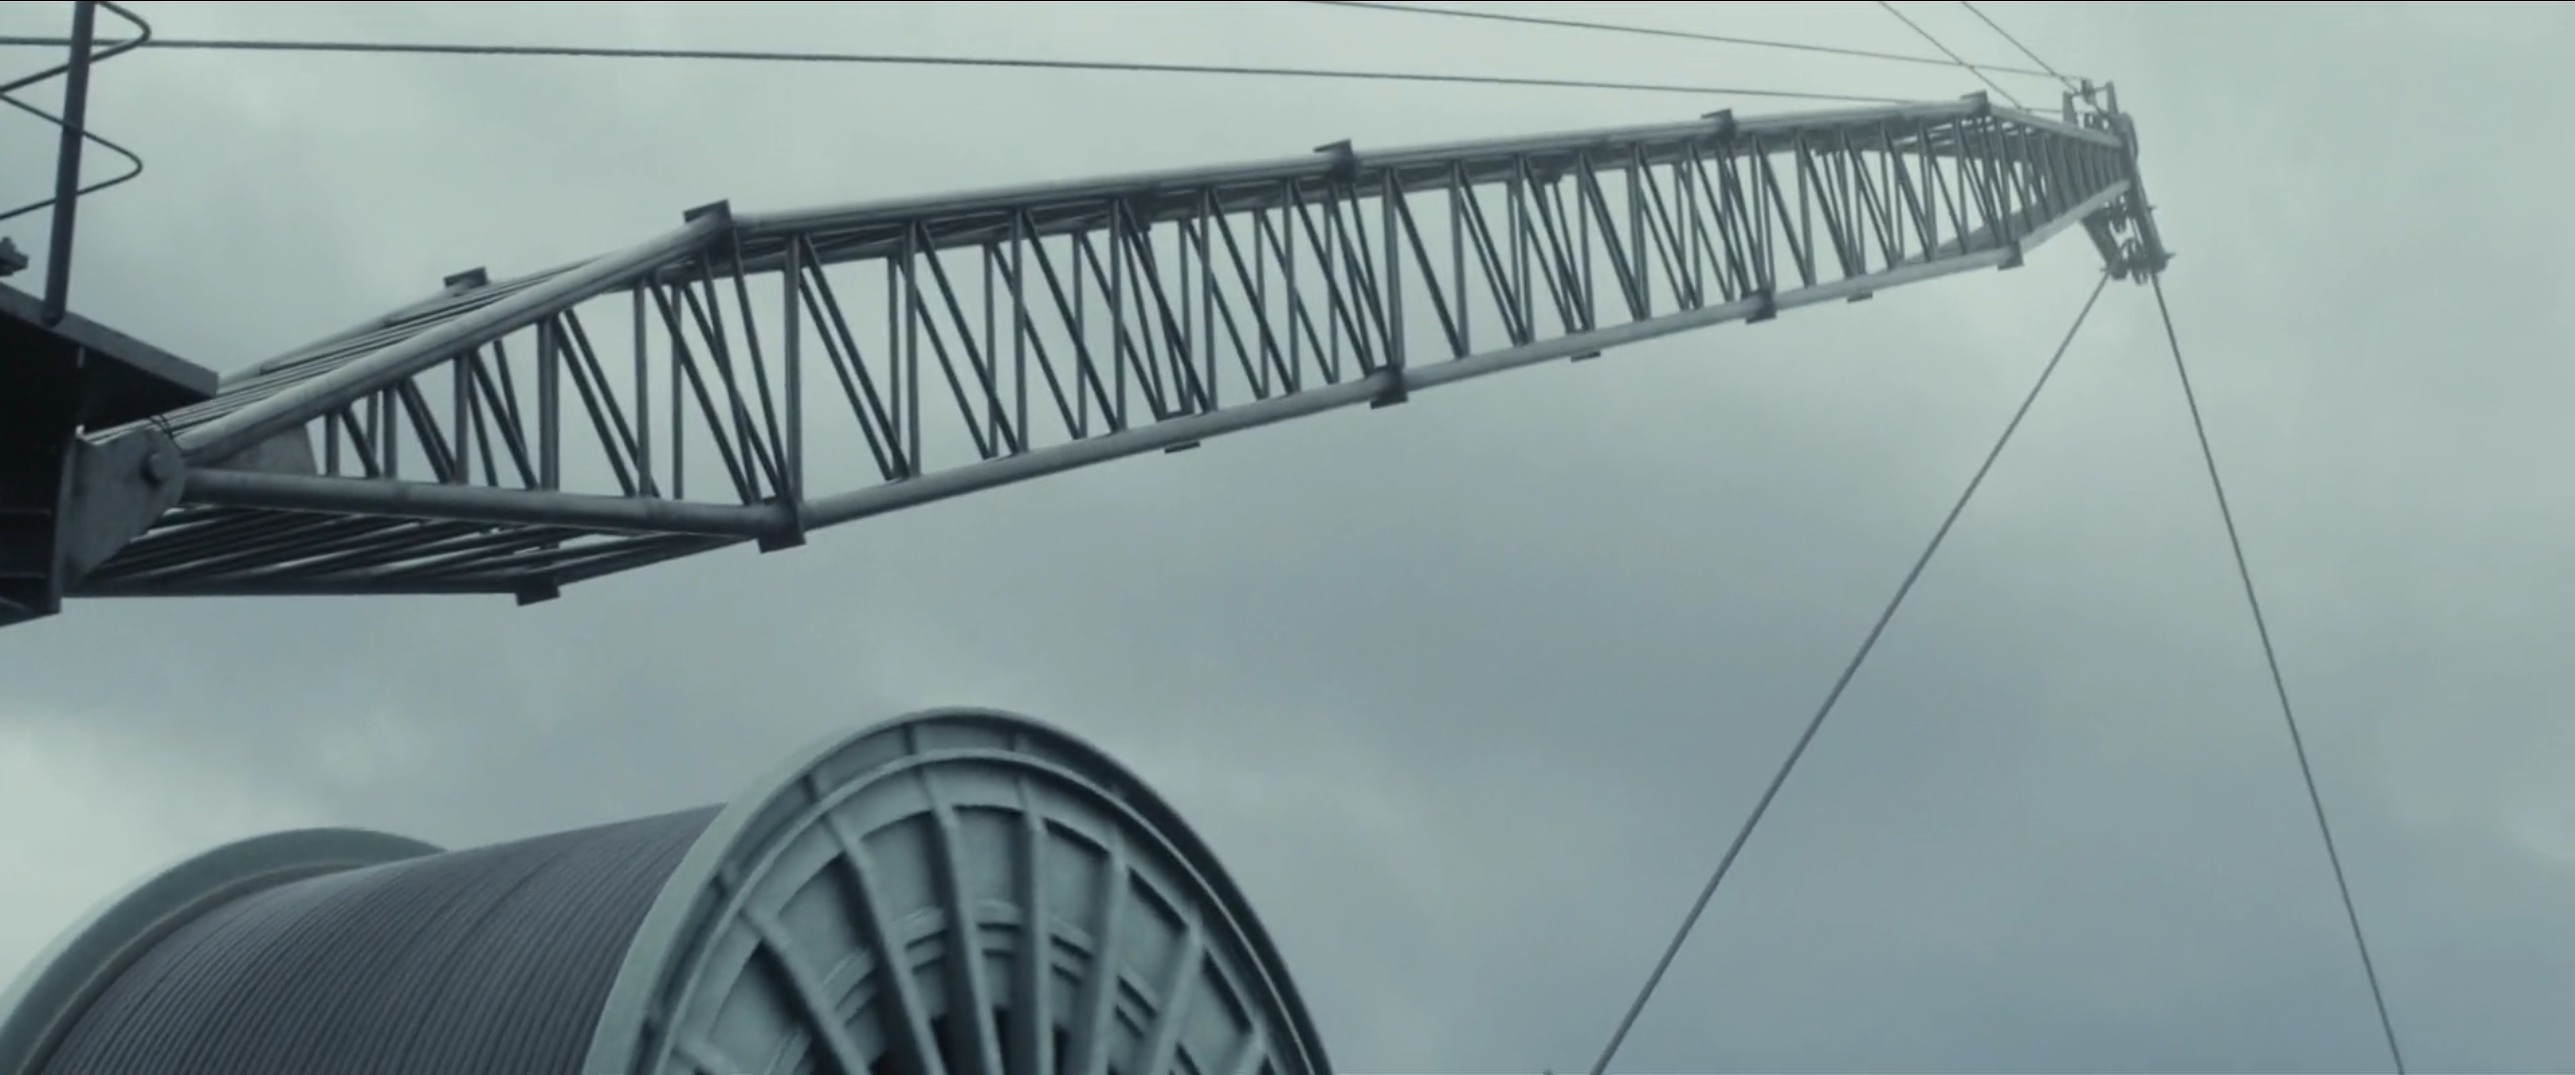
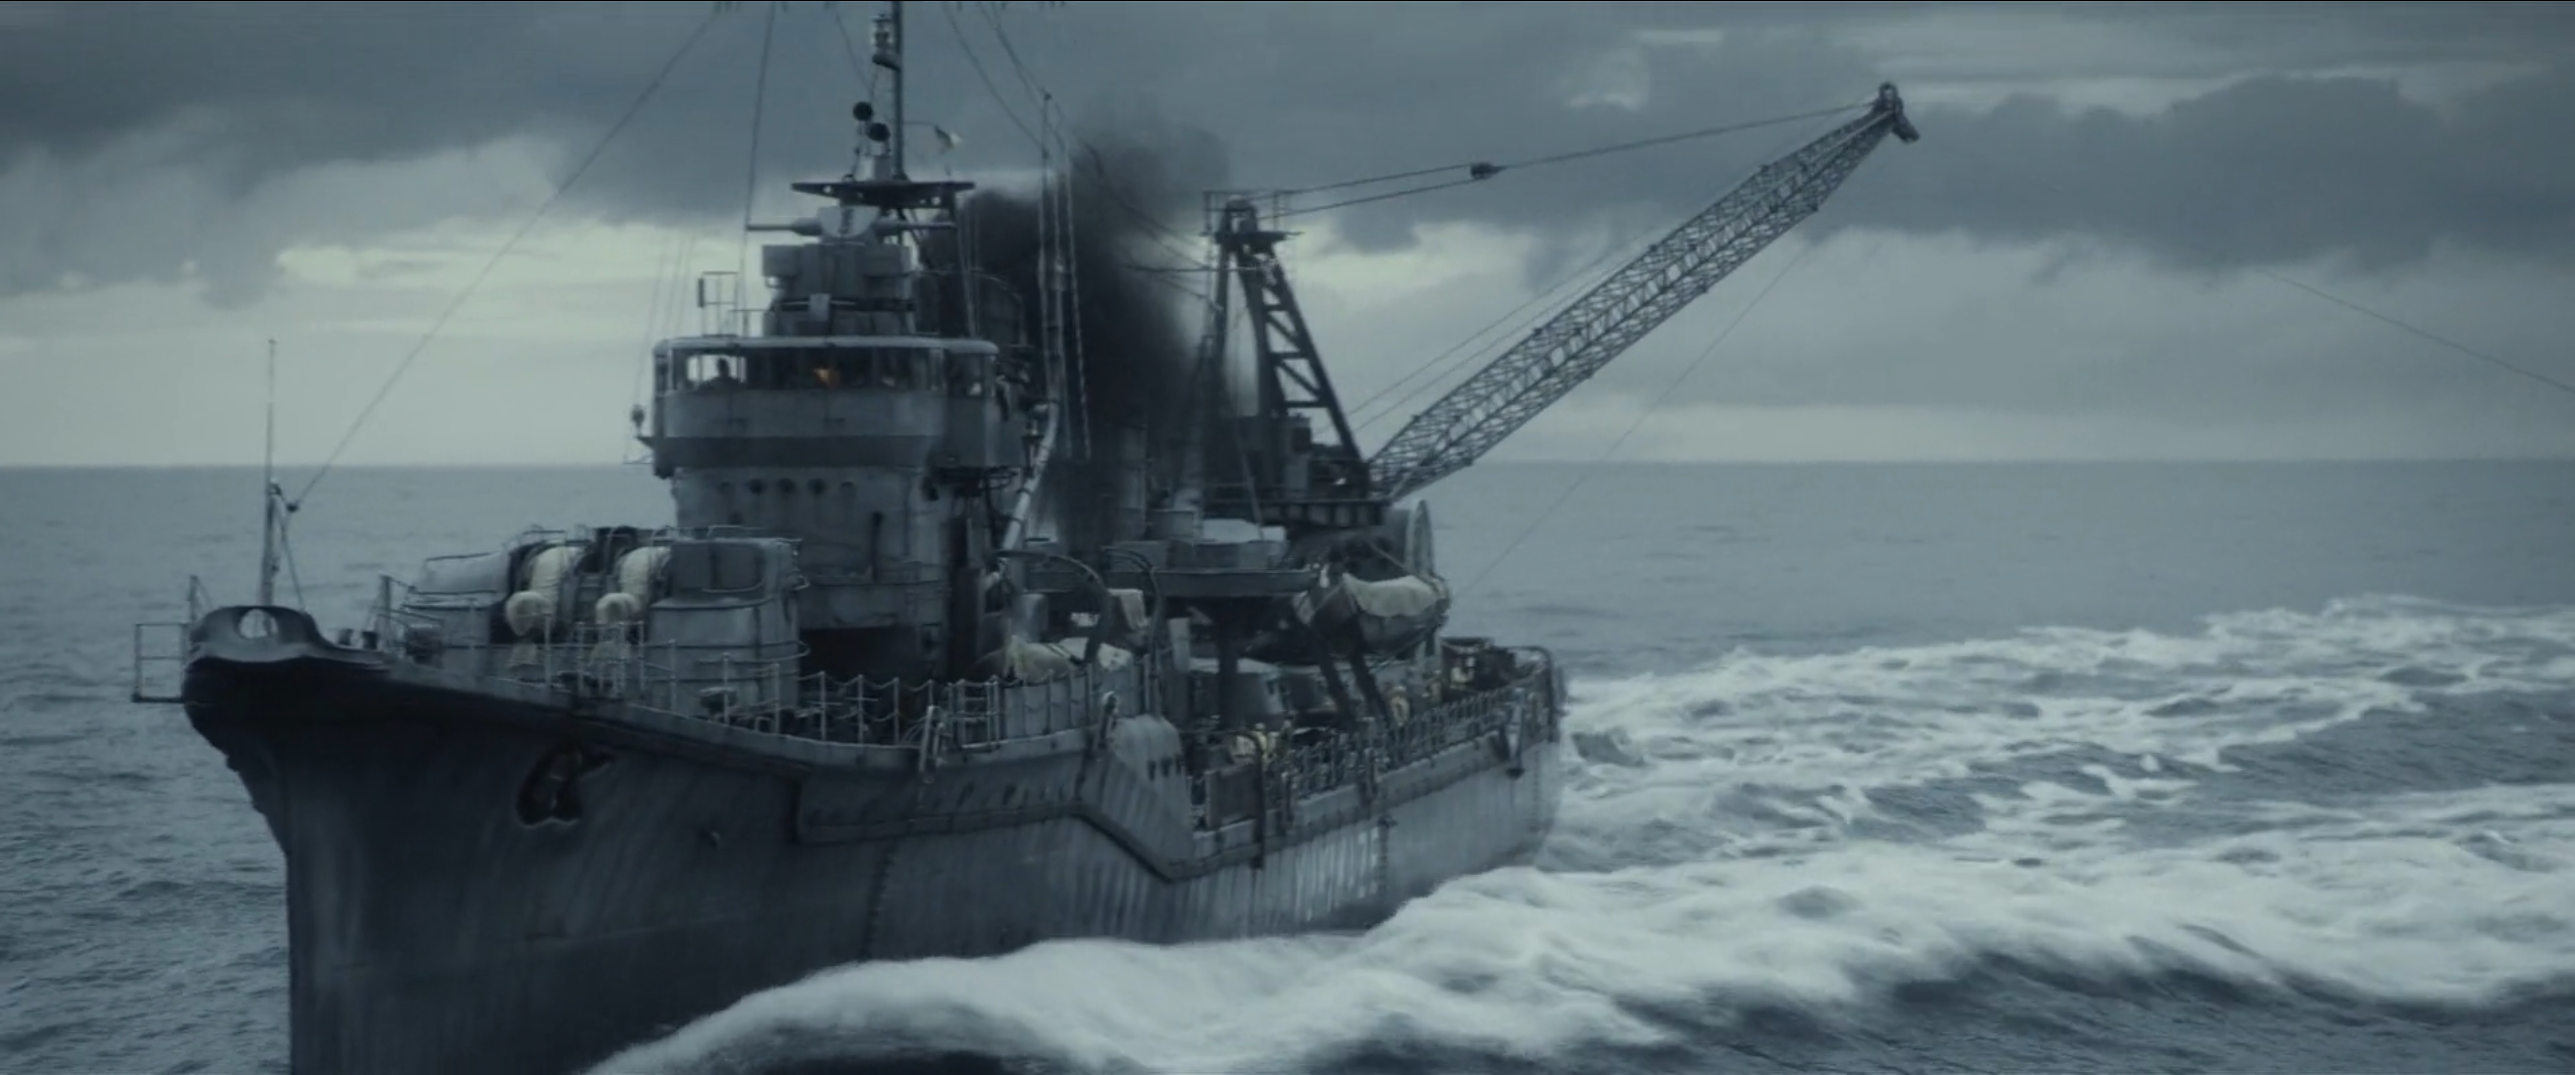
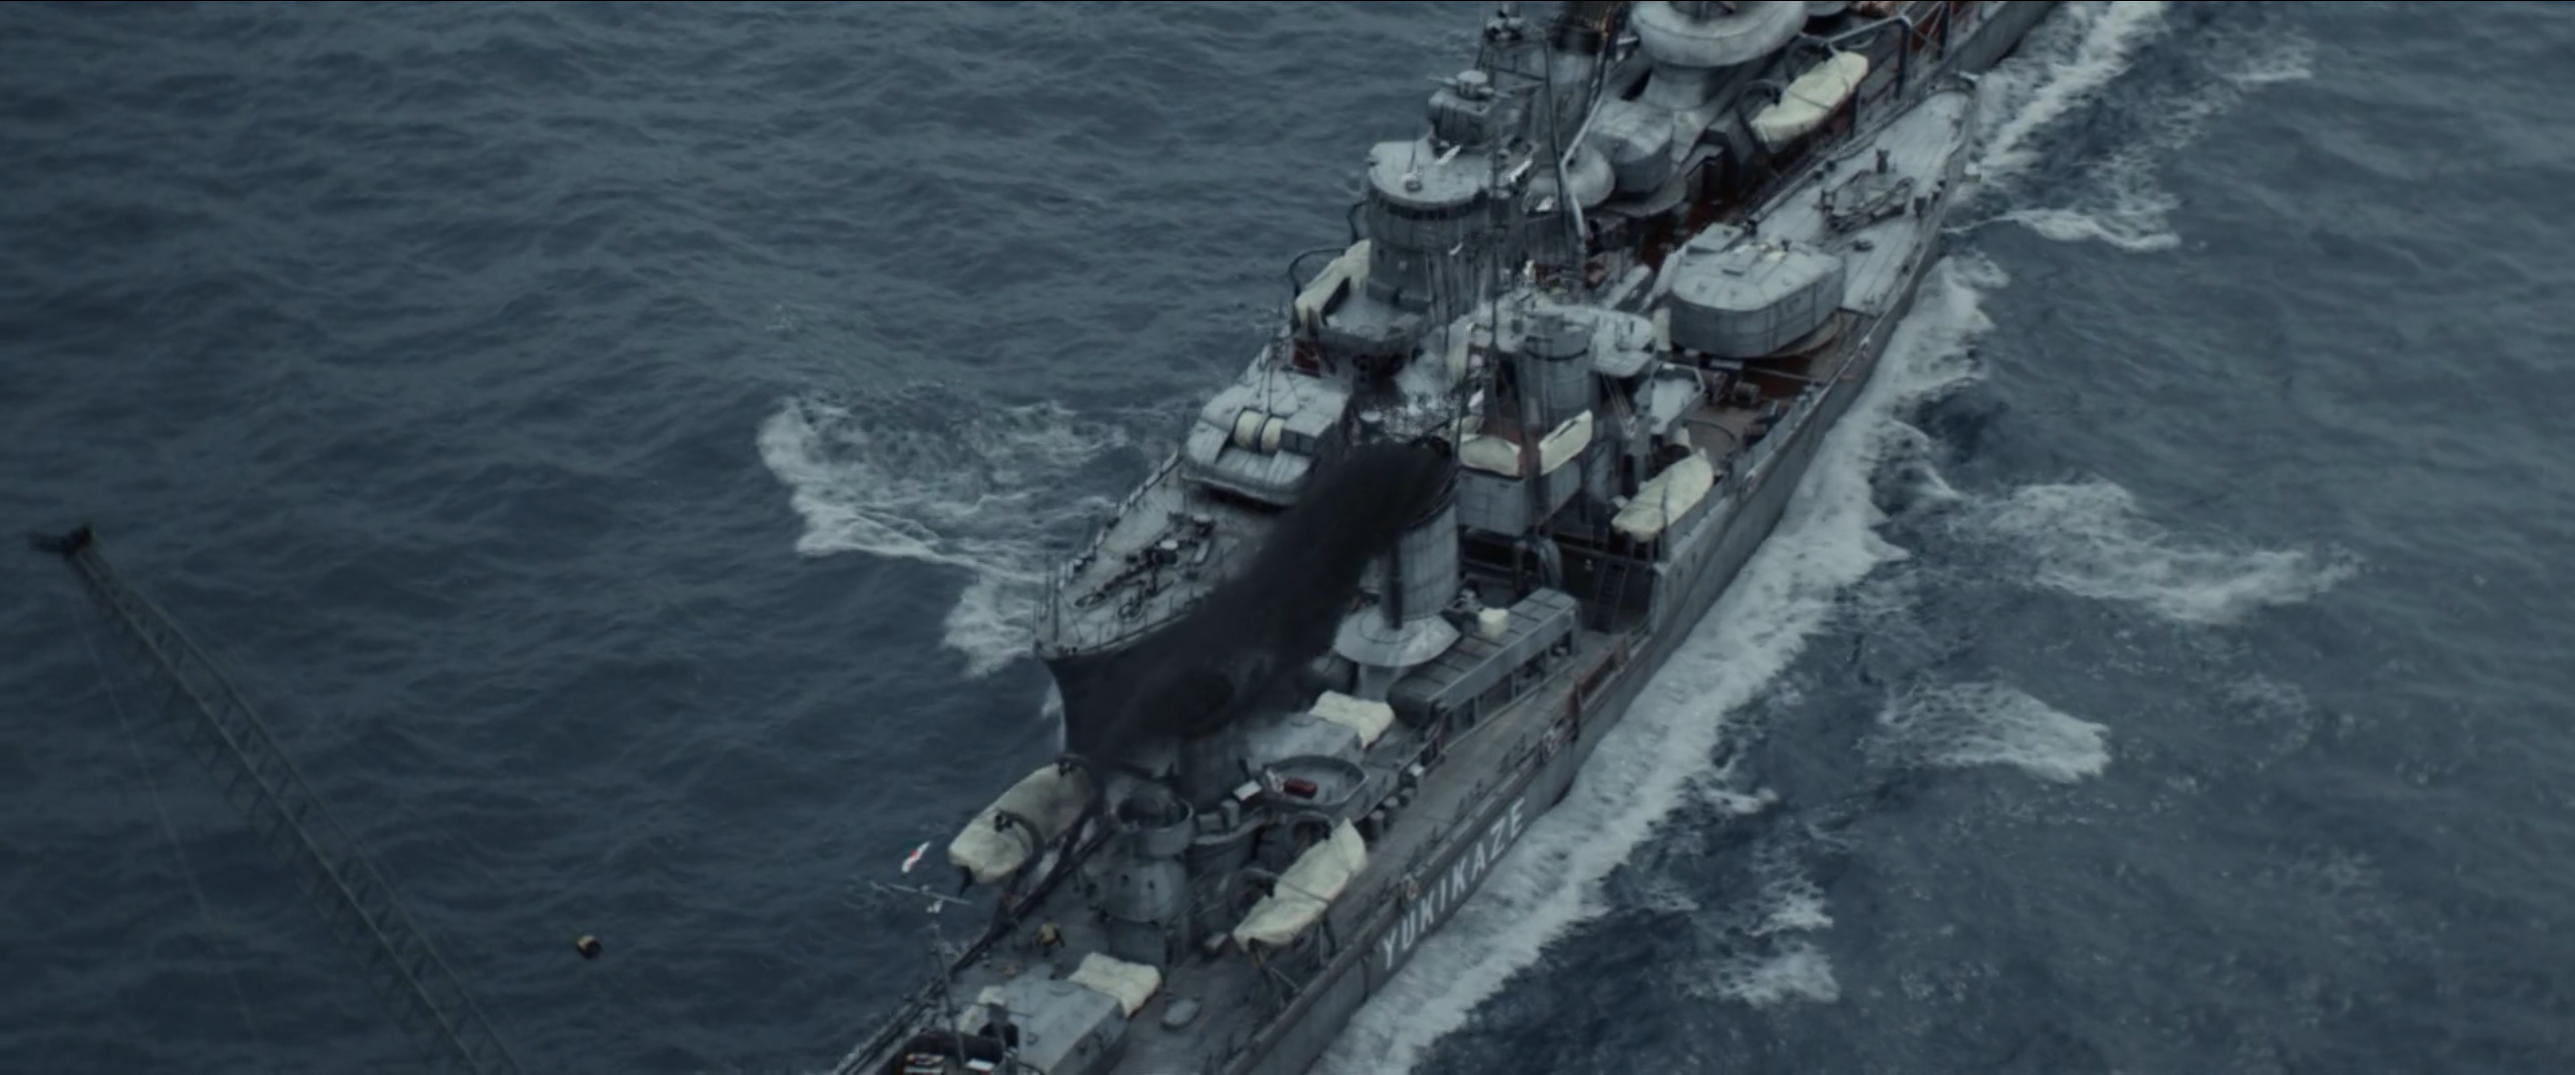
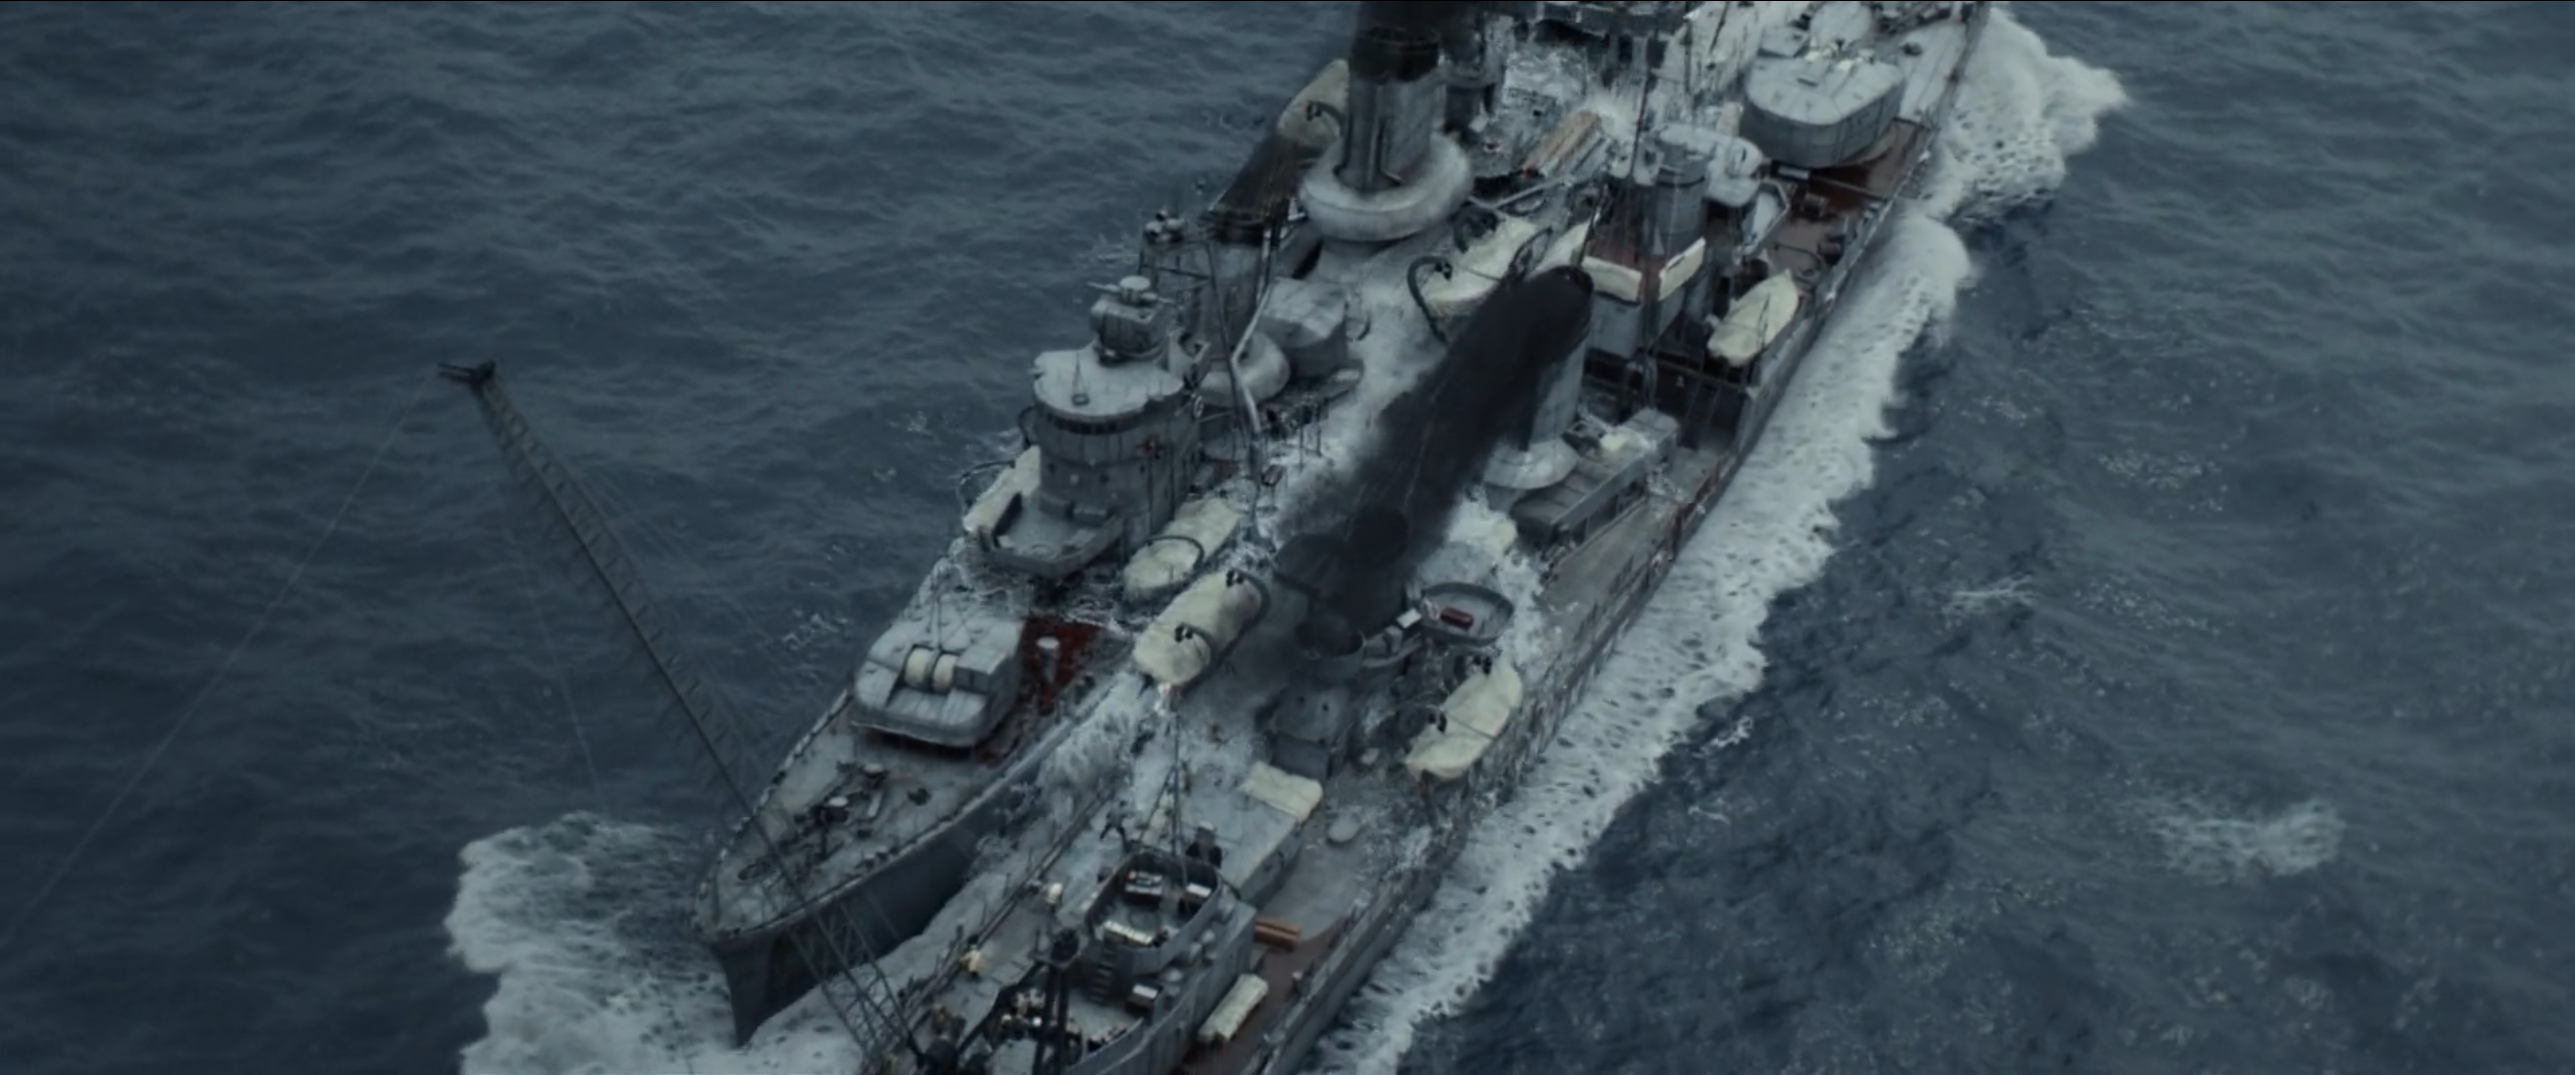
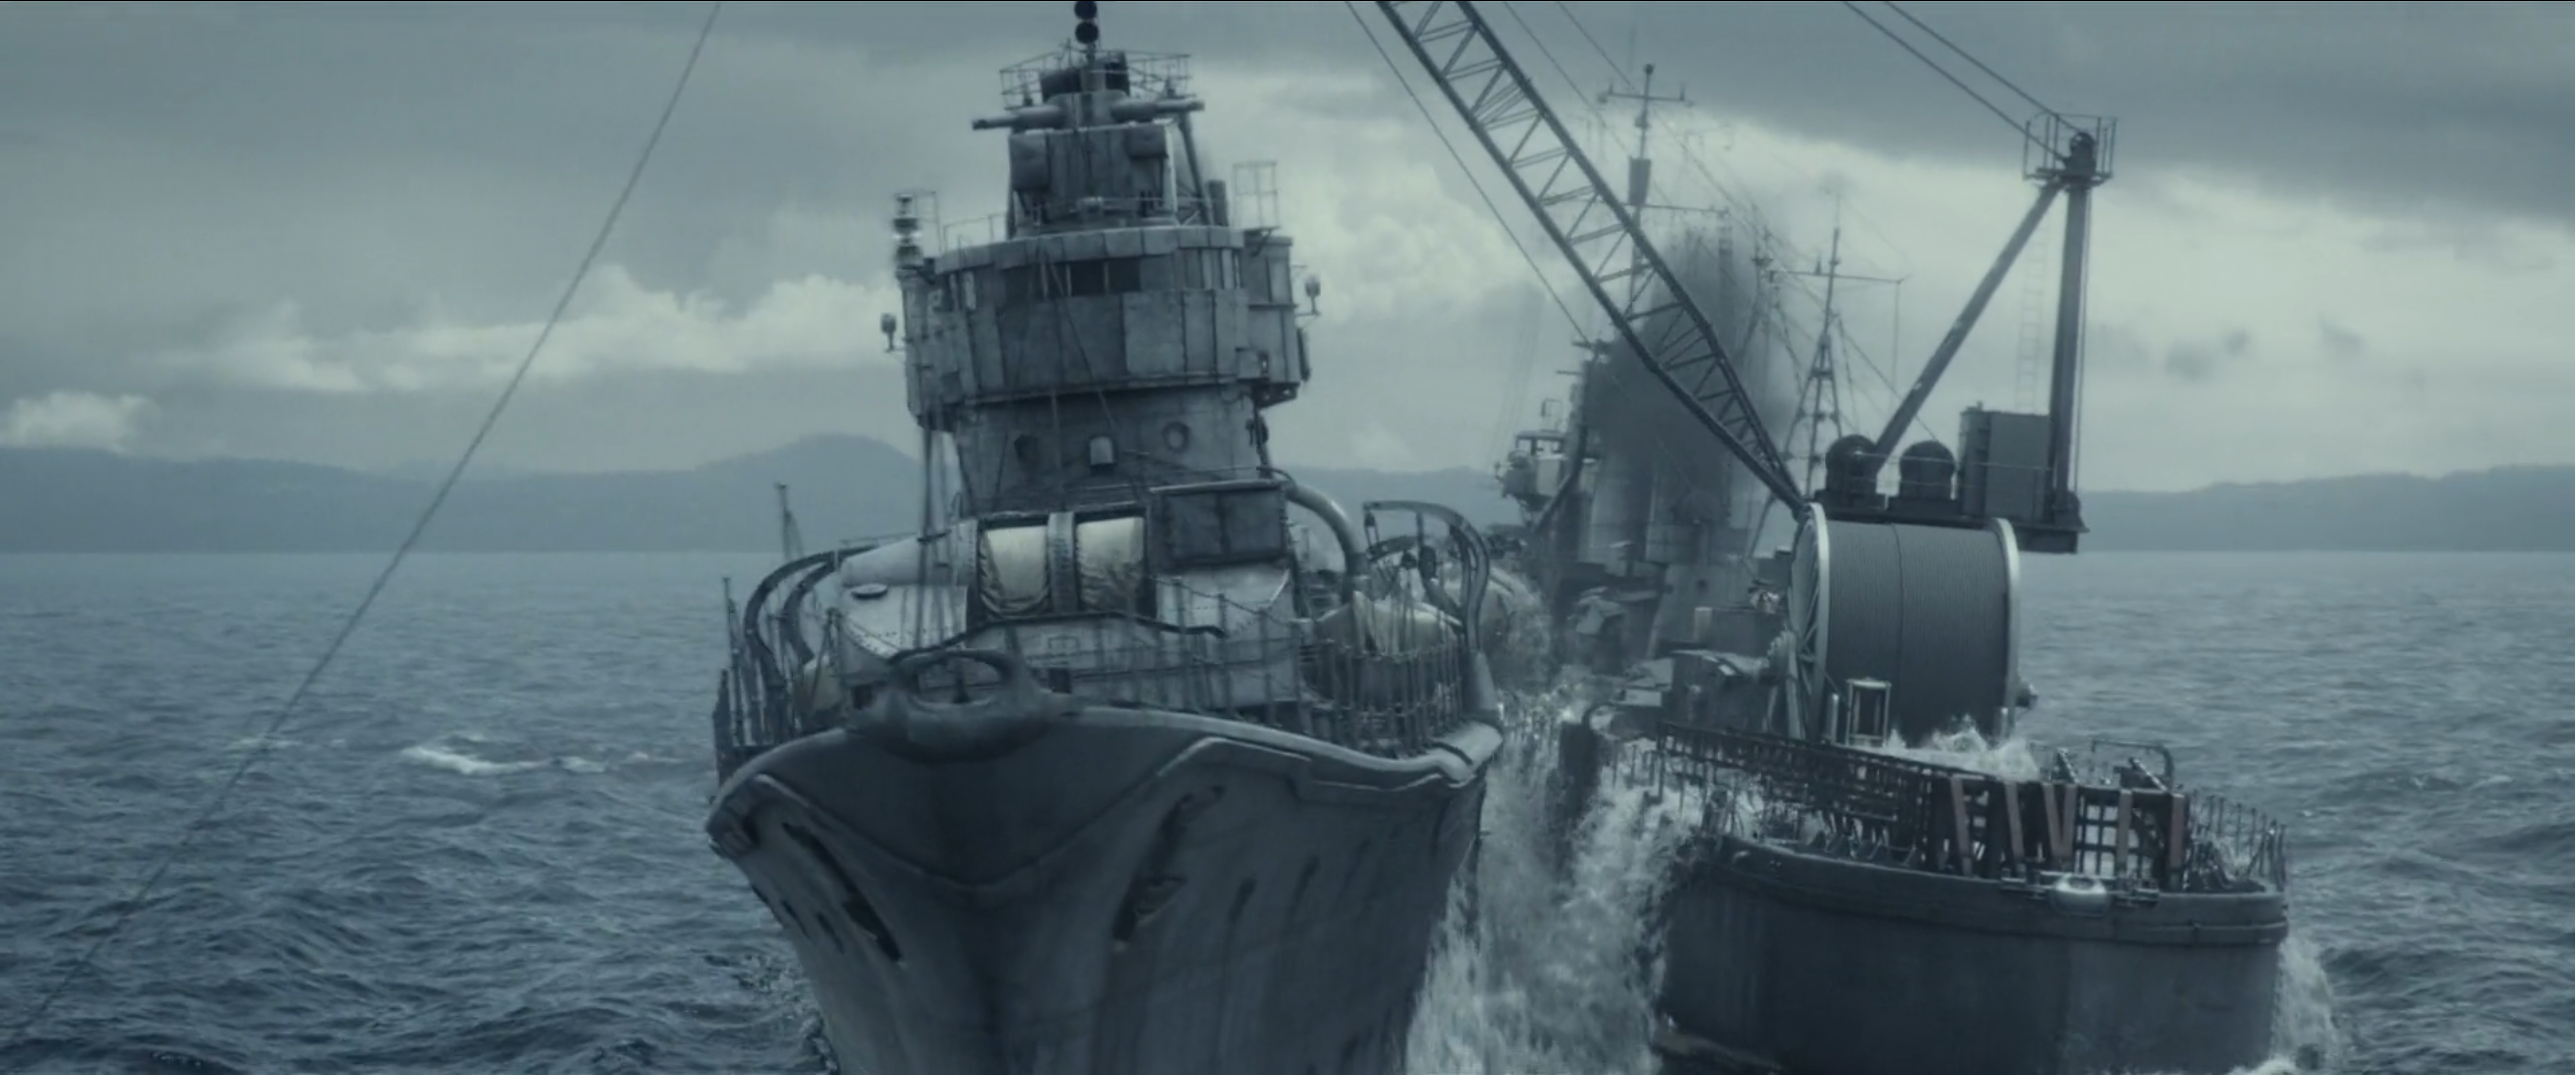
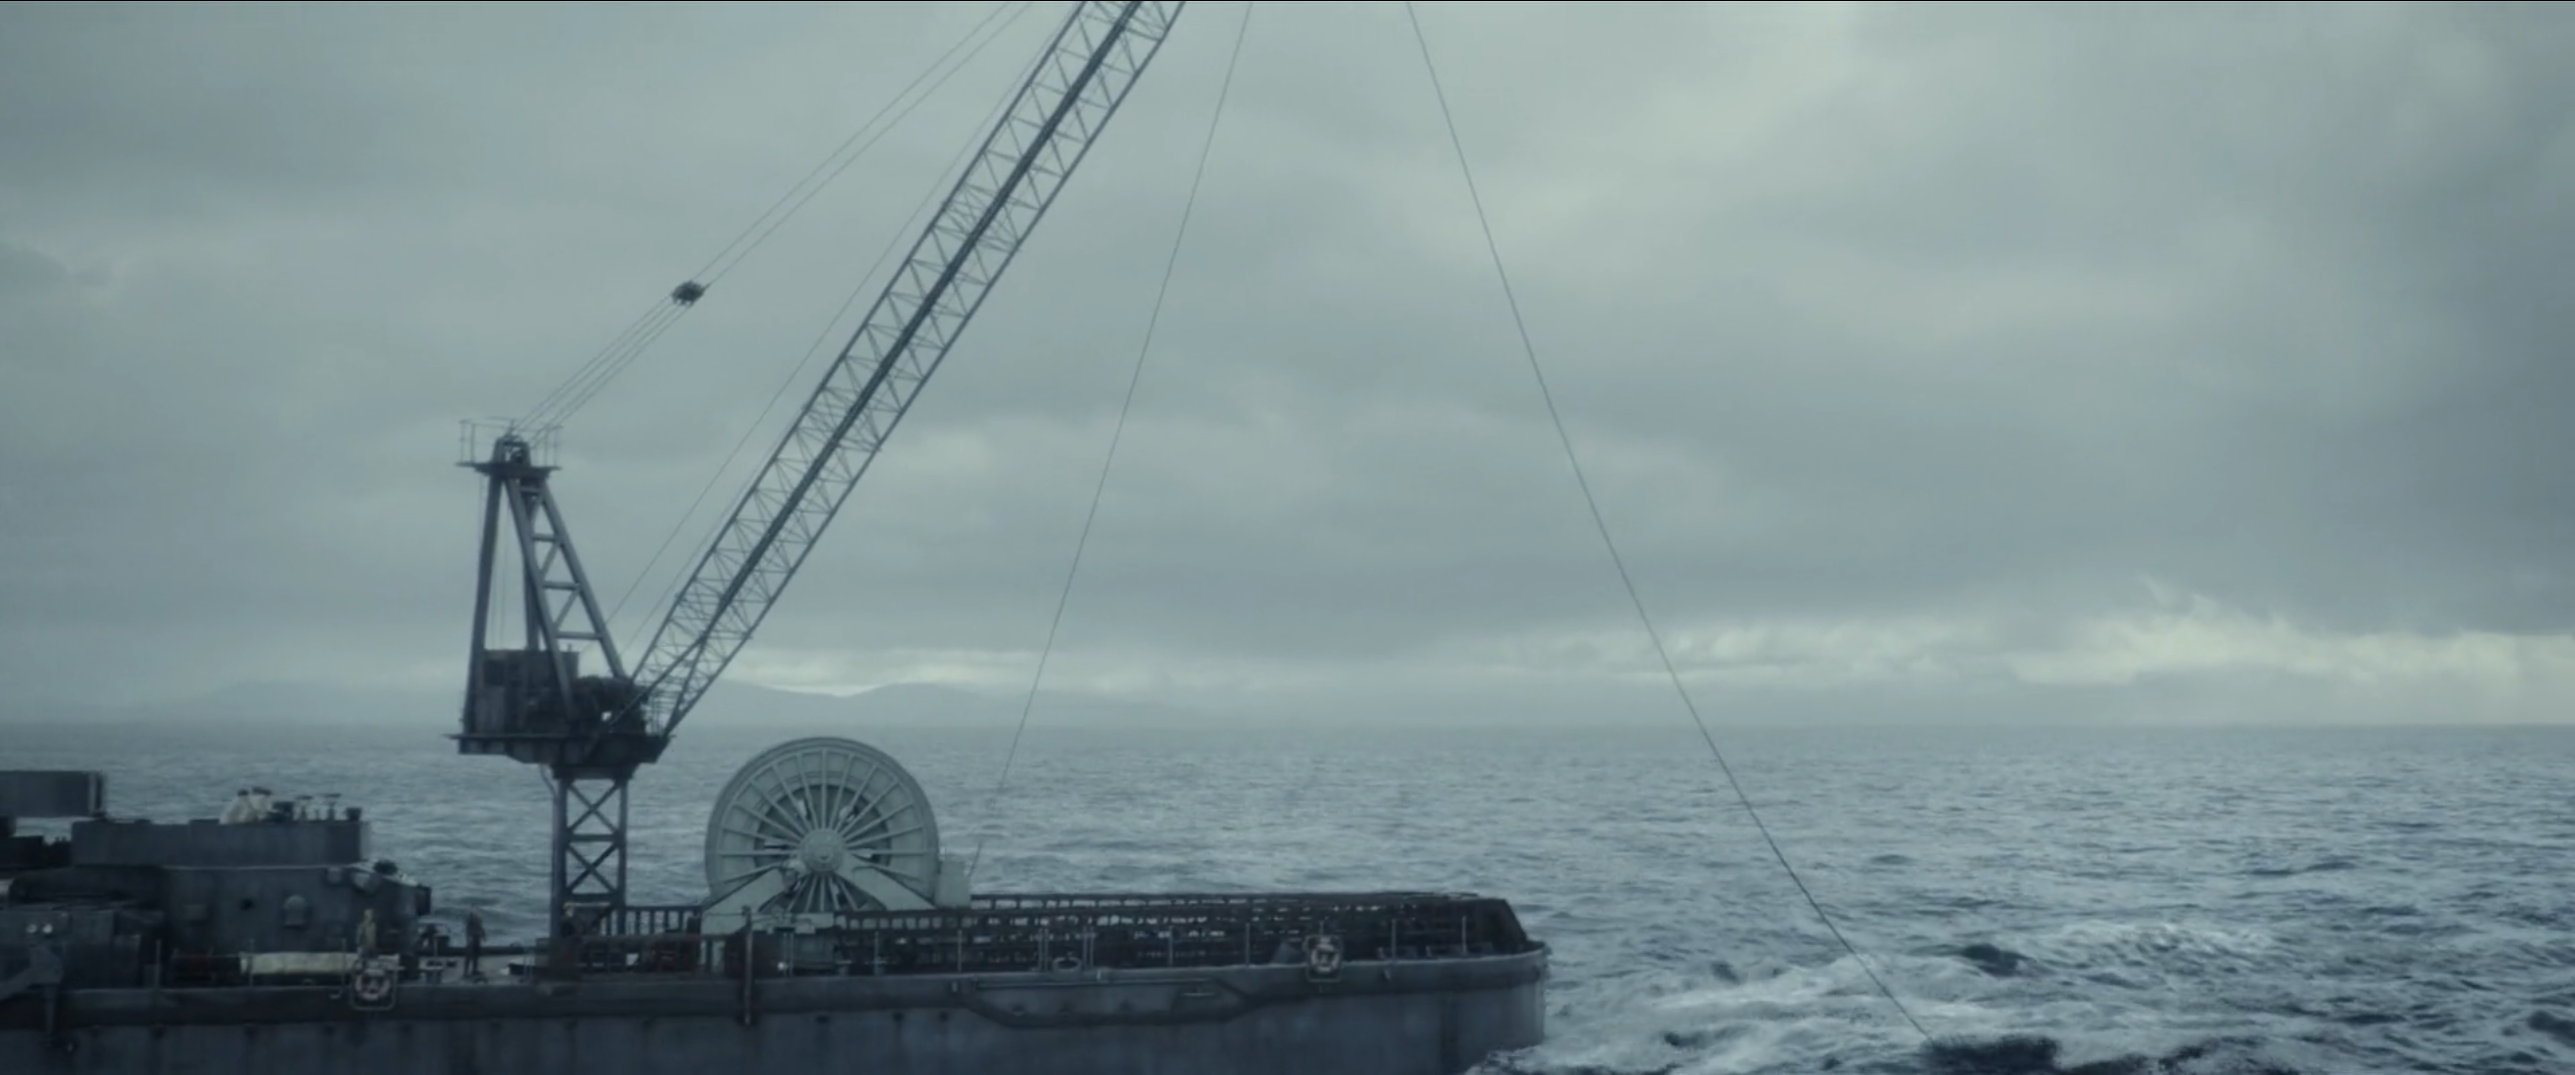
Following Godzilla's destructive raid on Tokyo's Ginza district, the Japanese government secured the return of four IJN destroyers as part of a desperate civilian-led plan to destroy the monster in Sagami Bay, dubbed Operation Wada Tsumi. Captain Tatsuo Hotta, who had previously commanded the Yukikaze during World War II, returned to lead it into one more battle; the plan's mastermind, former Navy technical officer Kenji Noda, was assigned to the Yukikaze as well. At a dock near Sagami Bay, Yukikaze, Hibiki, Yūkaze, and Keyaki were prepared for the operation. Yukikaze was fitted with a large crane near the stern, with a winch in front of the crane's base and a cable leading to a winch on Hibiki's stern. Two diagonal racks were installed on the rear port and starboard, with seven large Freon canisters on each rack attached to the cable connecting the two ships.
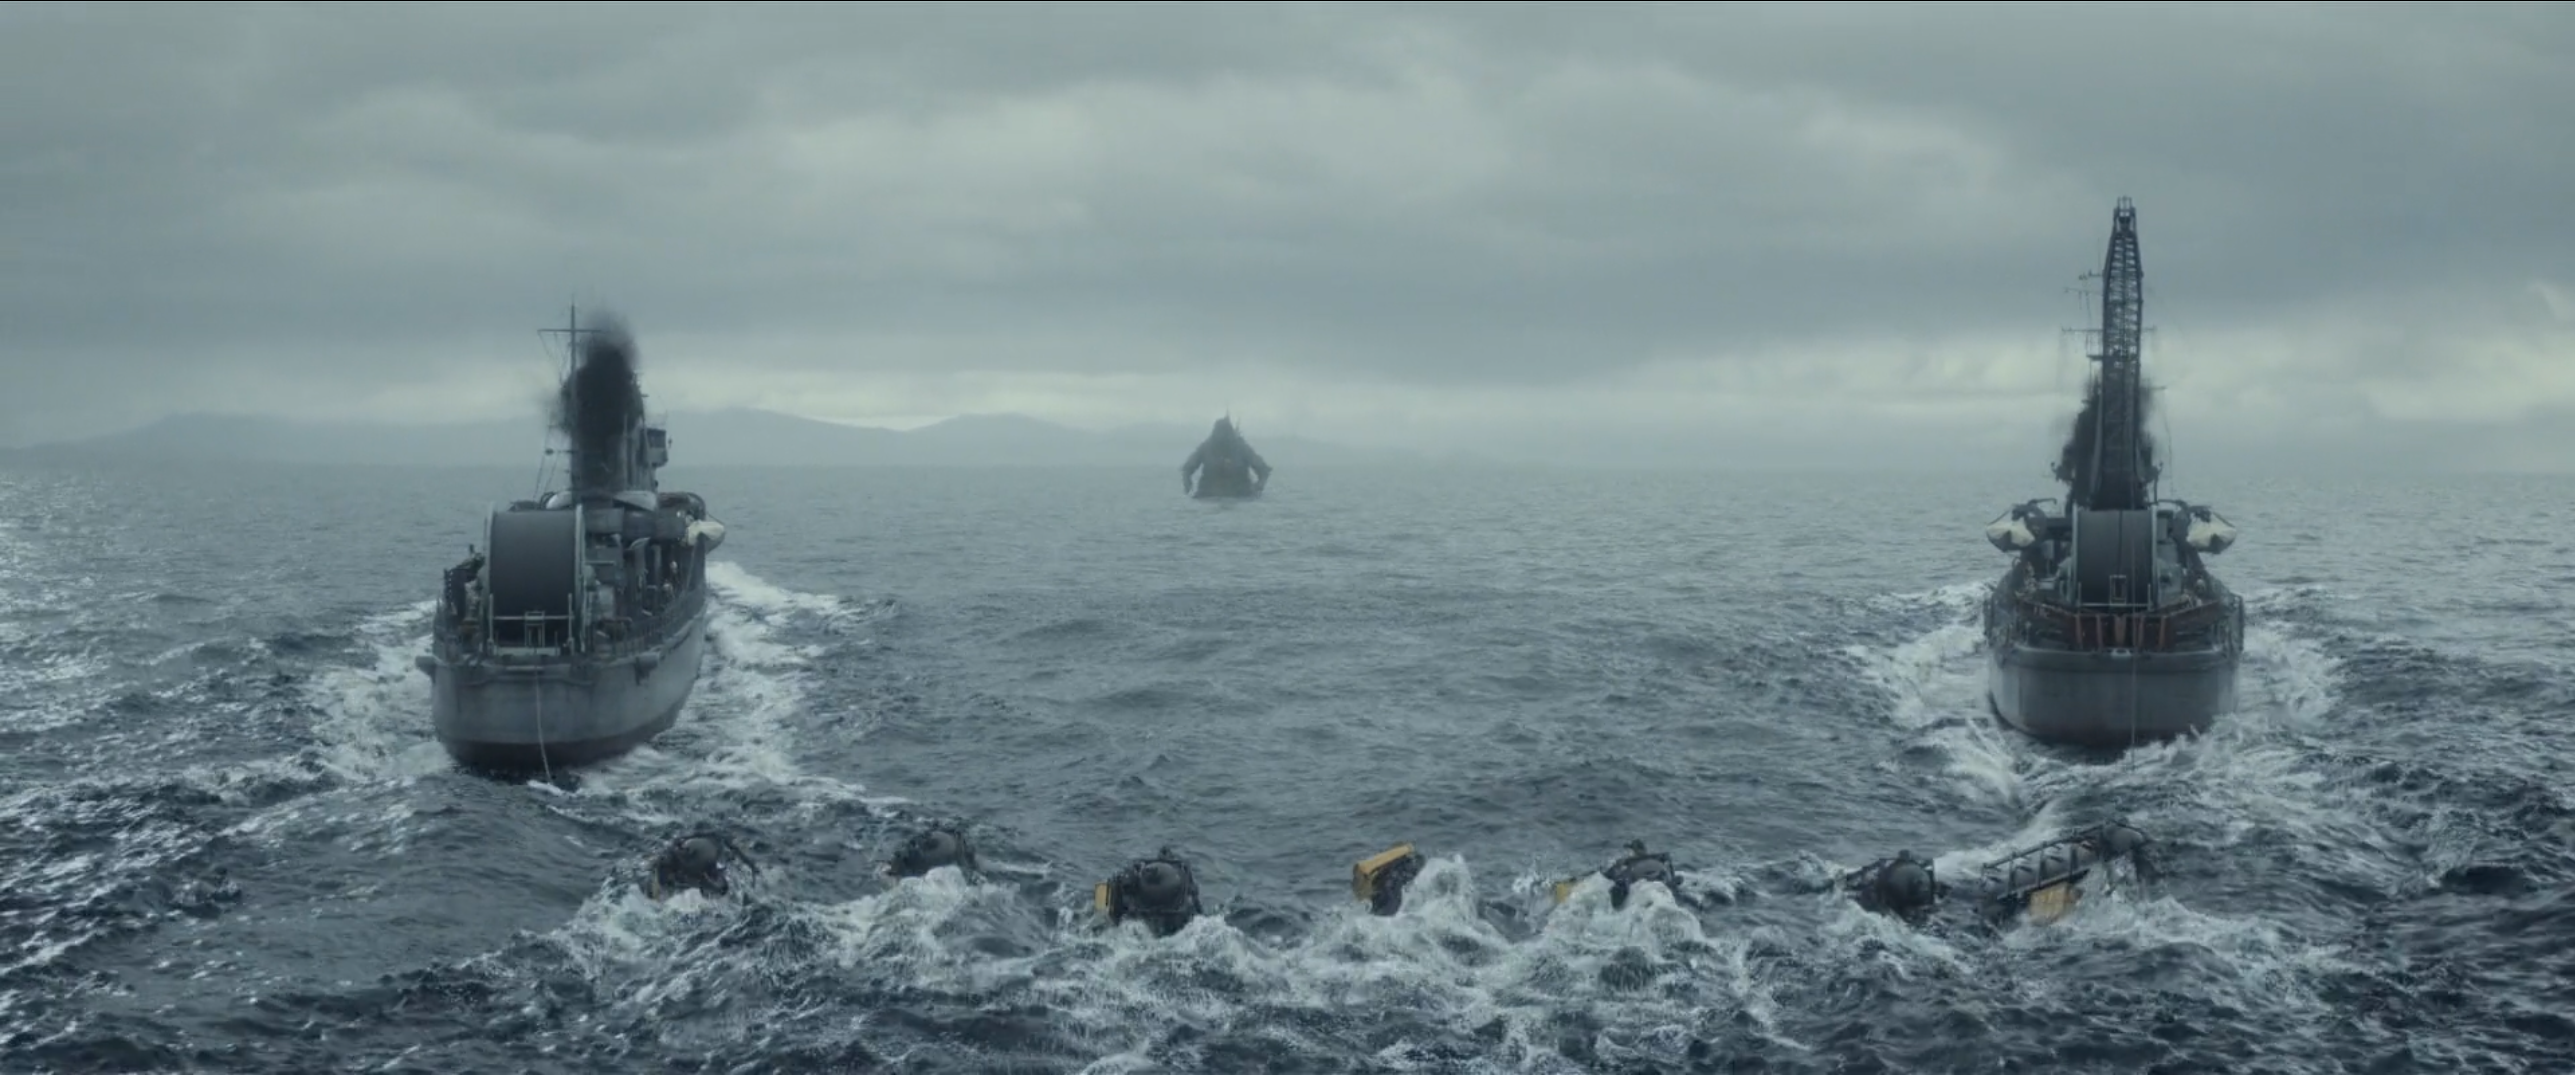
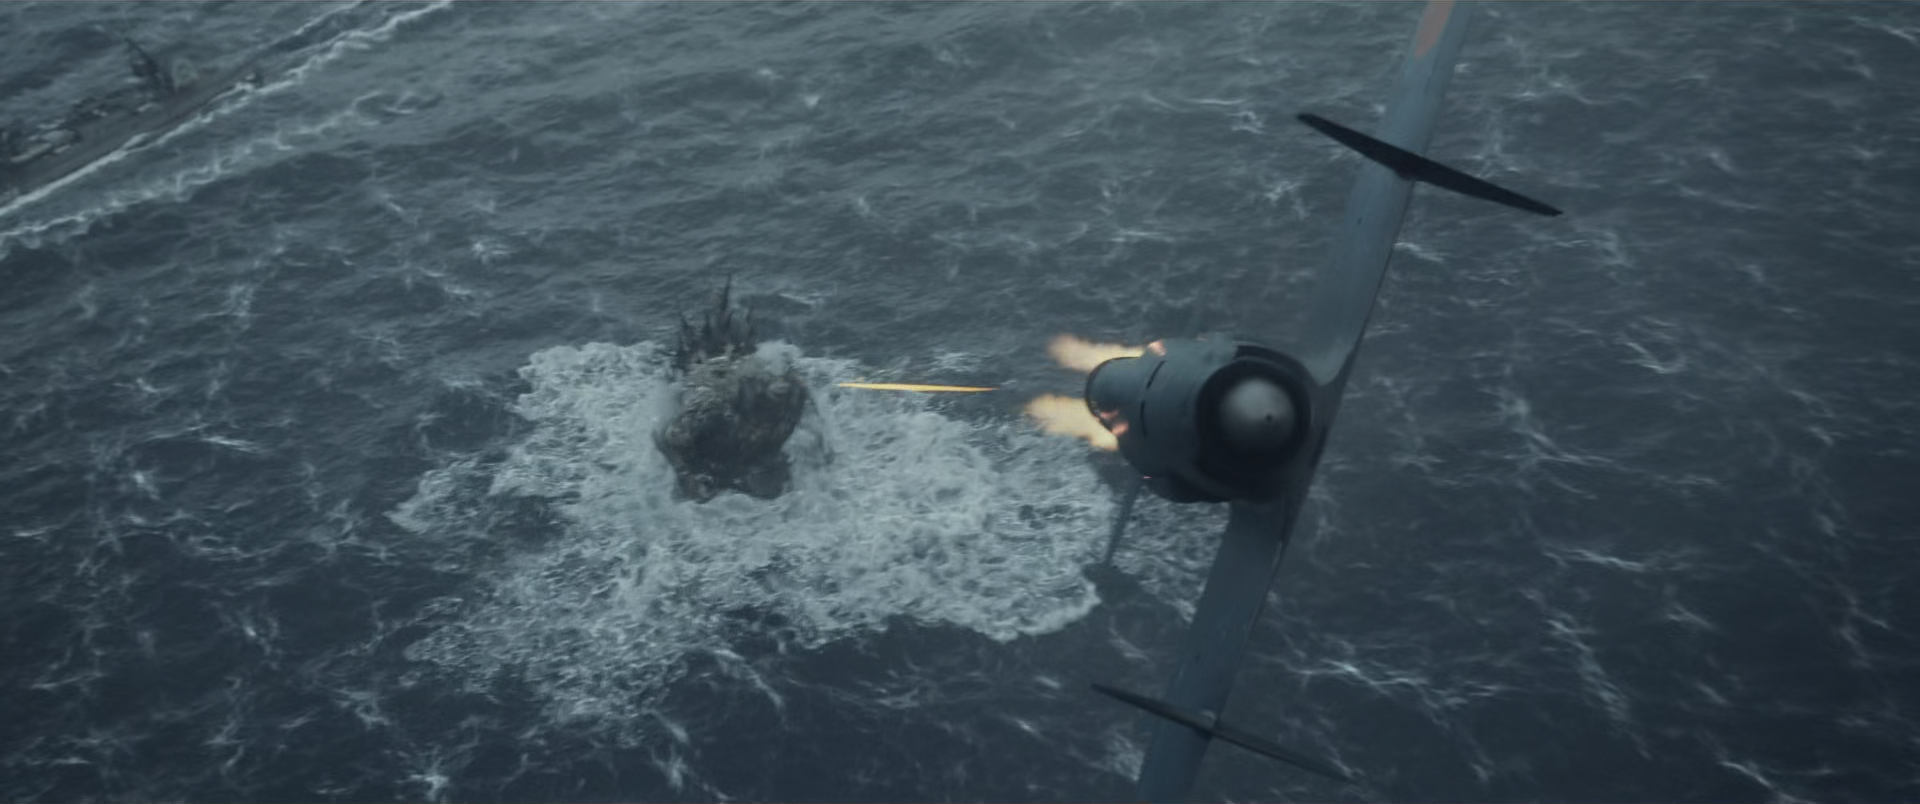
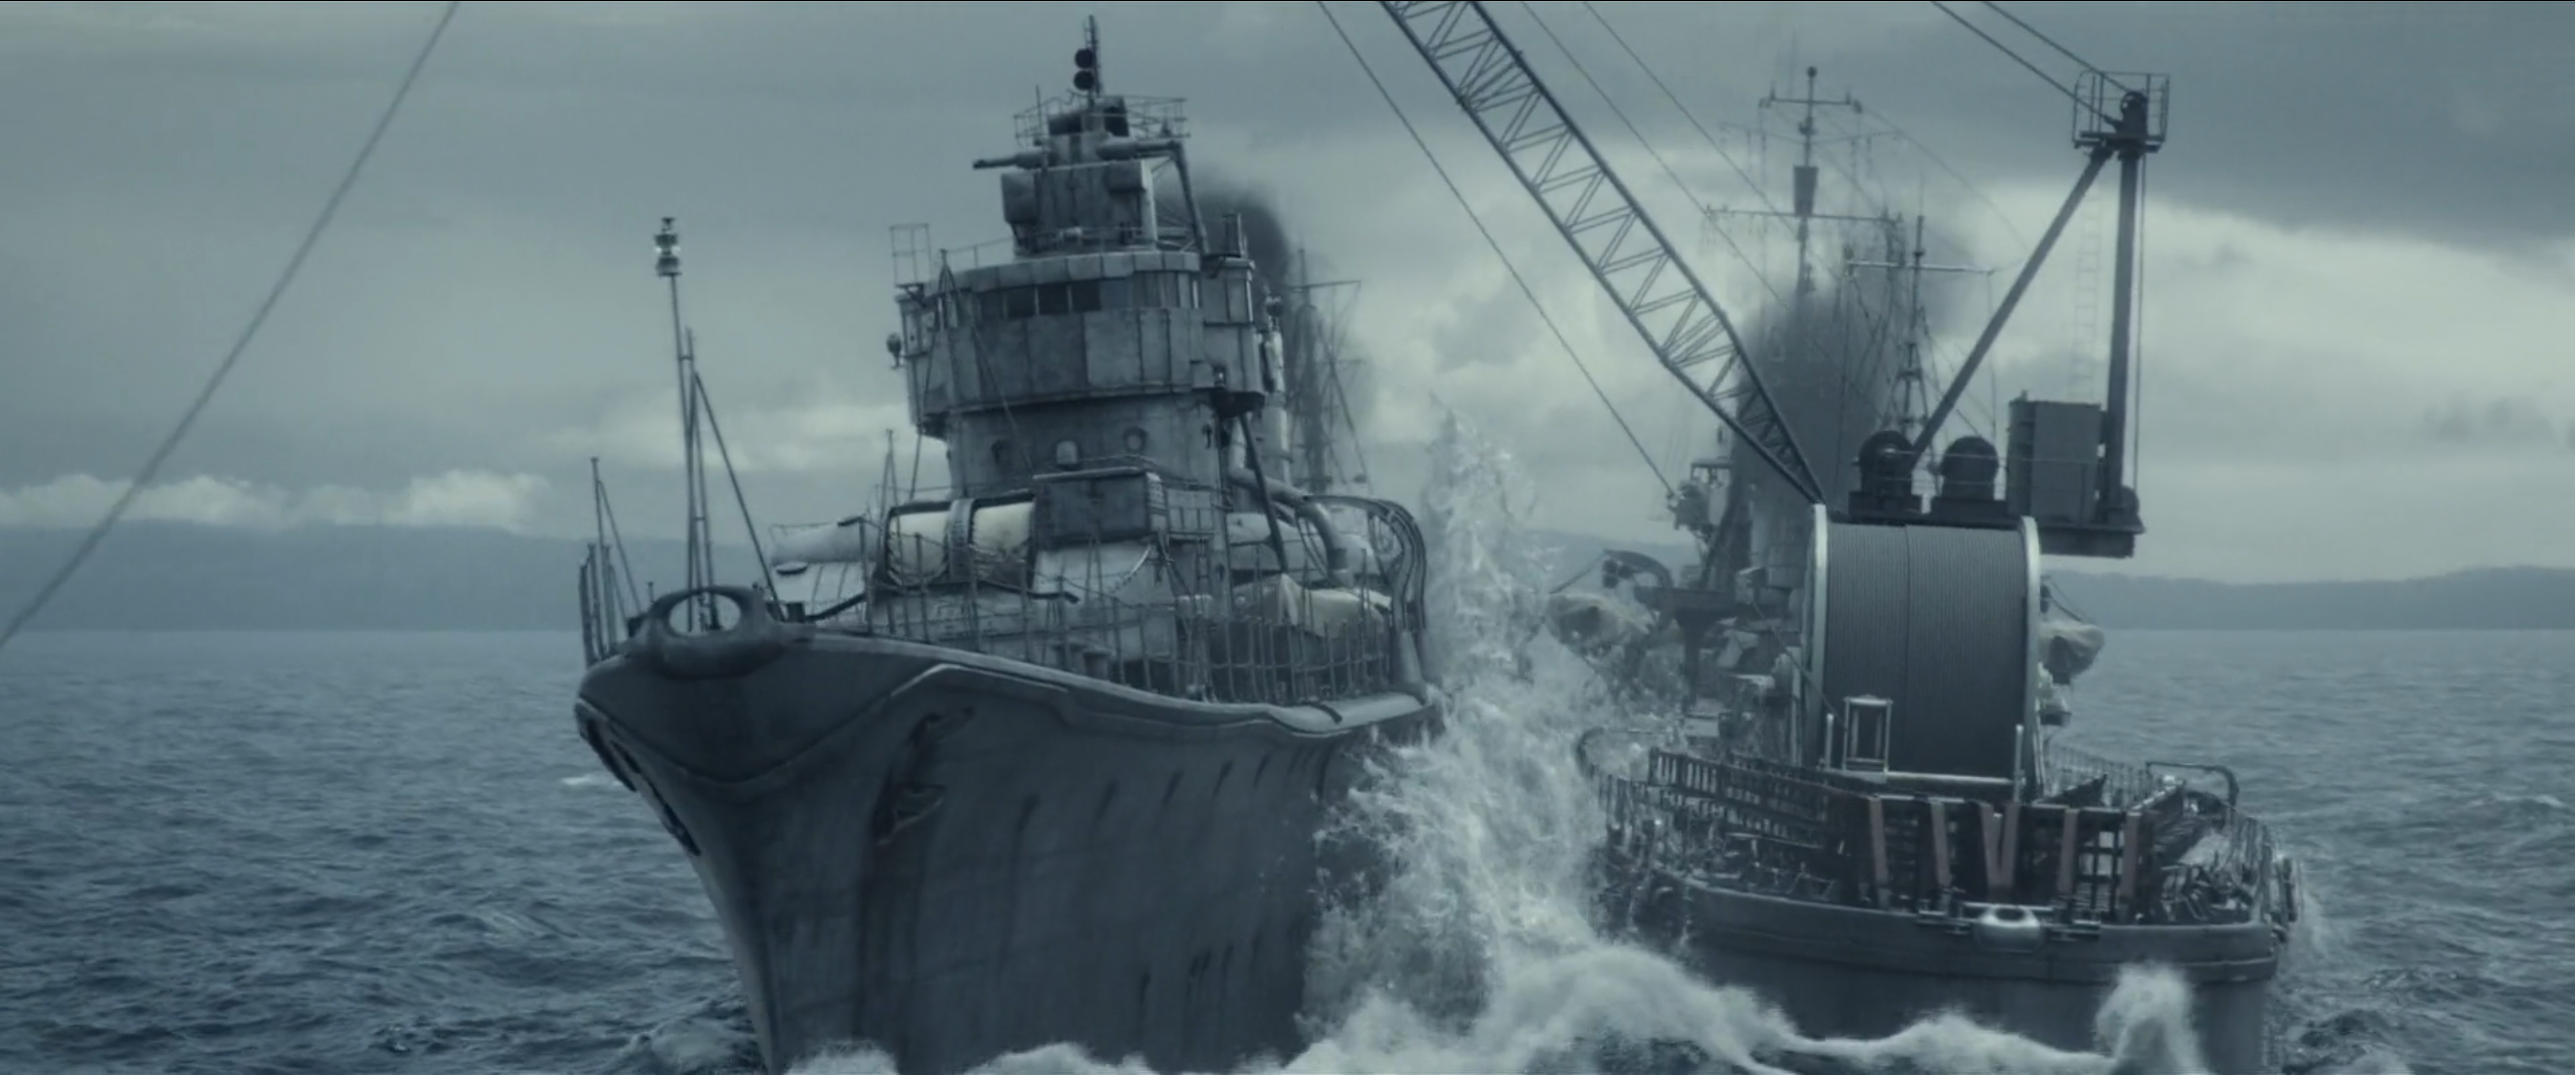
Koichi Shikishima, one of Noda's crewmates aboard the minesweeper Shinseimaru, led Godzilla to Sagami Bay in a Shinden local fighter. Two of the destroyers, Yūkaze and Keyaki, sped towards Godzilla; unbeknownst to him, both were uncrewed. He expends his atomic breath on the harmless ships, leaving him unable to use it again while he regenerated from his self-inflicted wounds. After enduring the massive waves kicked up by the monster's attack, Yukikaze and Hibiki encircled Godzilla and wrapped the cable attached to the Freon canisters around him while Shikishima continued to distract him. The ships scraped against each other as they completed the circle. However, Godzilla noticed Yukikaze and began charging his atomic breath. As Godzilla prepared to fire his heat ray again, the cable became tense and the canisters were ruptured, forcibly sinking him underwater. Upon surpassing the target depth of 1,500 meters, Godzilla froze in place and stopped charging his ray, but withstood the crushing change in pressure. Noda then ordered the balloons attached to the canisters to be inflated under him, rapidly drawing the monster to the surface. When Godzilla tore through the balloons, Yukikaze and Hibiki tried pulling him the rest of the way themselves, but the monster's weight proved too great, causing Yukikaze's crane to collapse. The plan seemed hopeless until a fleet of tugboats, led by another of Noda's crewmates, Shiro Mizushima, arrived to help the destroyers. The tugboats tied ropes on the bow of each destroyer and pulled, rising the kaiju. Upon surfacing, Godzilla appeared heavily mutilated, having suffered critical damage to his body from decompression, but was still alive. Noda and the others accepted their deaths as an enraged Godzilla coursed with power and prepared to unleash his atomic breath. Shikishima interceded, flying his plane into Godzilla's mouth and ejecting just before it exploded. The smoke cleared moments later, revealing that the top of Godzilla's head had been destroyed, after which the accumulated atomic energy overloaded, causing the rest of his body to crumble. Spontaneously, the crews of all the ships saluted. They returned to port to find a jubilant crowd waiting.
Capabilities
Armament
In its final wartime configuration, Yukikaze carried four 127mm Type 3 naval guns, up to 28 25 mm Type 96 AA guns, up to four 13.2mm AA guns, and eight 610mm torpedo tubes. In real life, after the war ended every single piece of armament were completely stripped off the ship and later replaced with completely different armaments while in Taiwanese service. In Godzilla Minus One, however, the turrets that originally housed the 127mm guns and the two quadruple torpedo launchers were kept, though the torpedo tubes and the blast bags of the 127mm guns were covered.
For Operation Wada Tsumi, Yukikaze was fitted with a large crane near the stern, with a winch in front of the crane's base and a cable leading to a winch on Hibiki's stern. Two diagonal racks were installed on the rear port and starboard, with seven large Freon canisters on each rack attached to the cable connecting the two ships.
Durability
Yukikaze's hull was able to withstand scraping against Hibiki to complete the crossing during Operation Wada Tsumi.
Video games
- Godzilla Battle Line (2021; added in 2024) - Android, iOS, Microsoft Windows [environmental asset]
-
 Yukikaze in Godzilla Battle Line
Books
- Godzilla Minus One (2023)
Gallery
Production
-
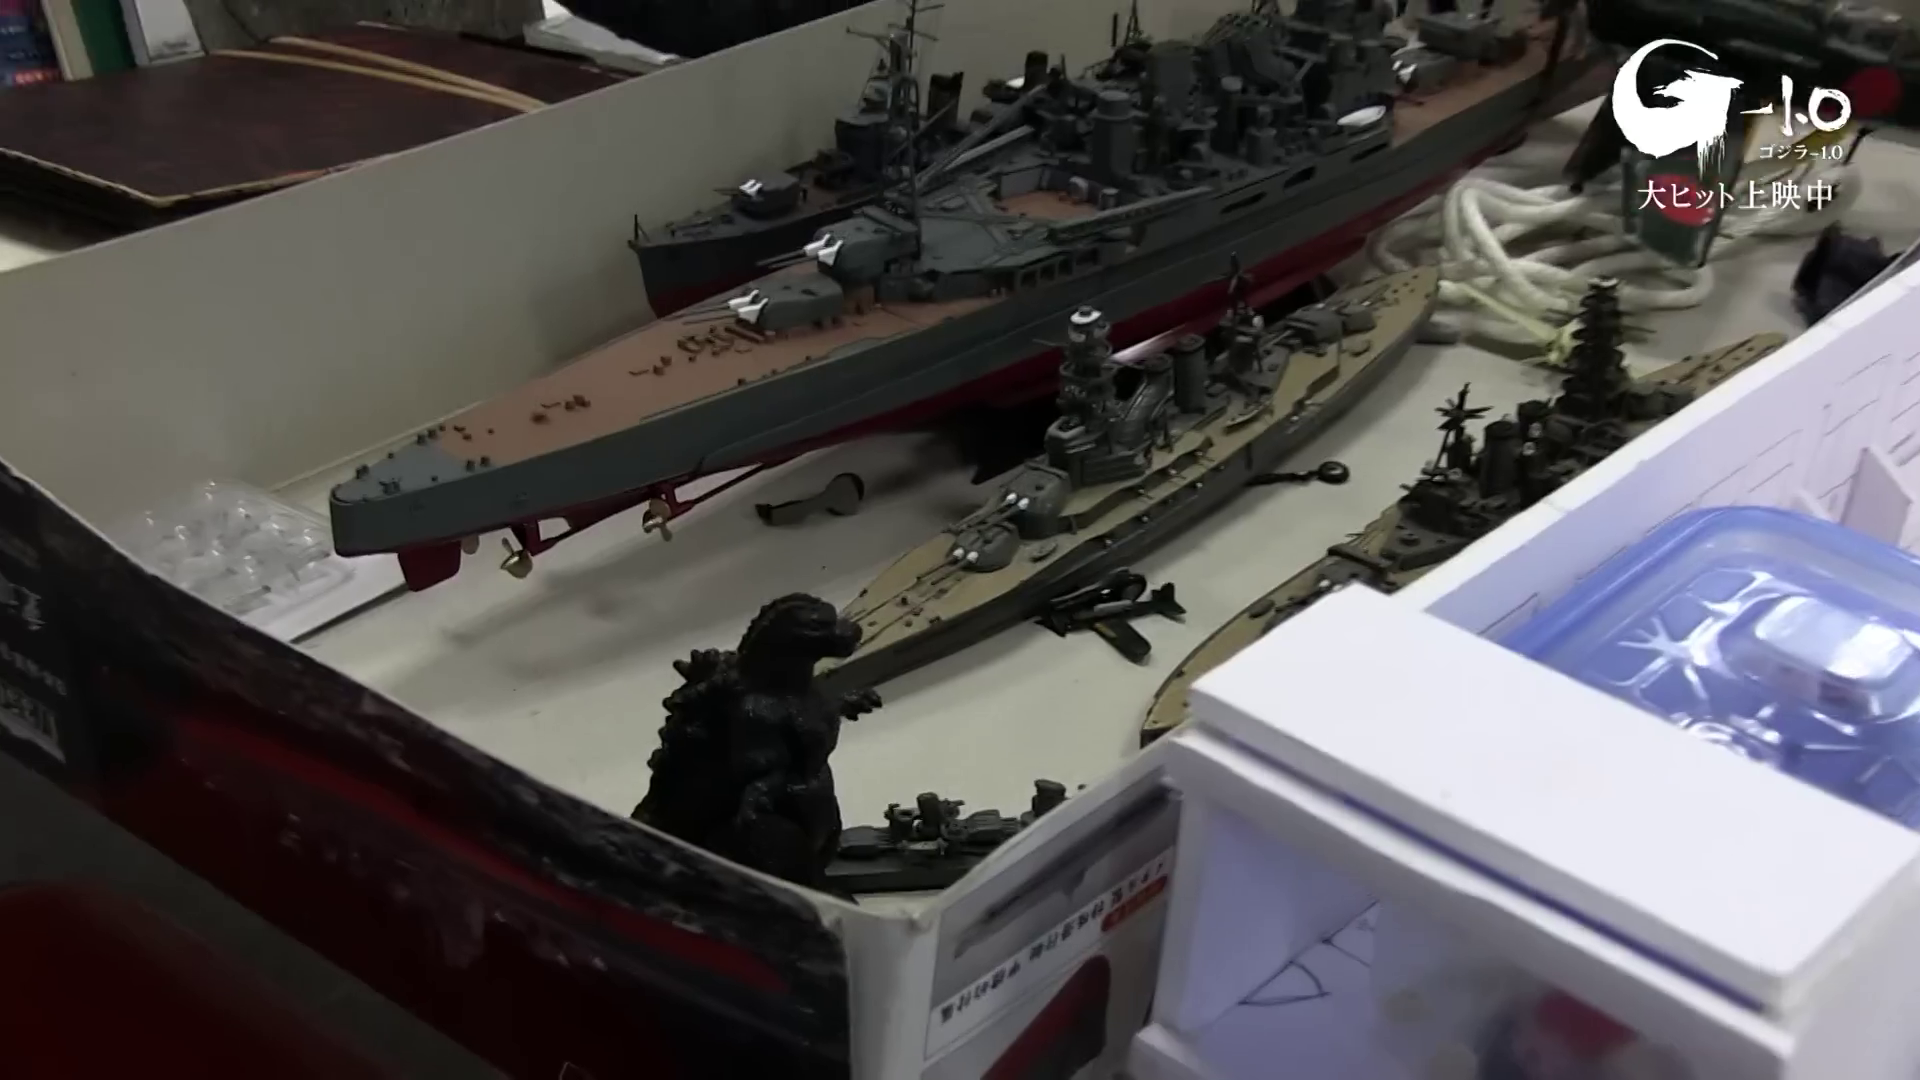
 A 1/350 scale model of Yukikaze (far left) among various other ship models
 -
 Pre-render of Yukikaze and Hibiki
 -

-

-
 A section of Yukikaze's bridge supported on a platform
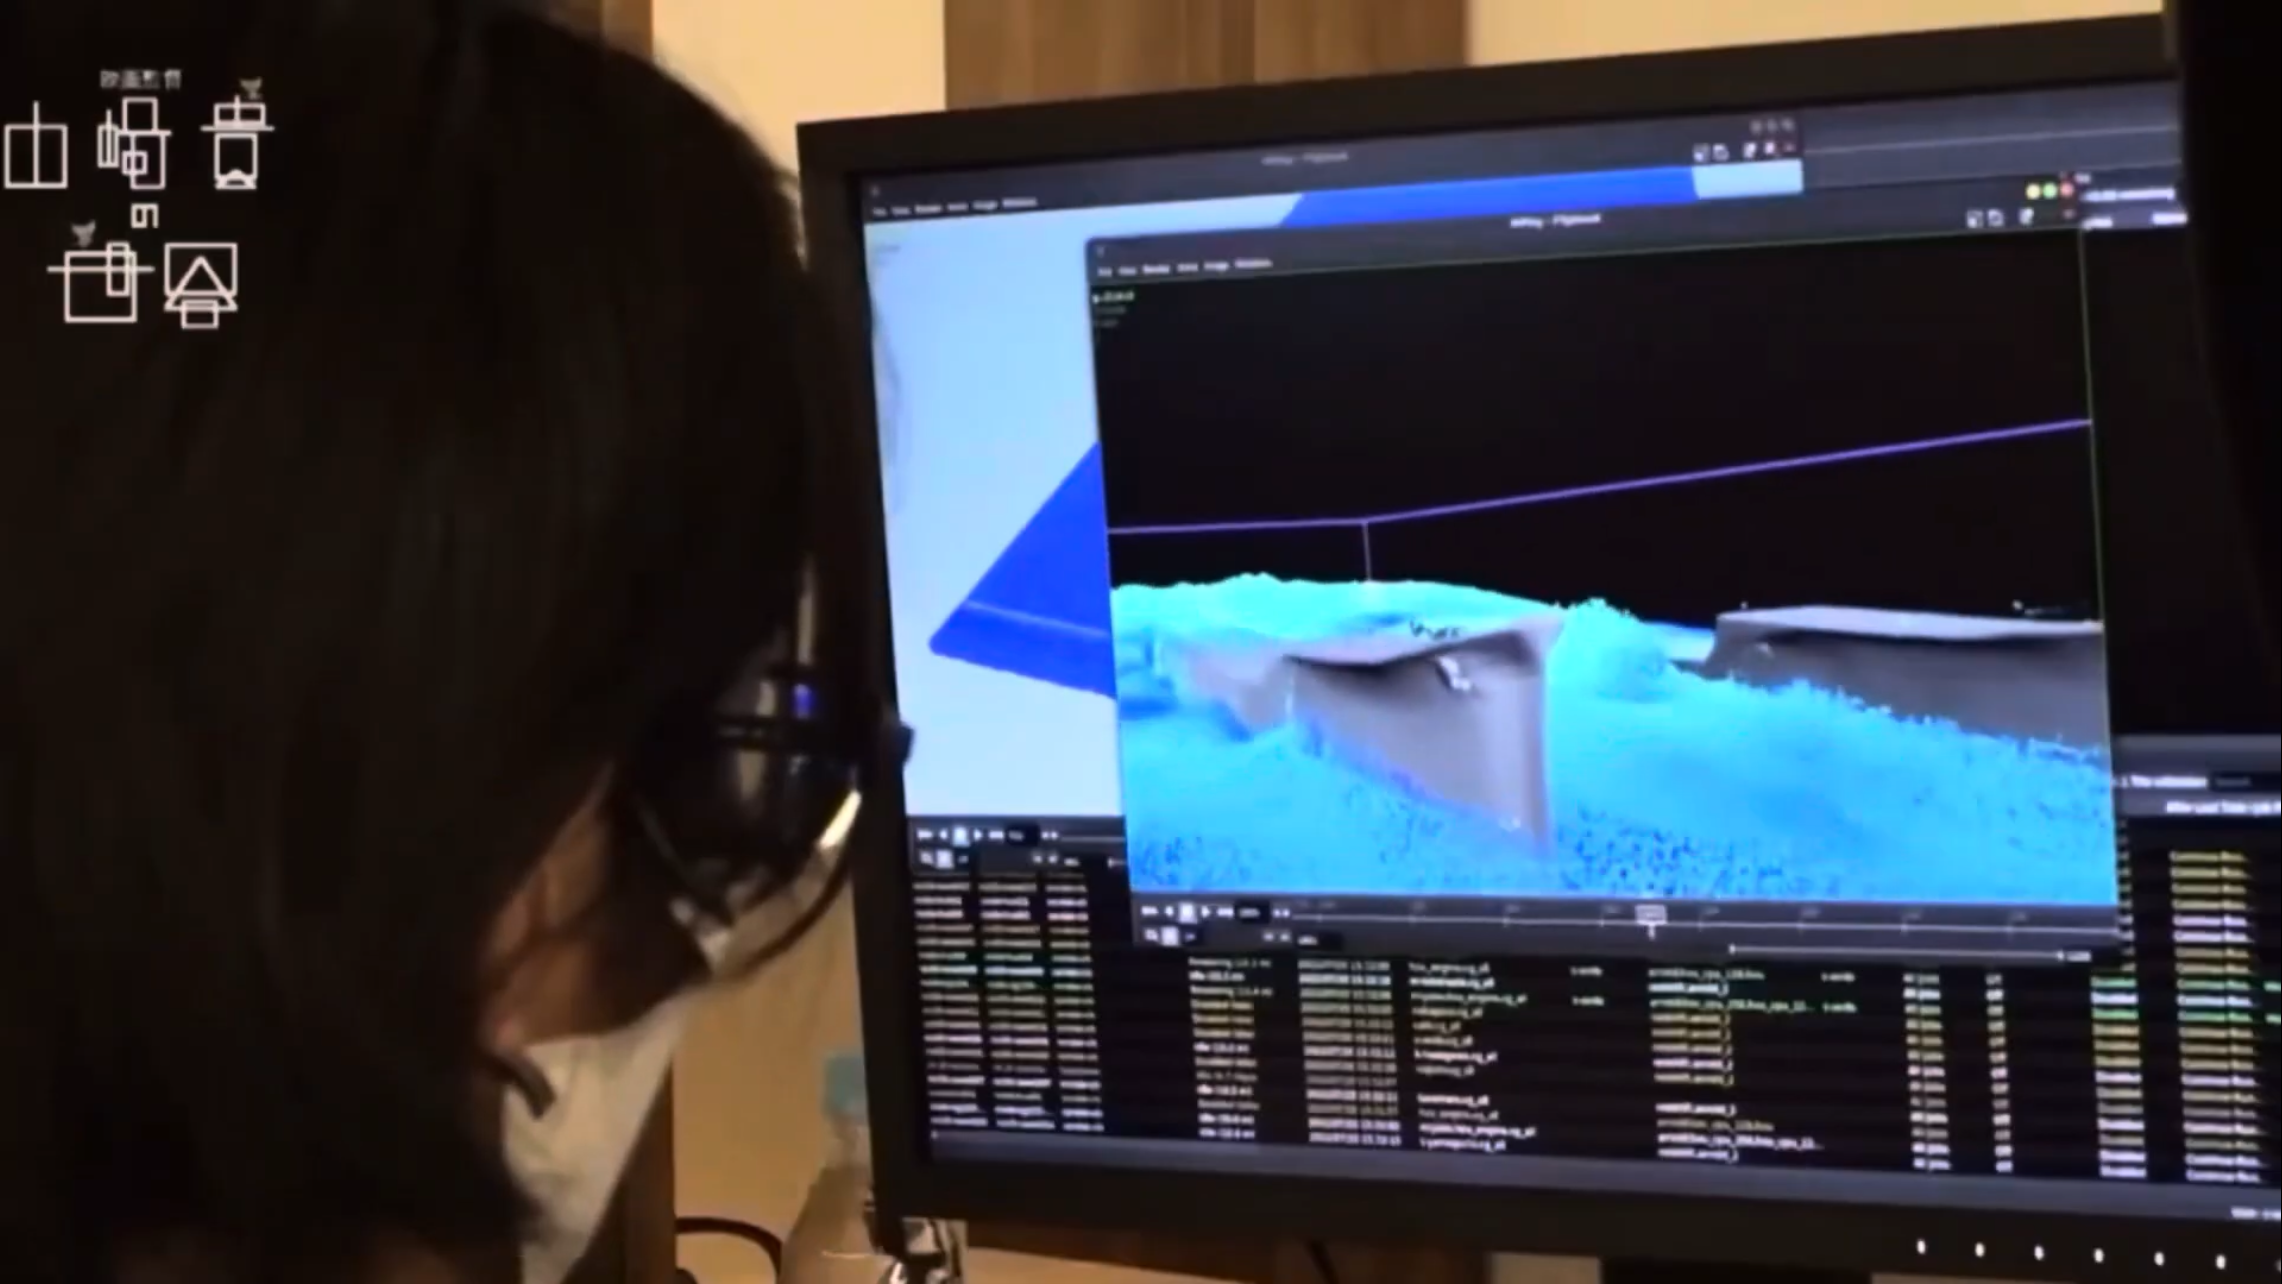
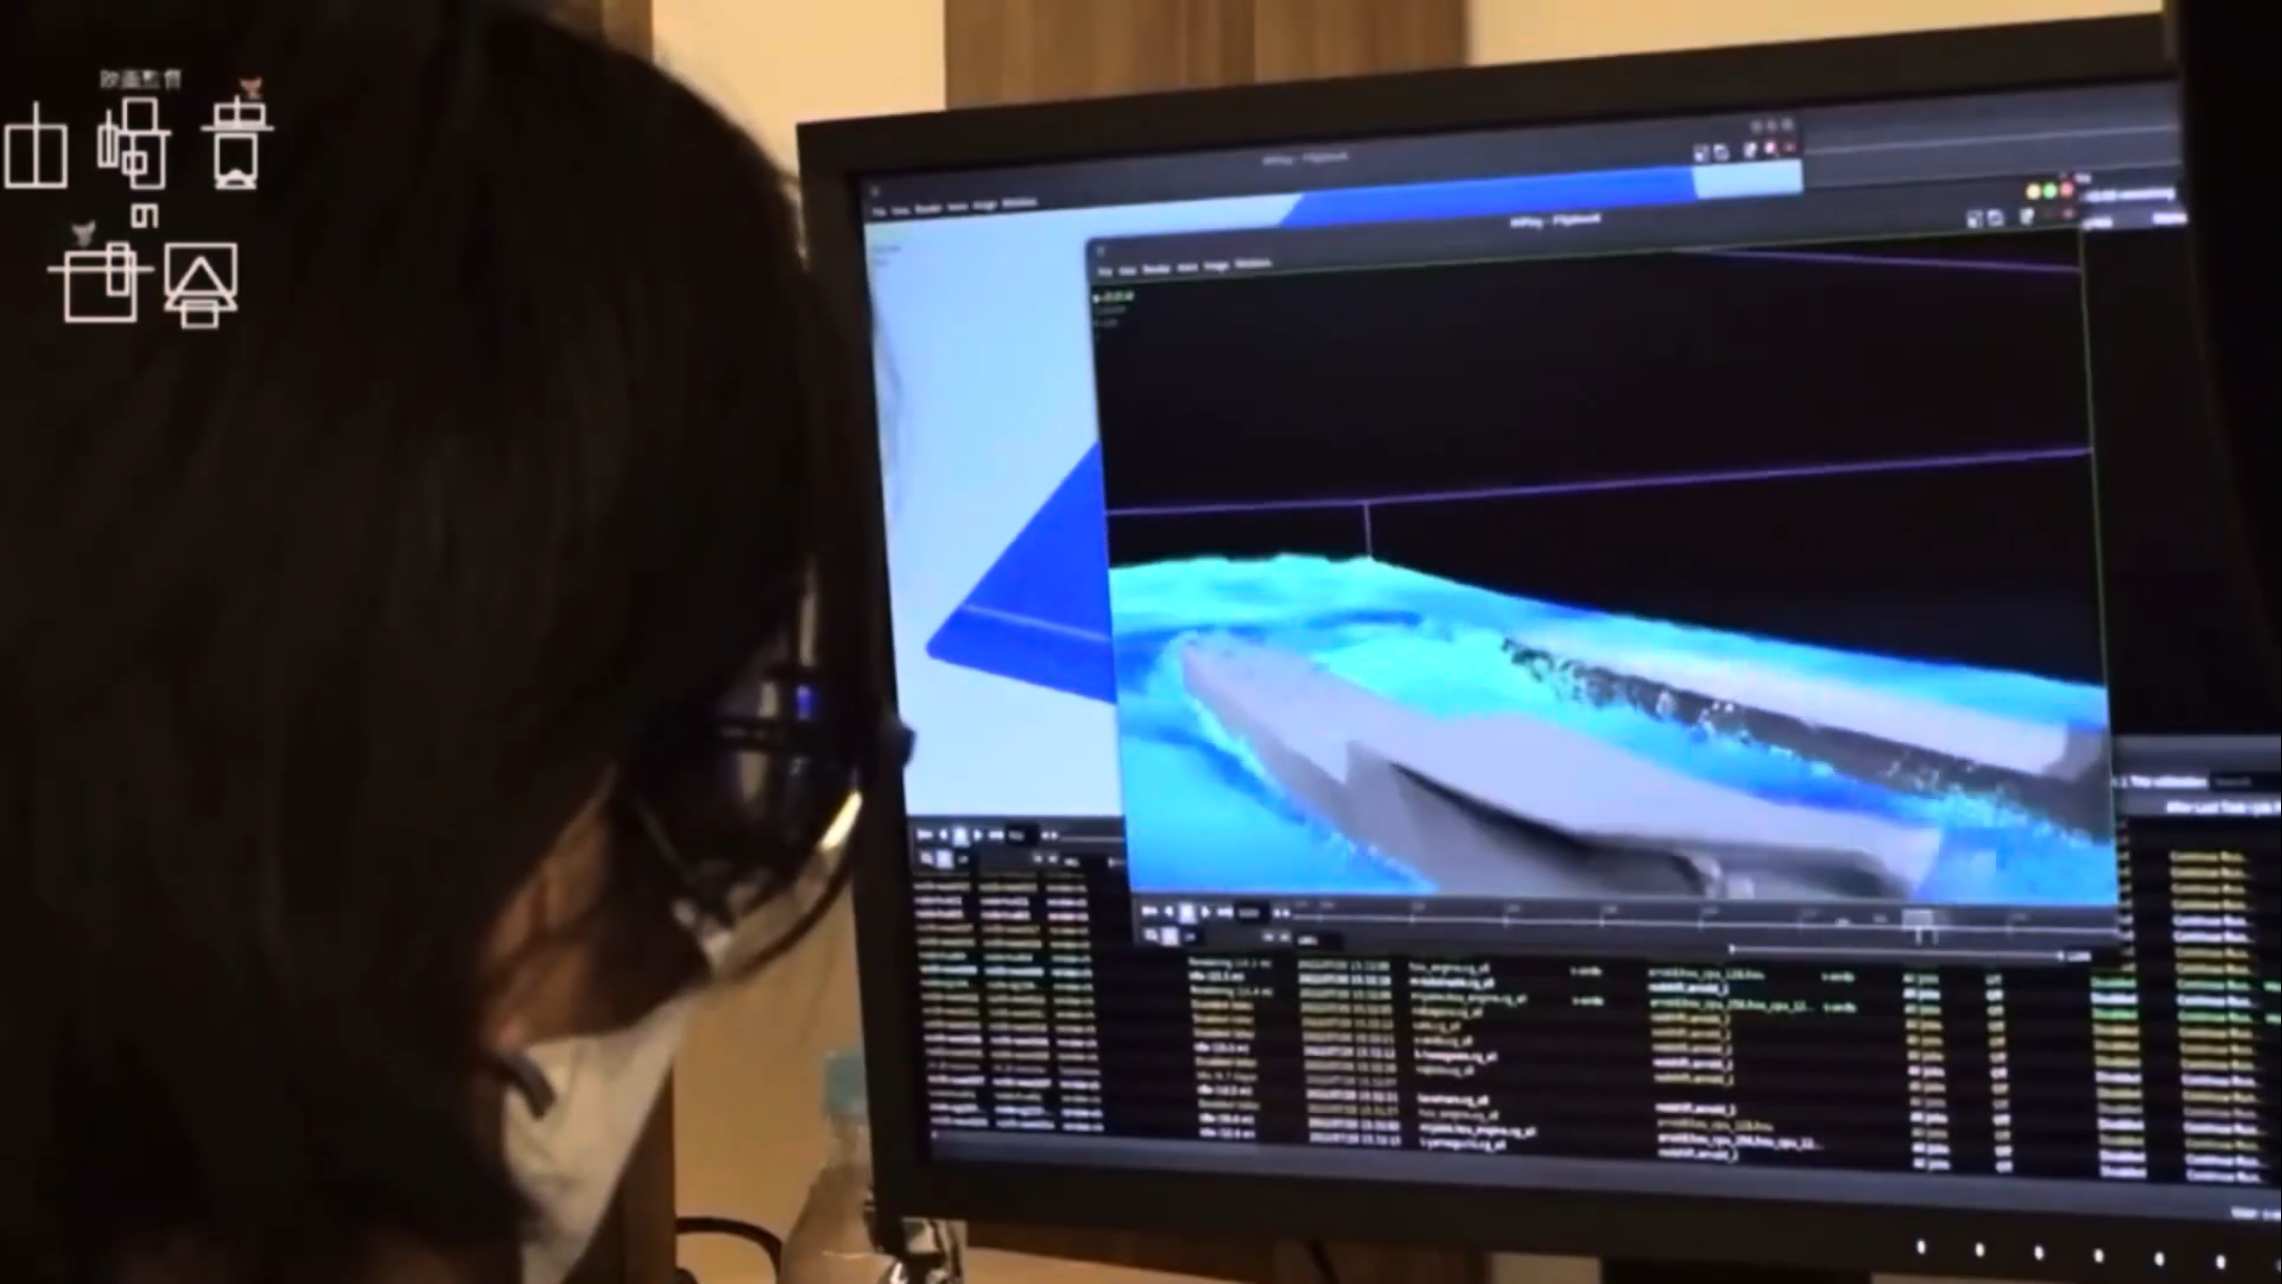
The Visual Effects of Godzilla Minus One
-
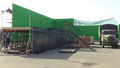 The single section of ship built to represent every ship in the film
 -

-
-
-
-
-
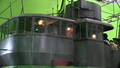
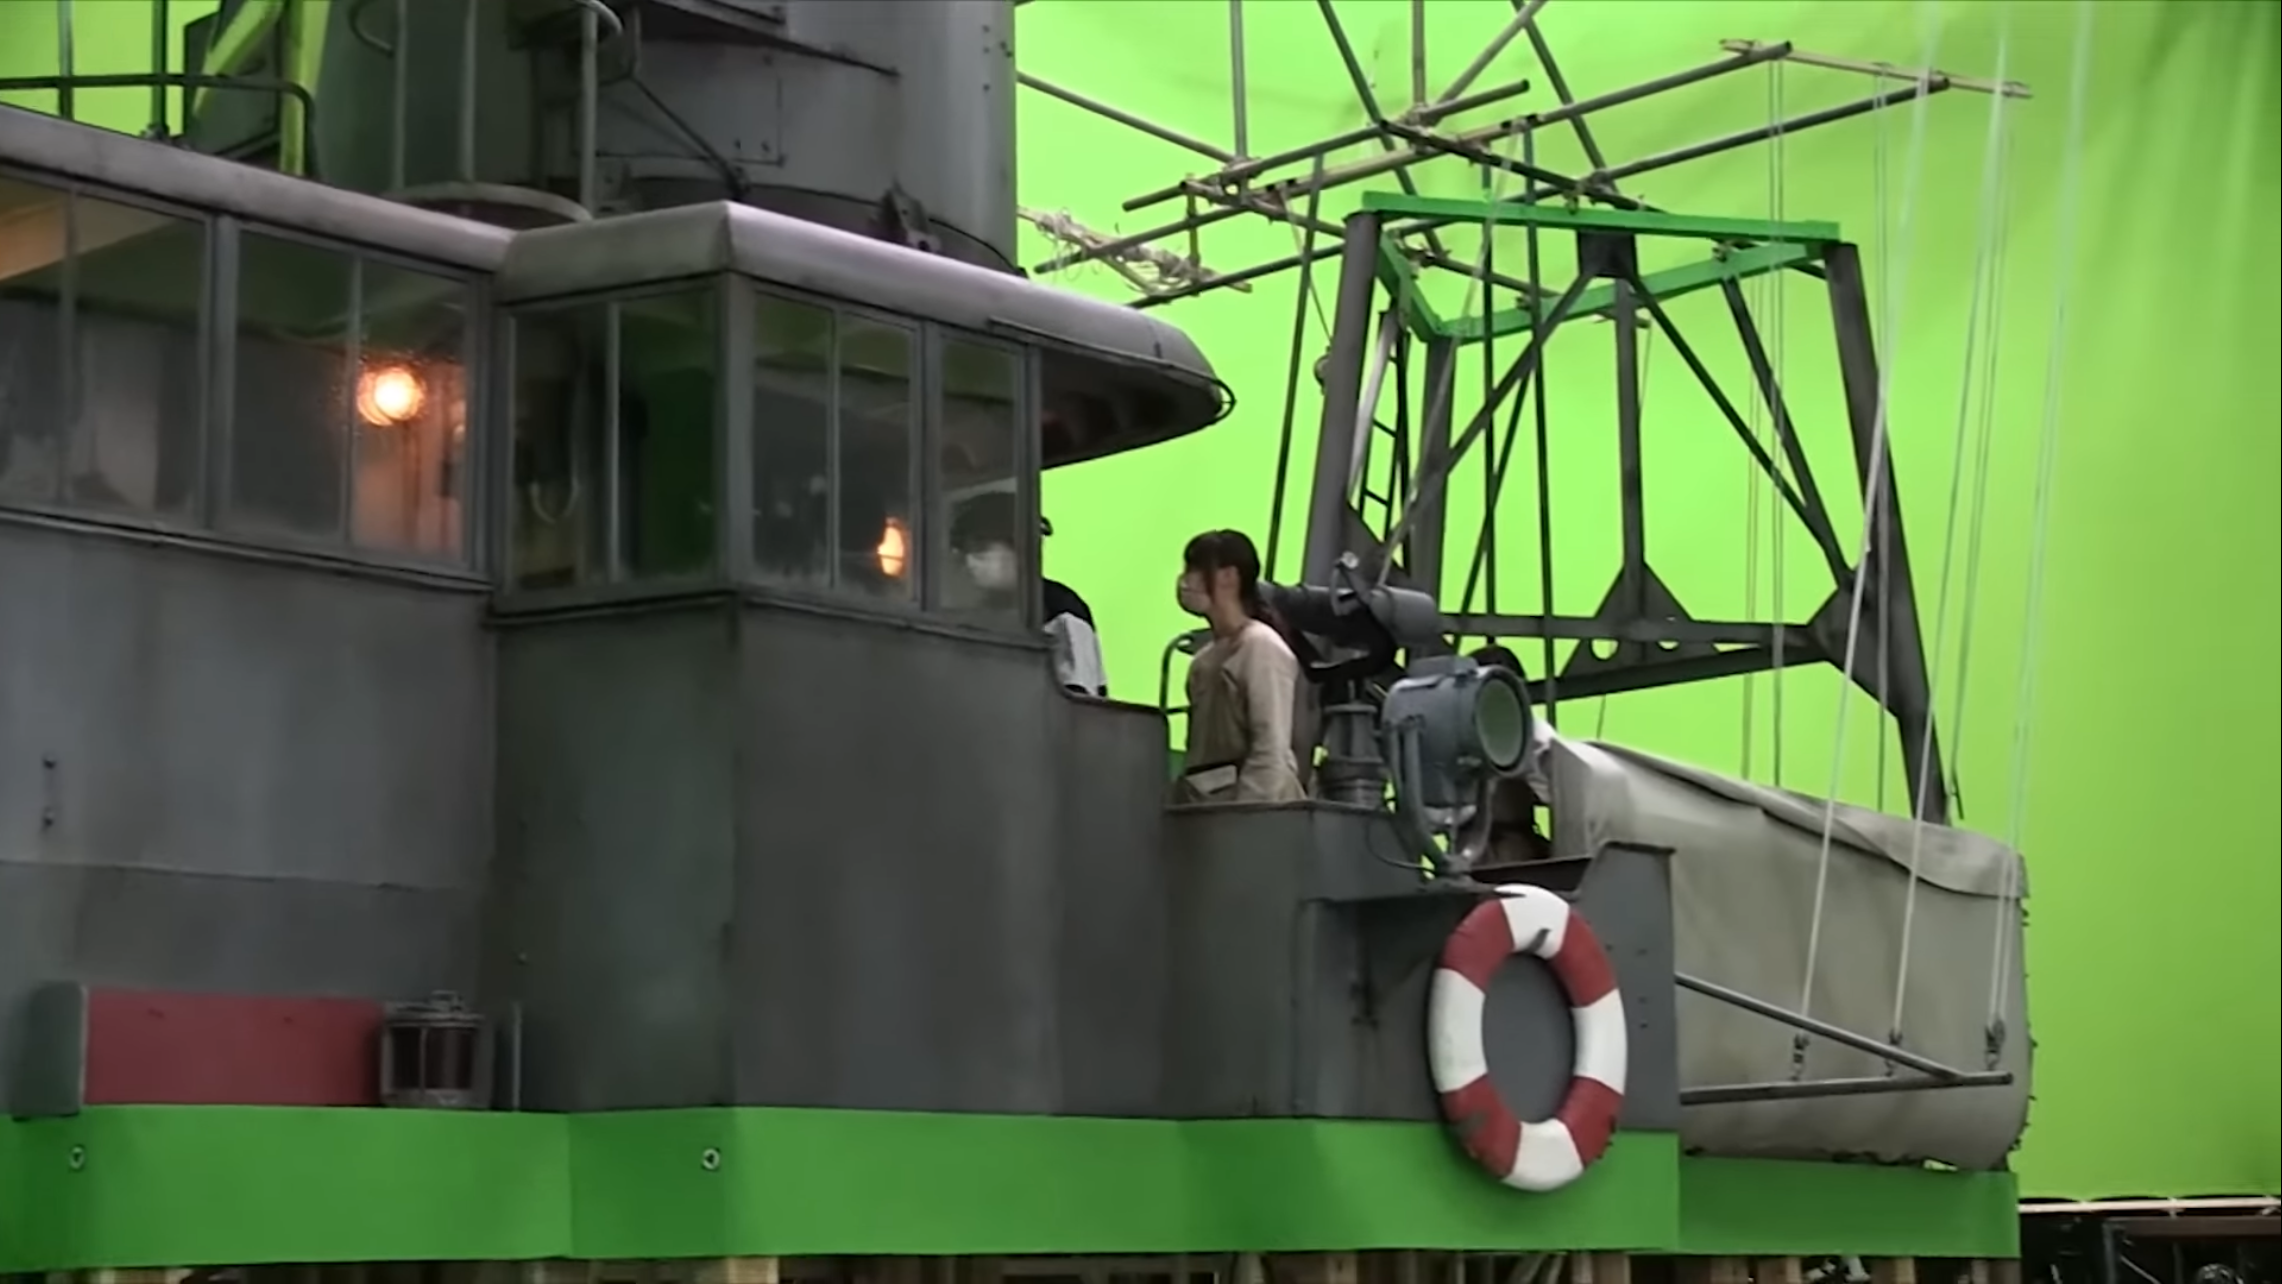
 The set built of Yukikaze's bridge
 -
-
 The actors pretending that the ship is rocking
 -
-

-

-

-


Screenshots
Godzilla Minus One
-
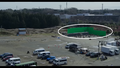
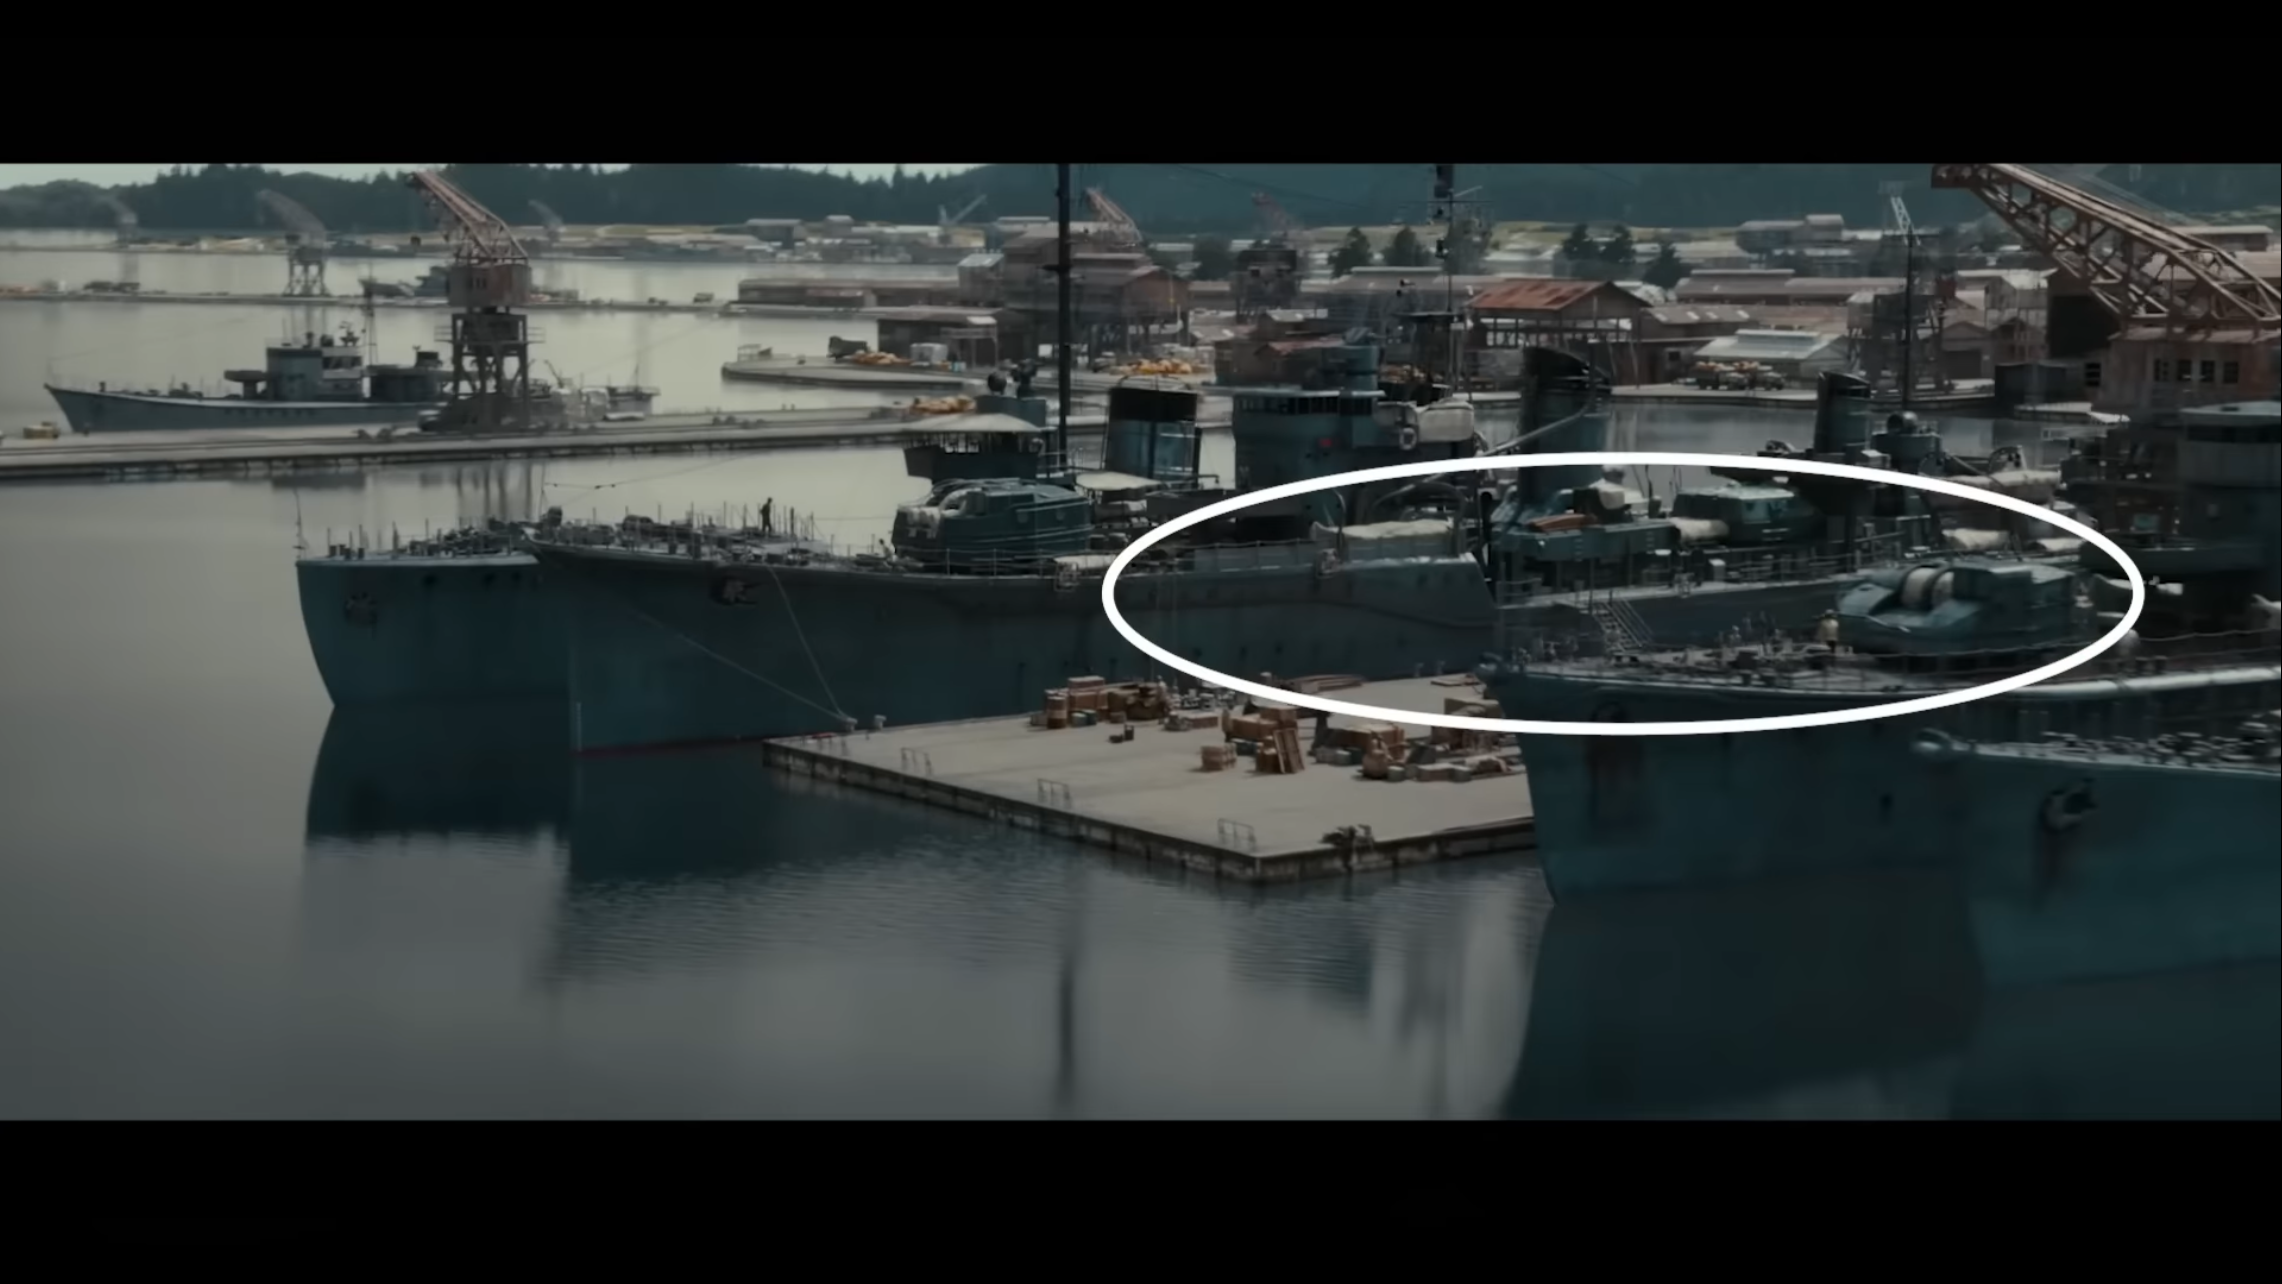
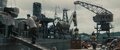
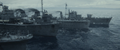
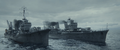
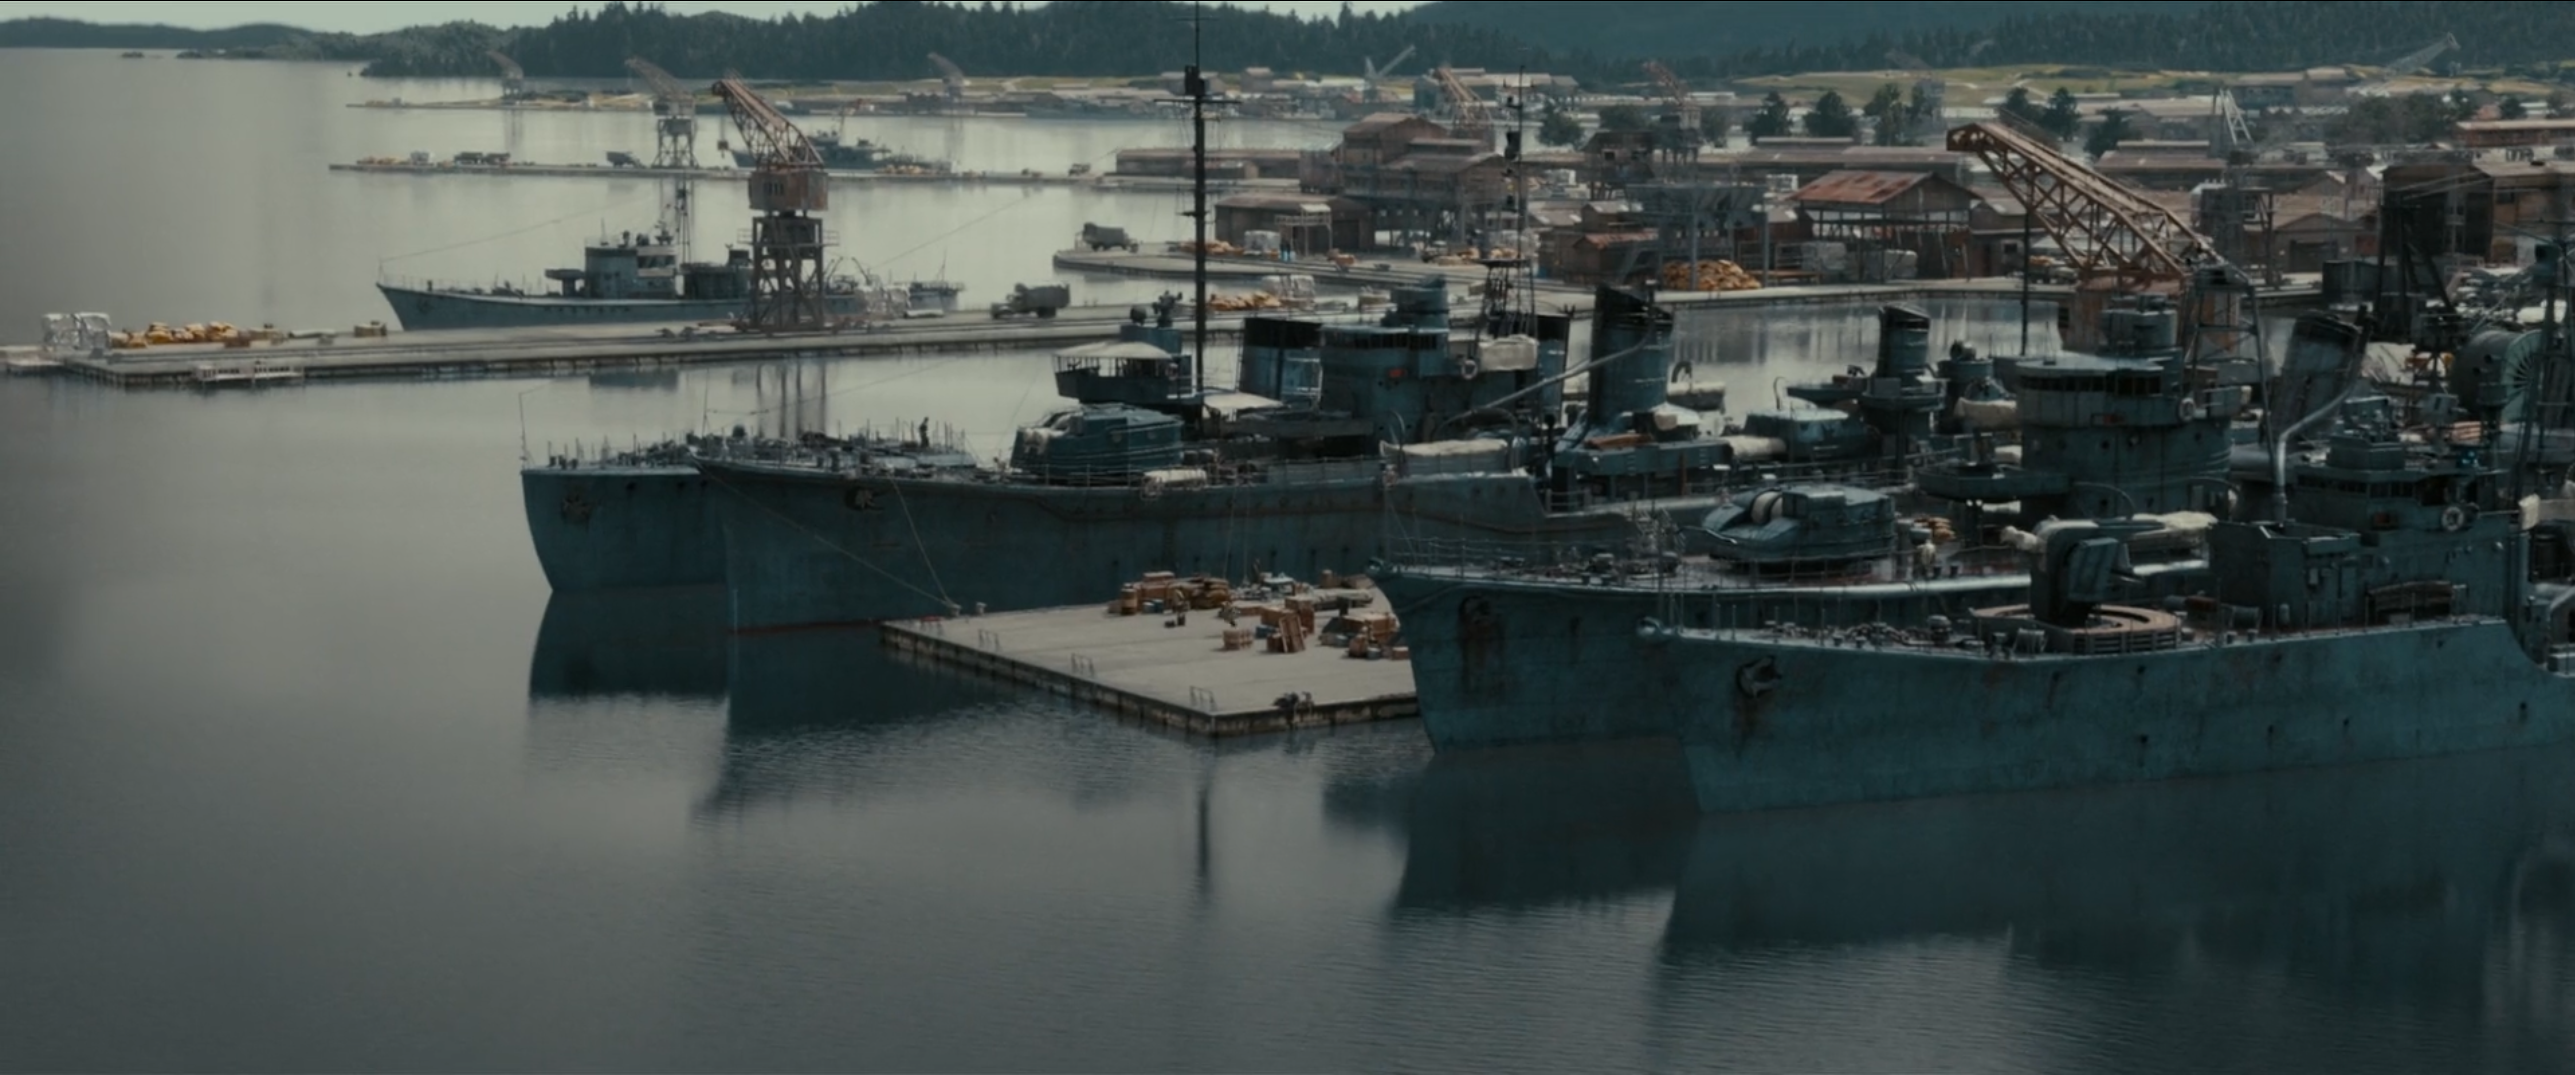
 Yukikaze (middle left) docked next to Yūkaze along with Hibiki (middle right) and Keyaki (far right), being prepared for Operation Wadatsumi
 -

-
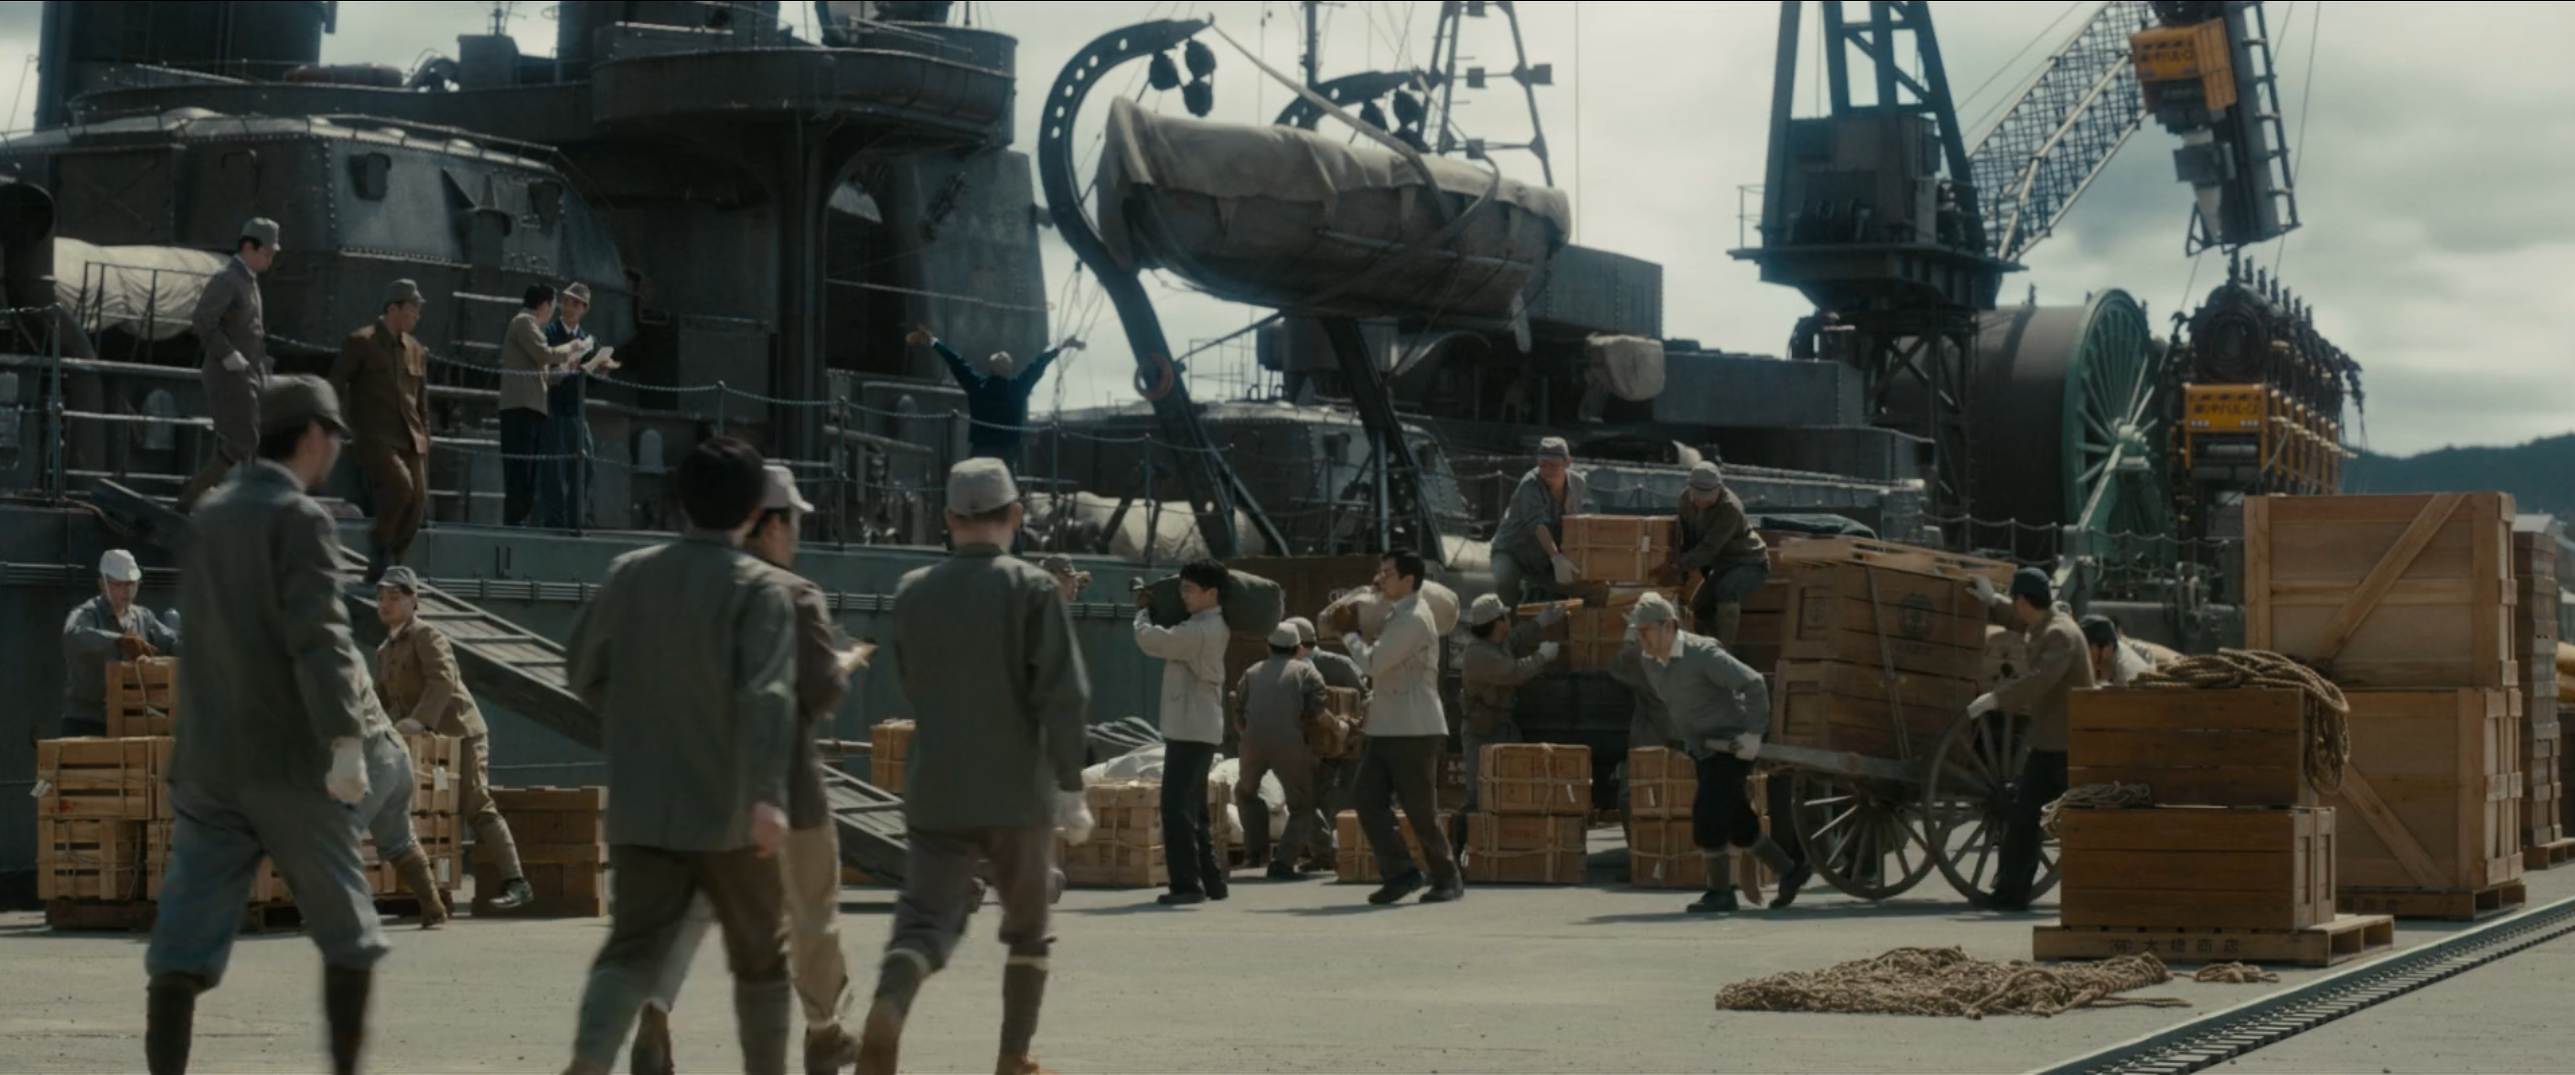
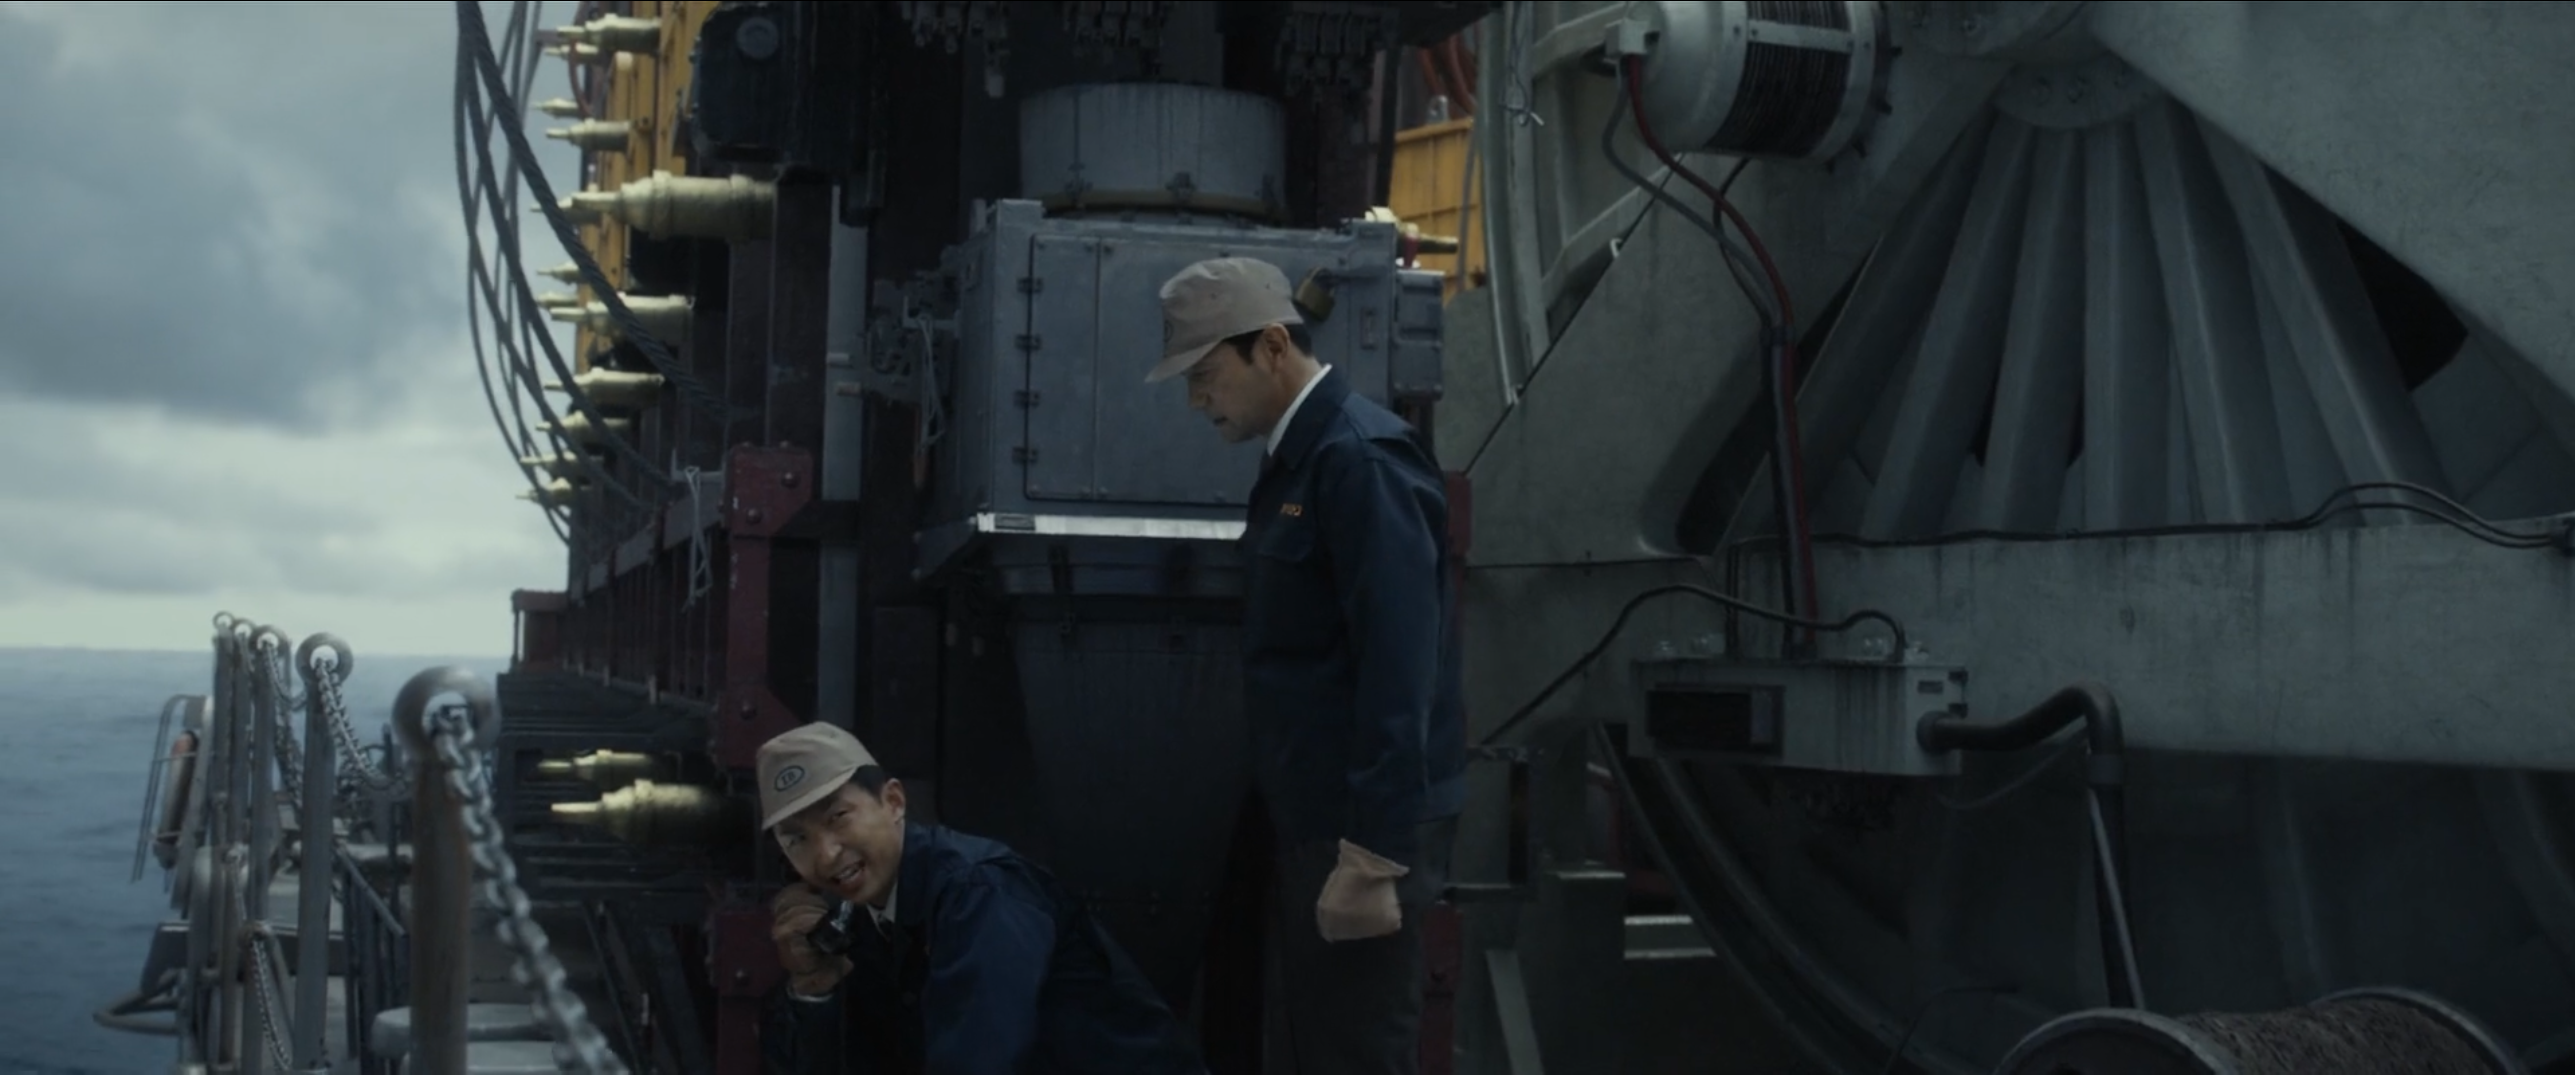
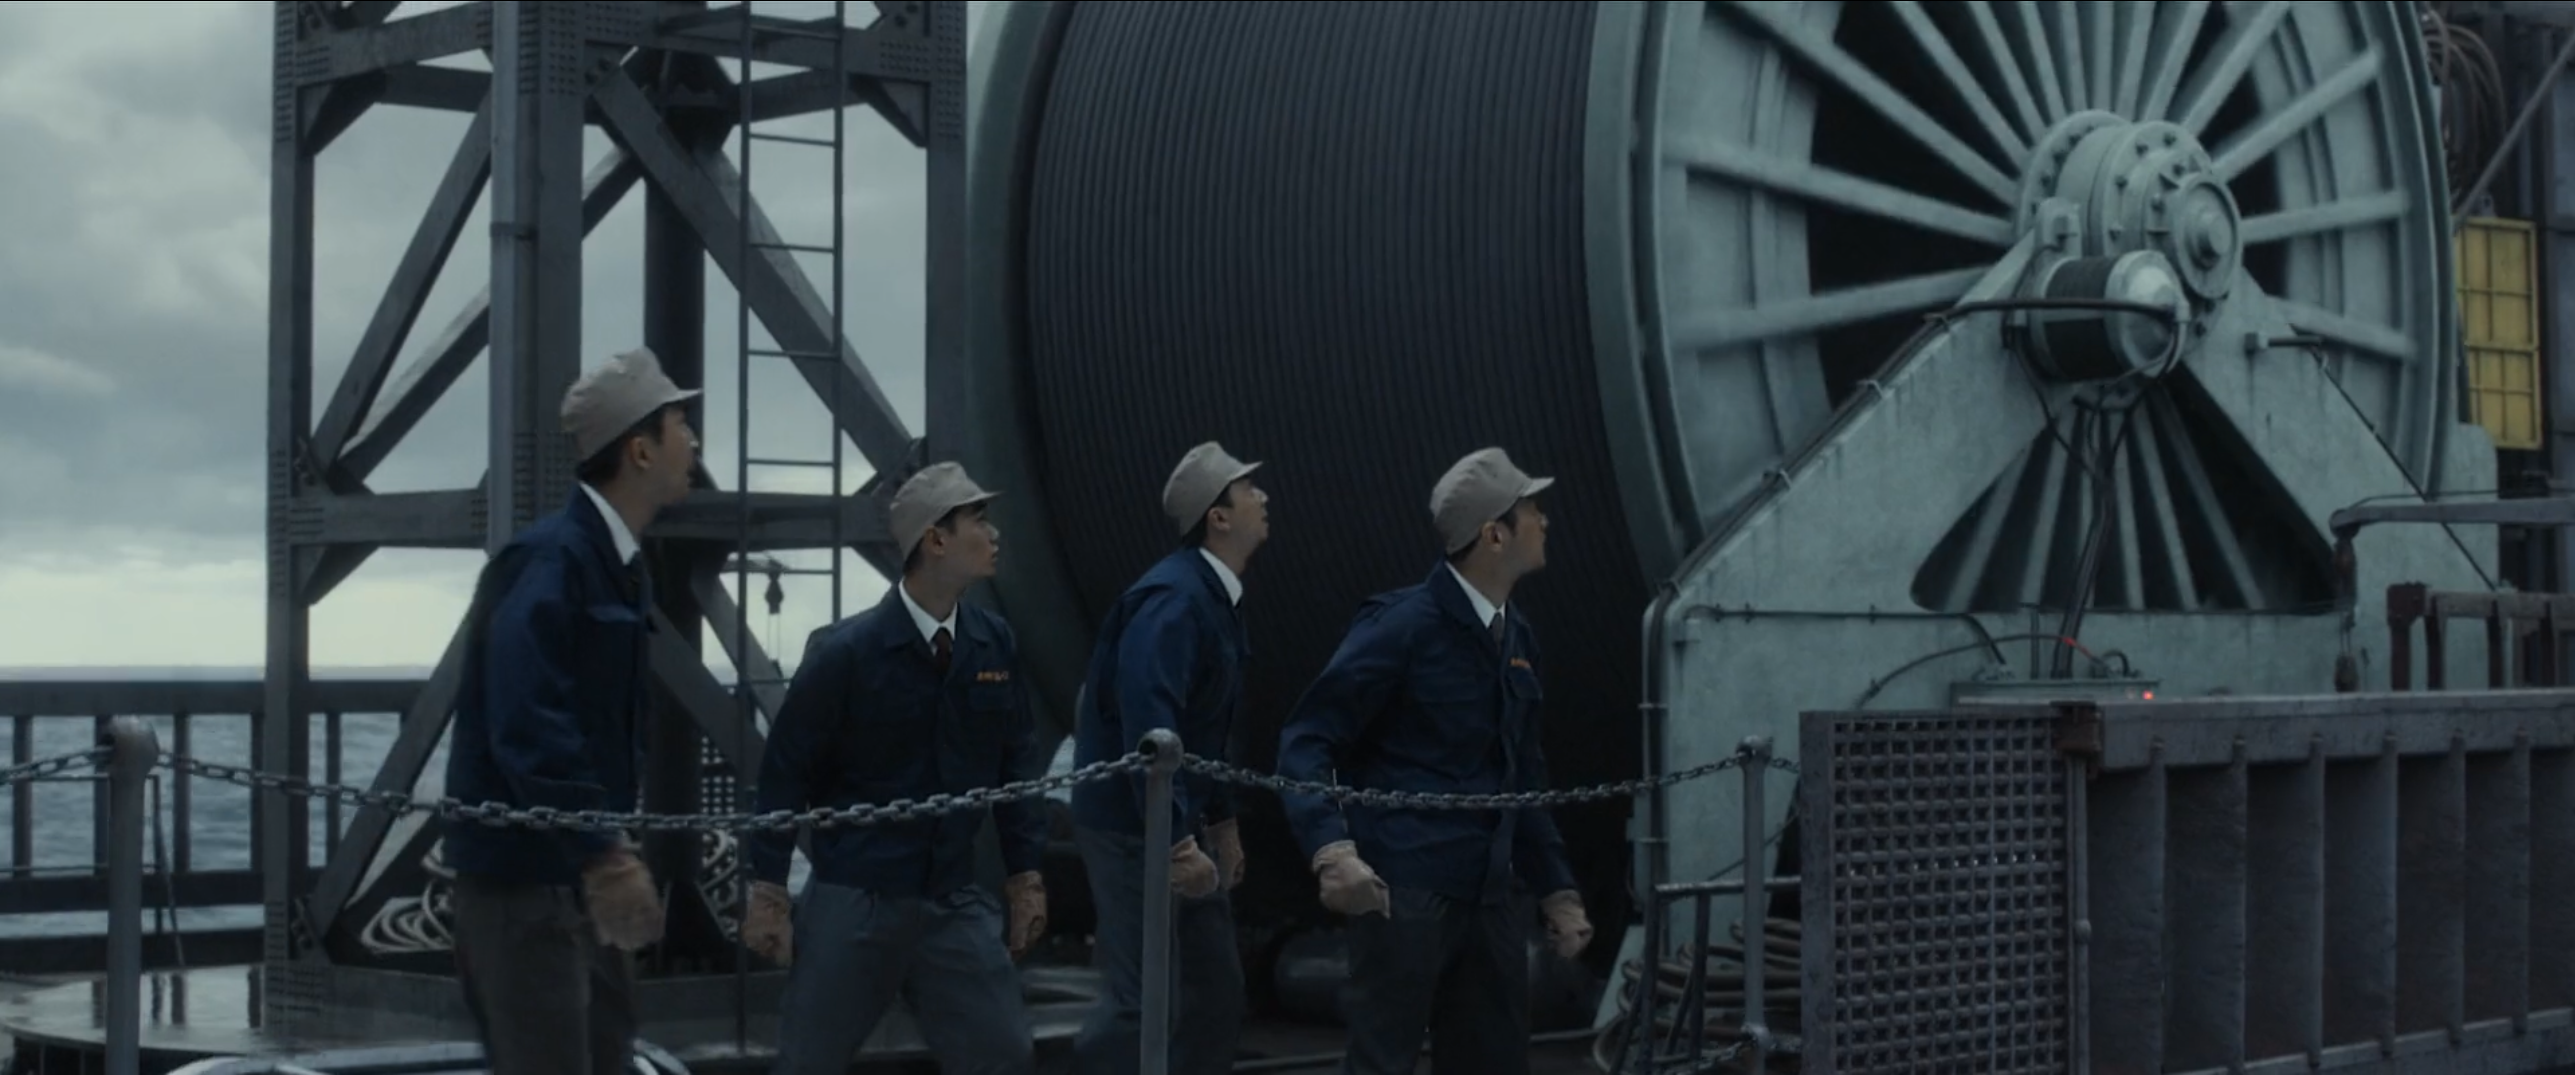
 A crane lowering Freon canisters onto the racks on Yukikaze's stern
 -
-

-

-

-
-

-
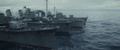
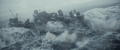
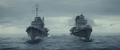
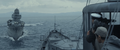
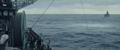
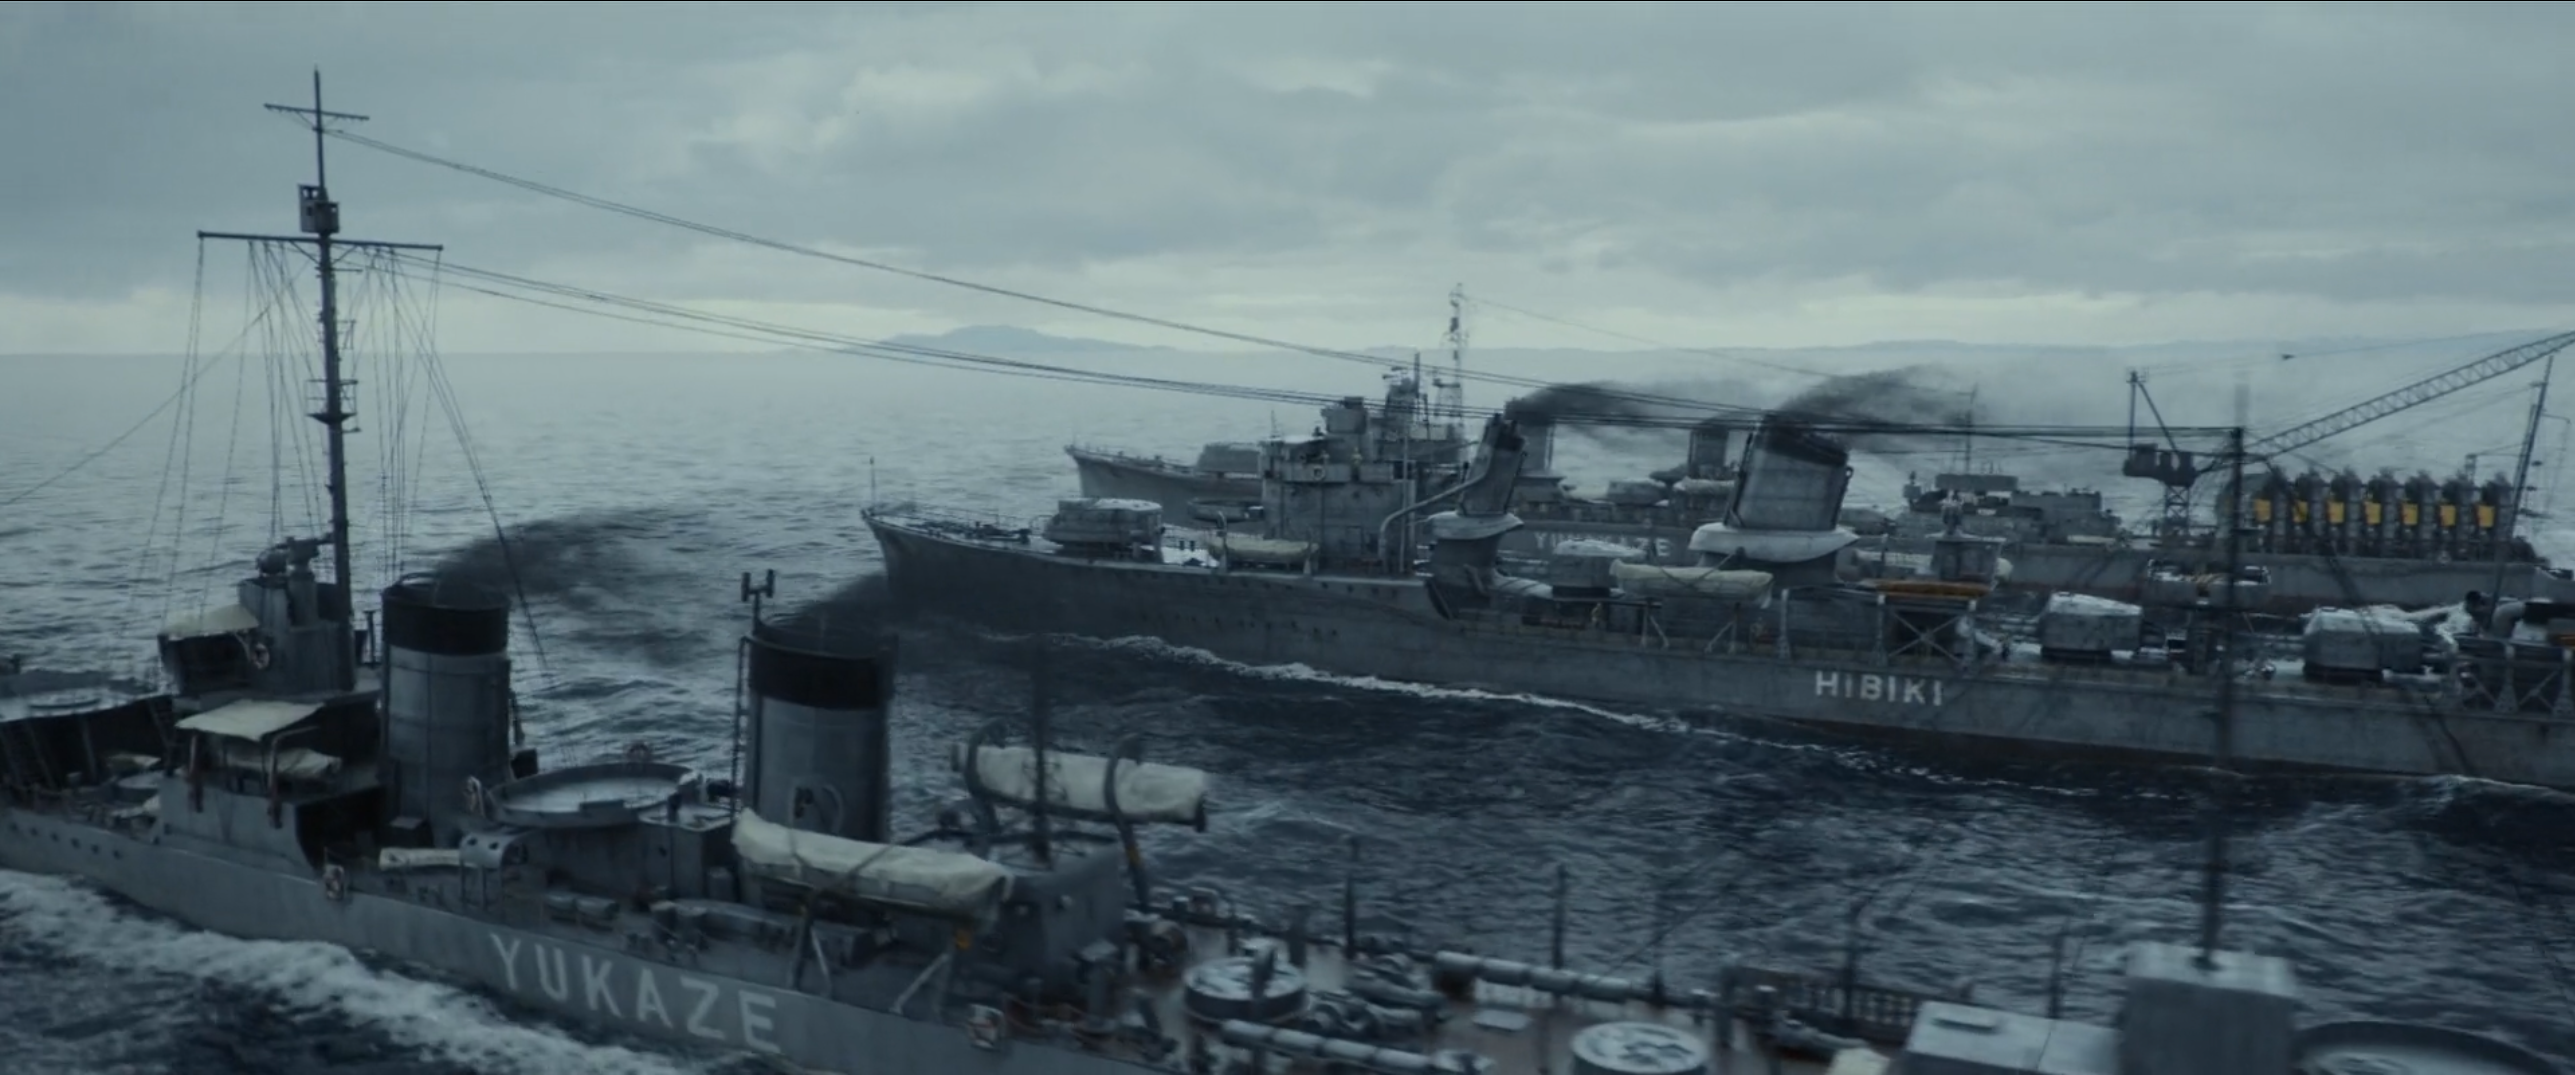
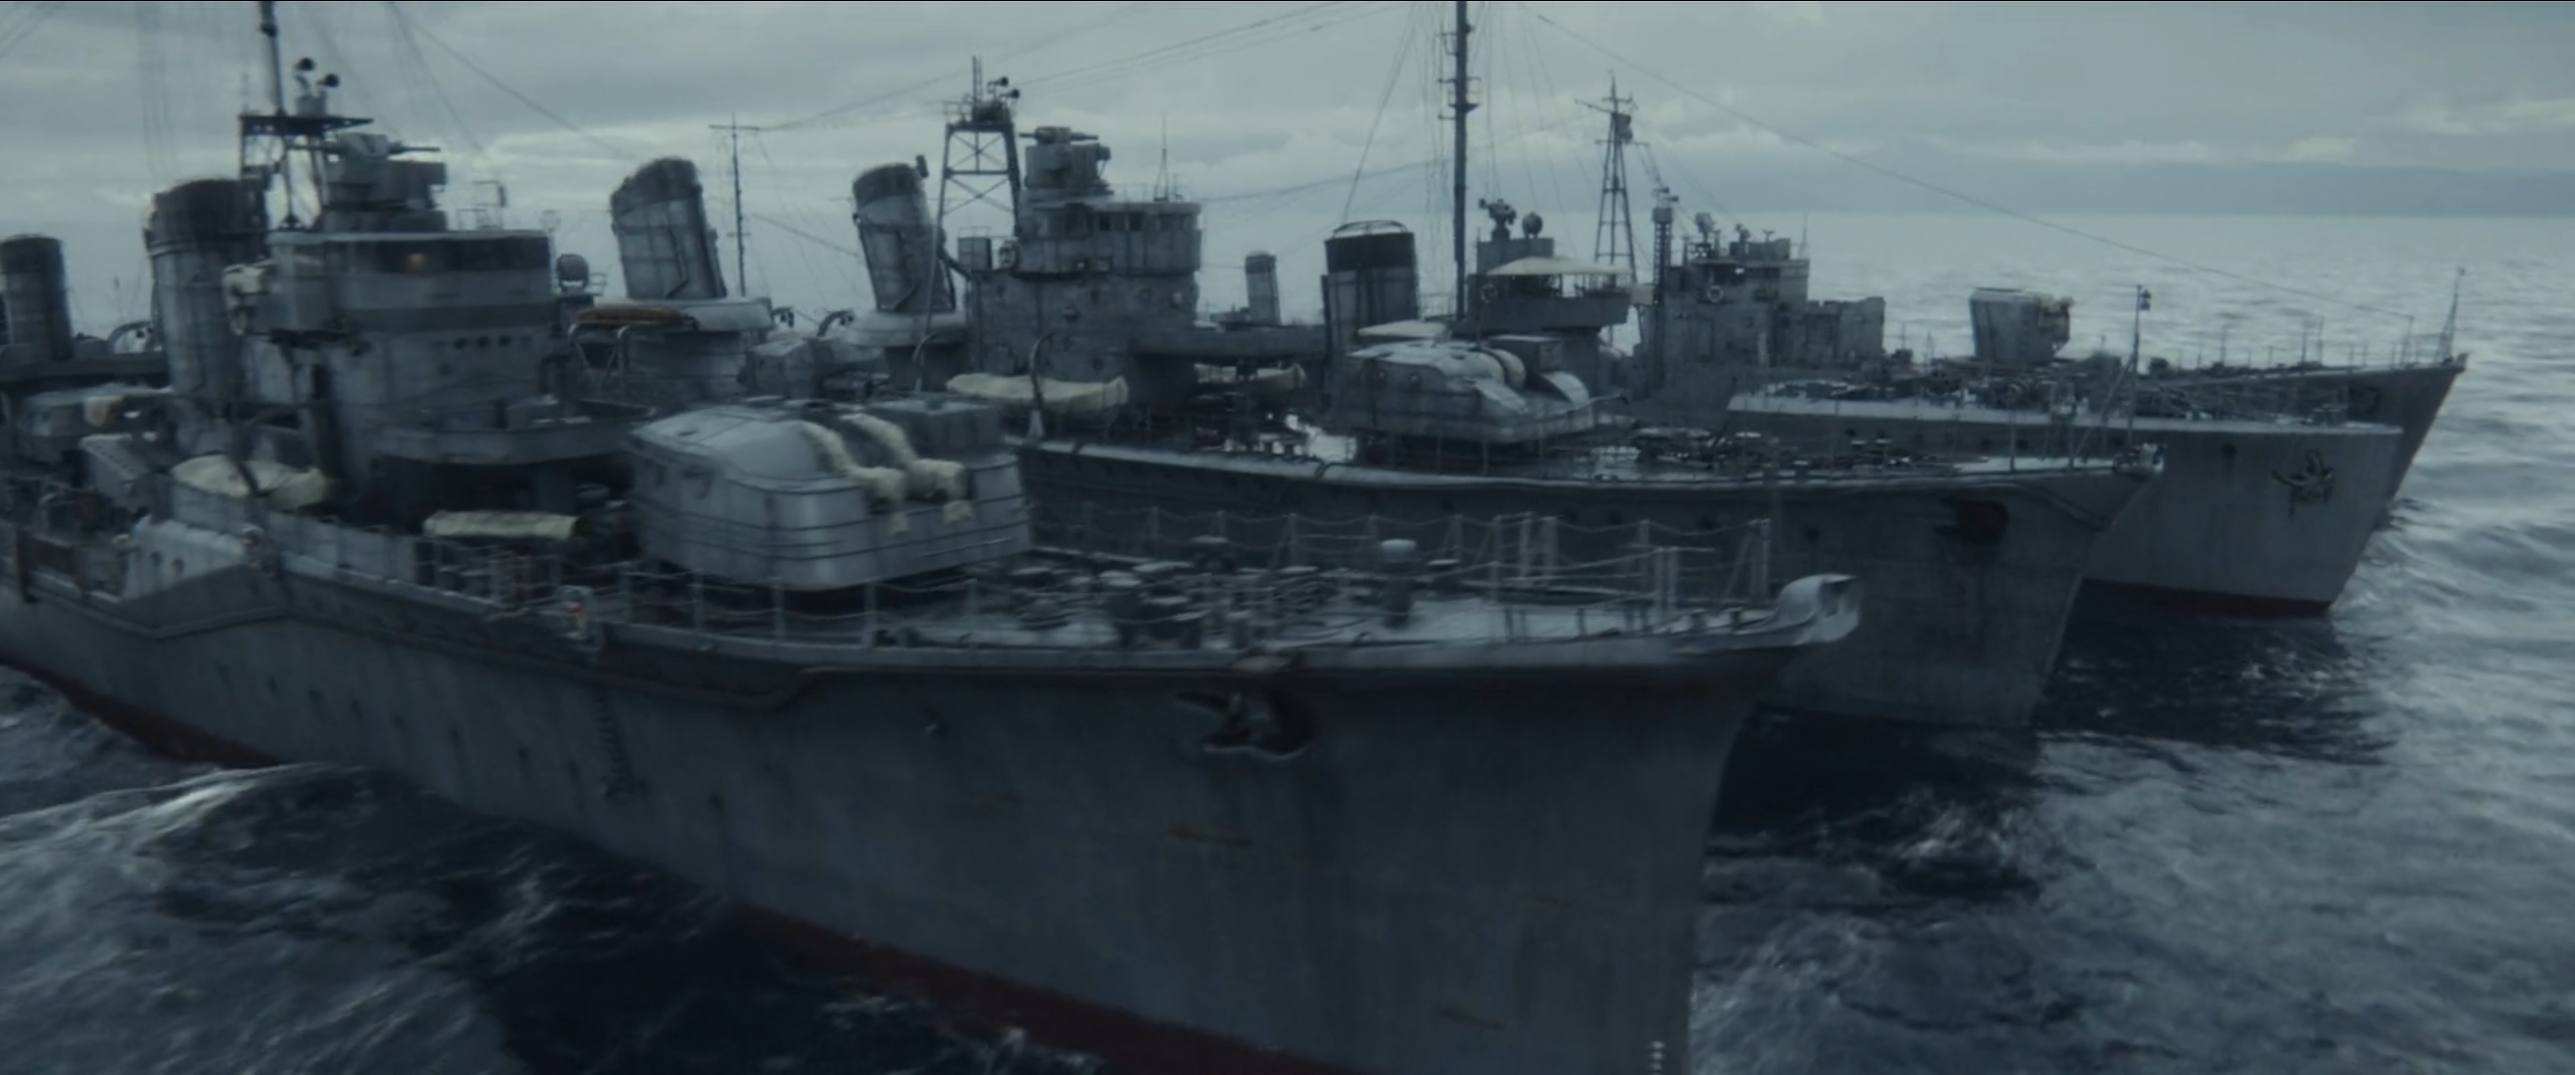
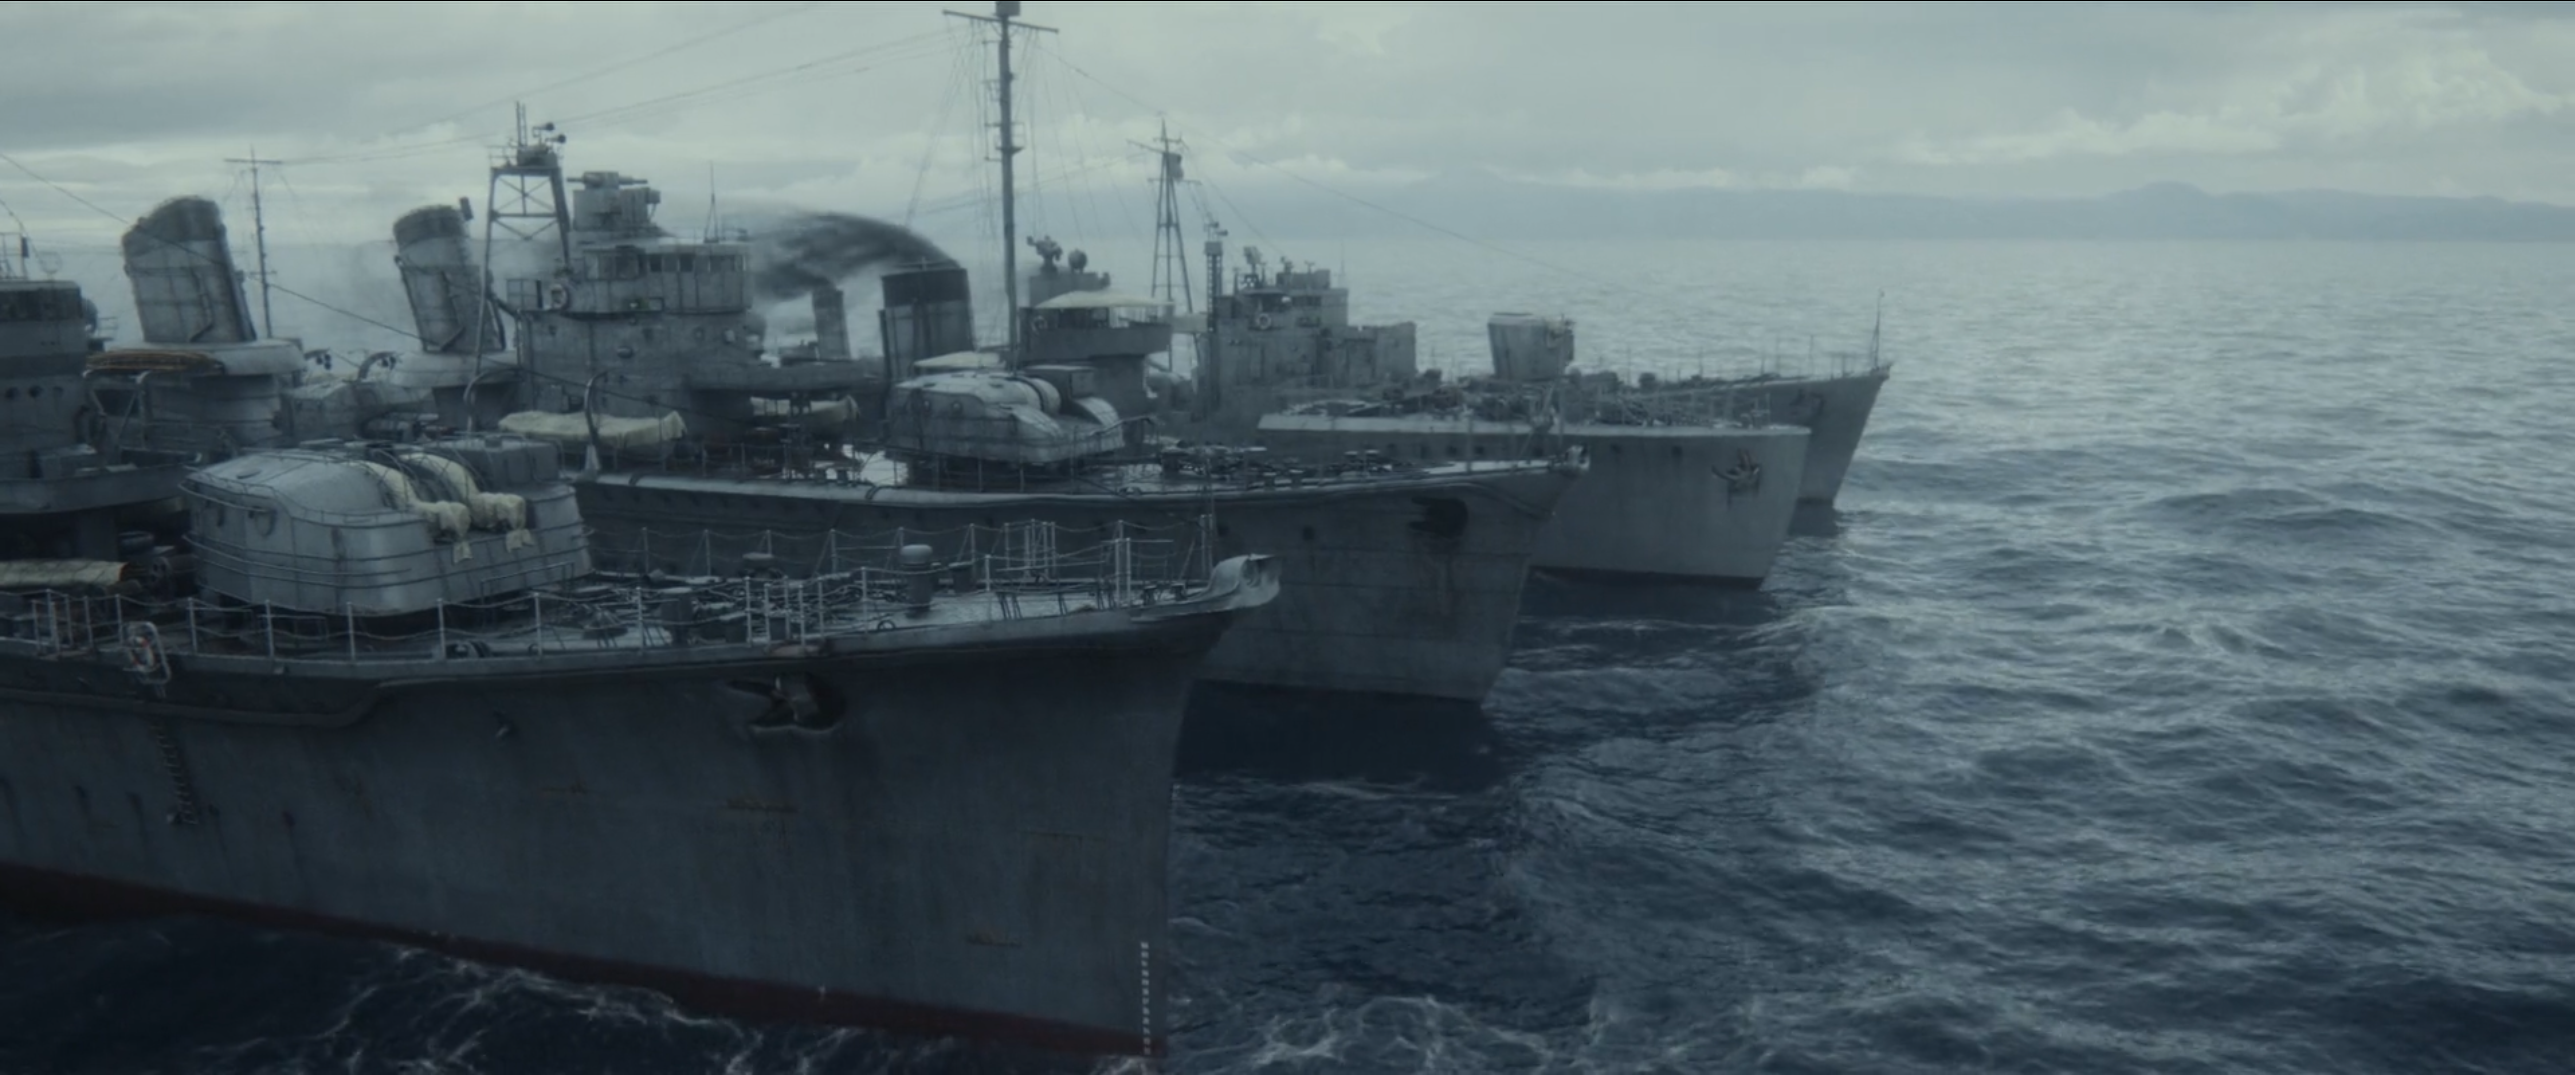
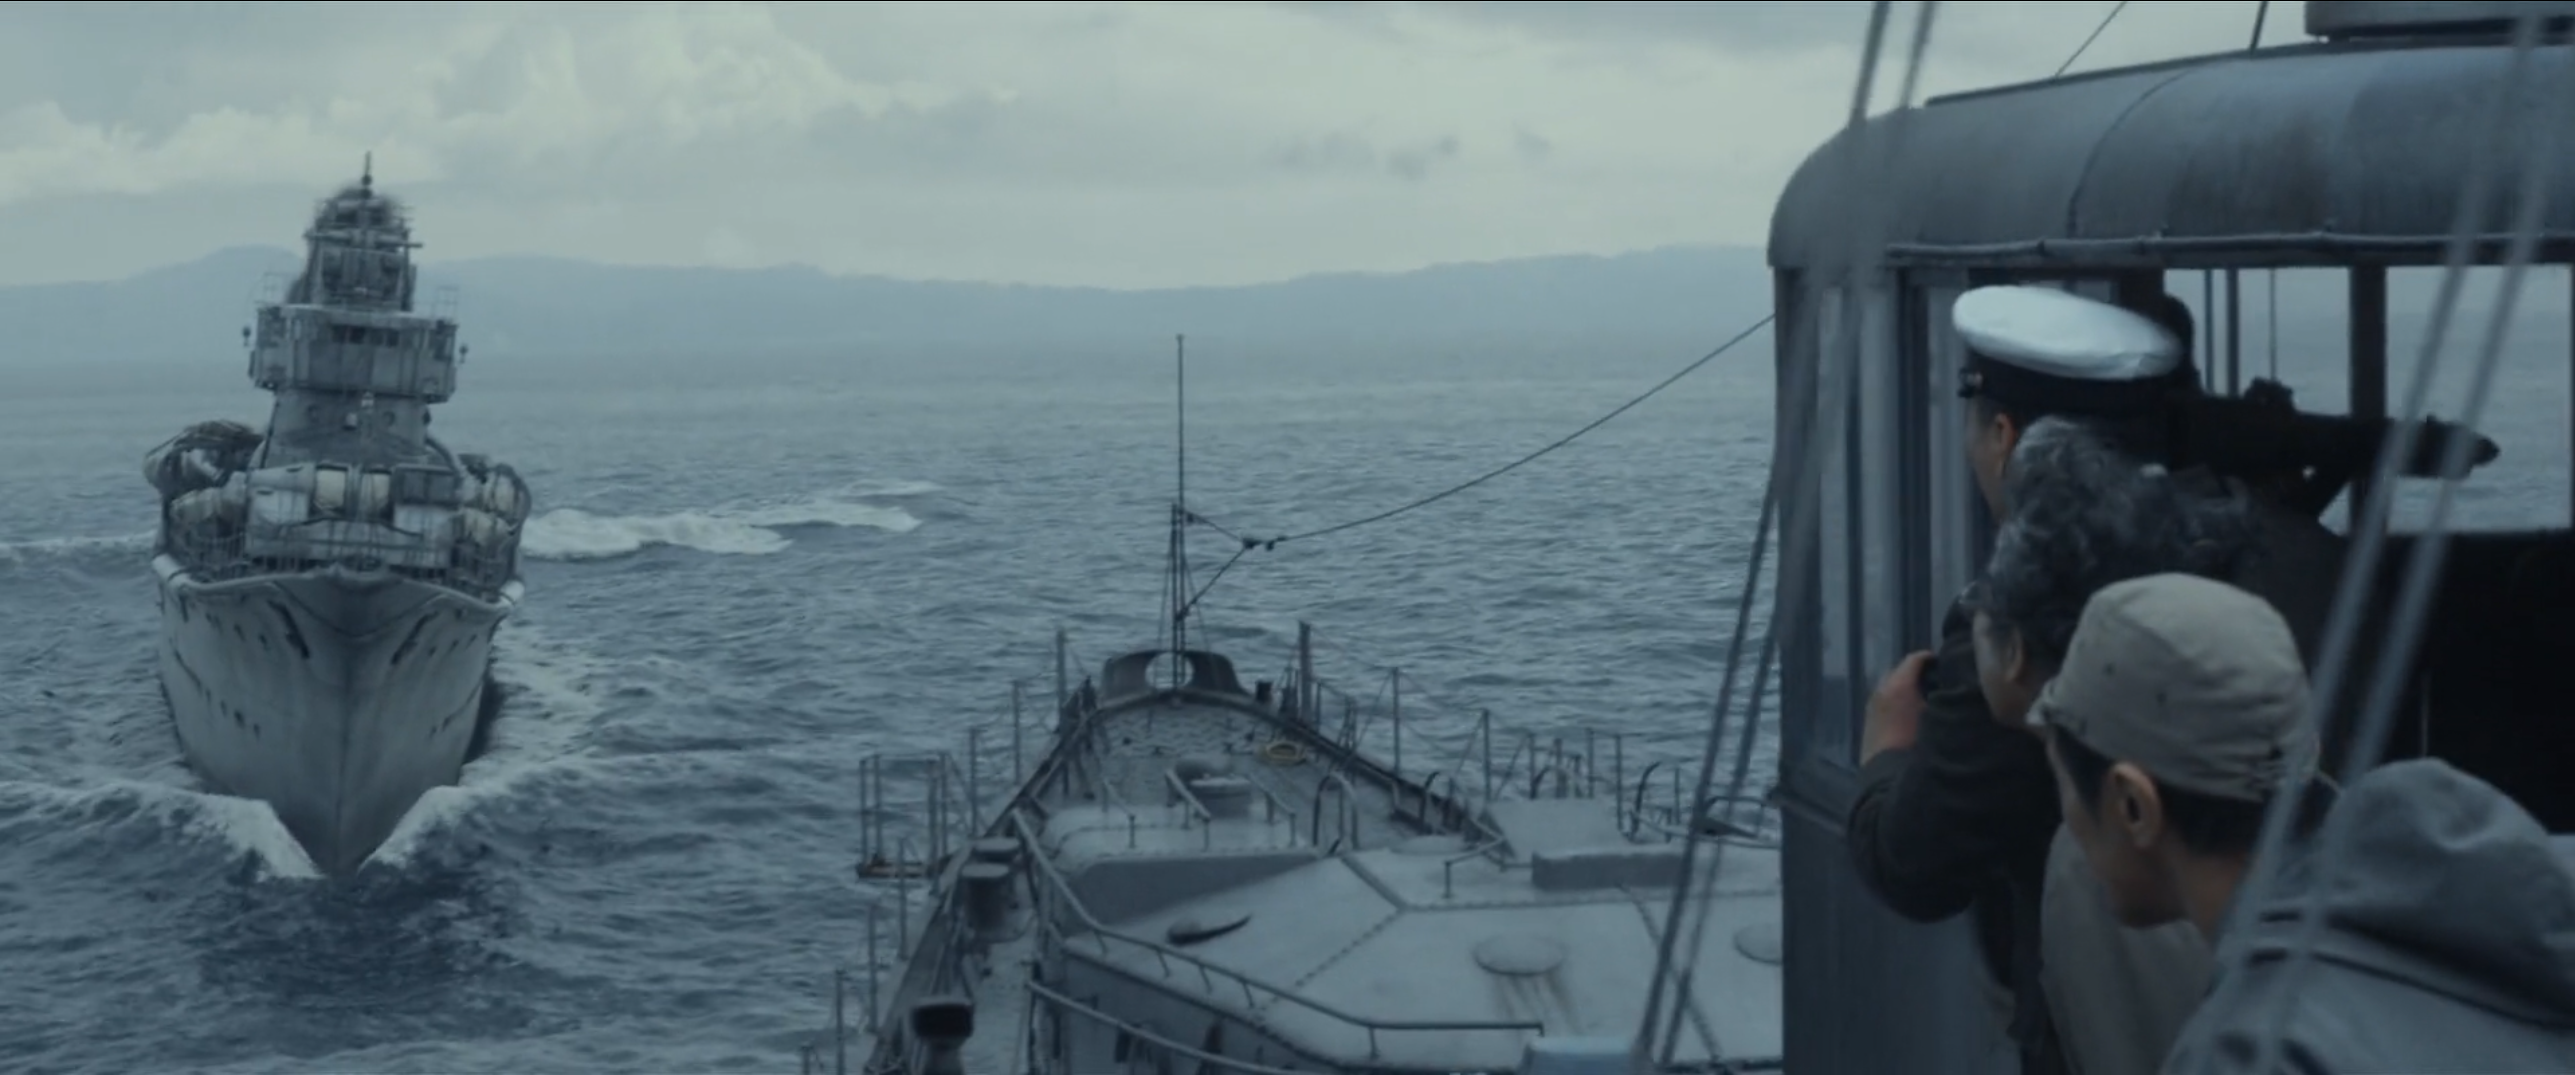
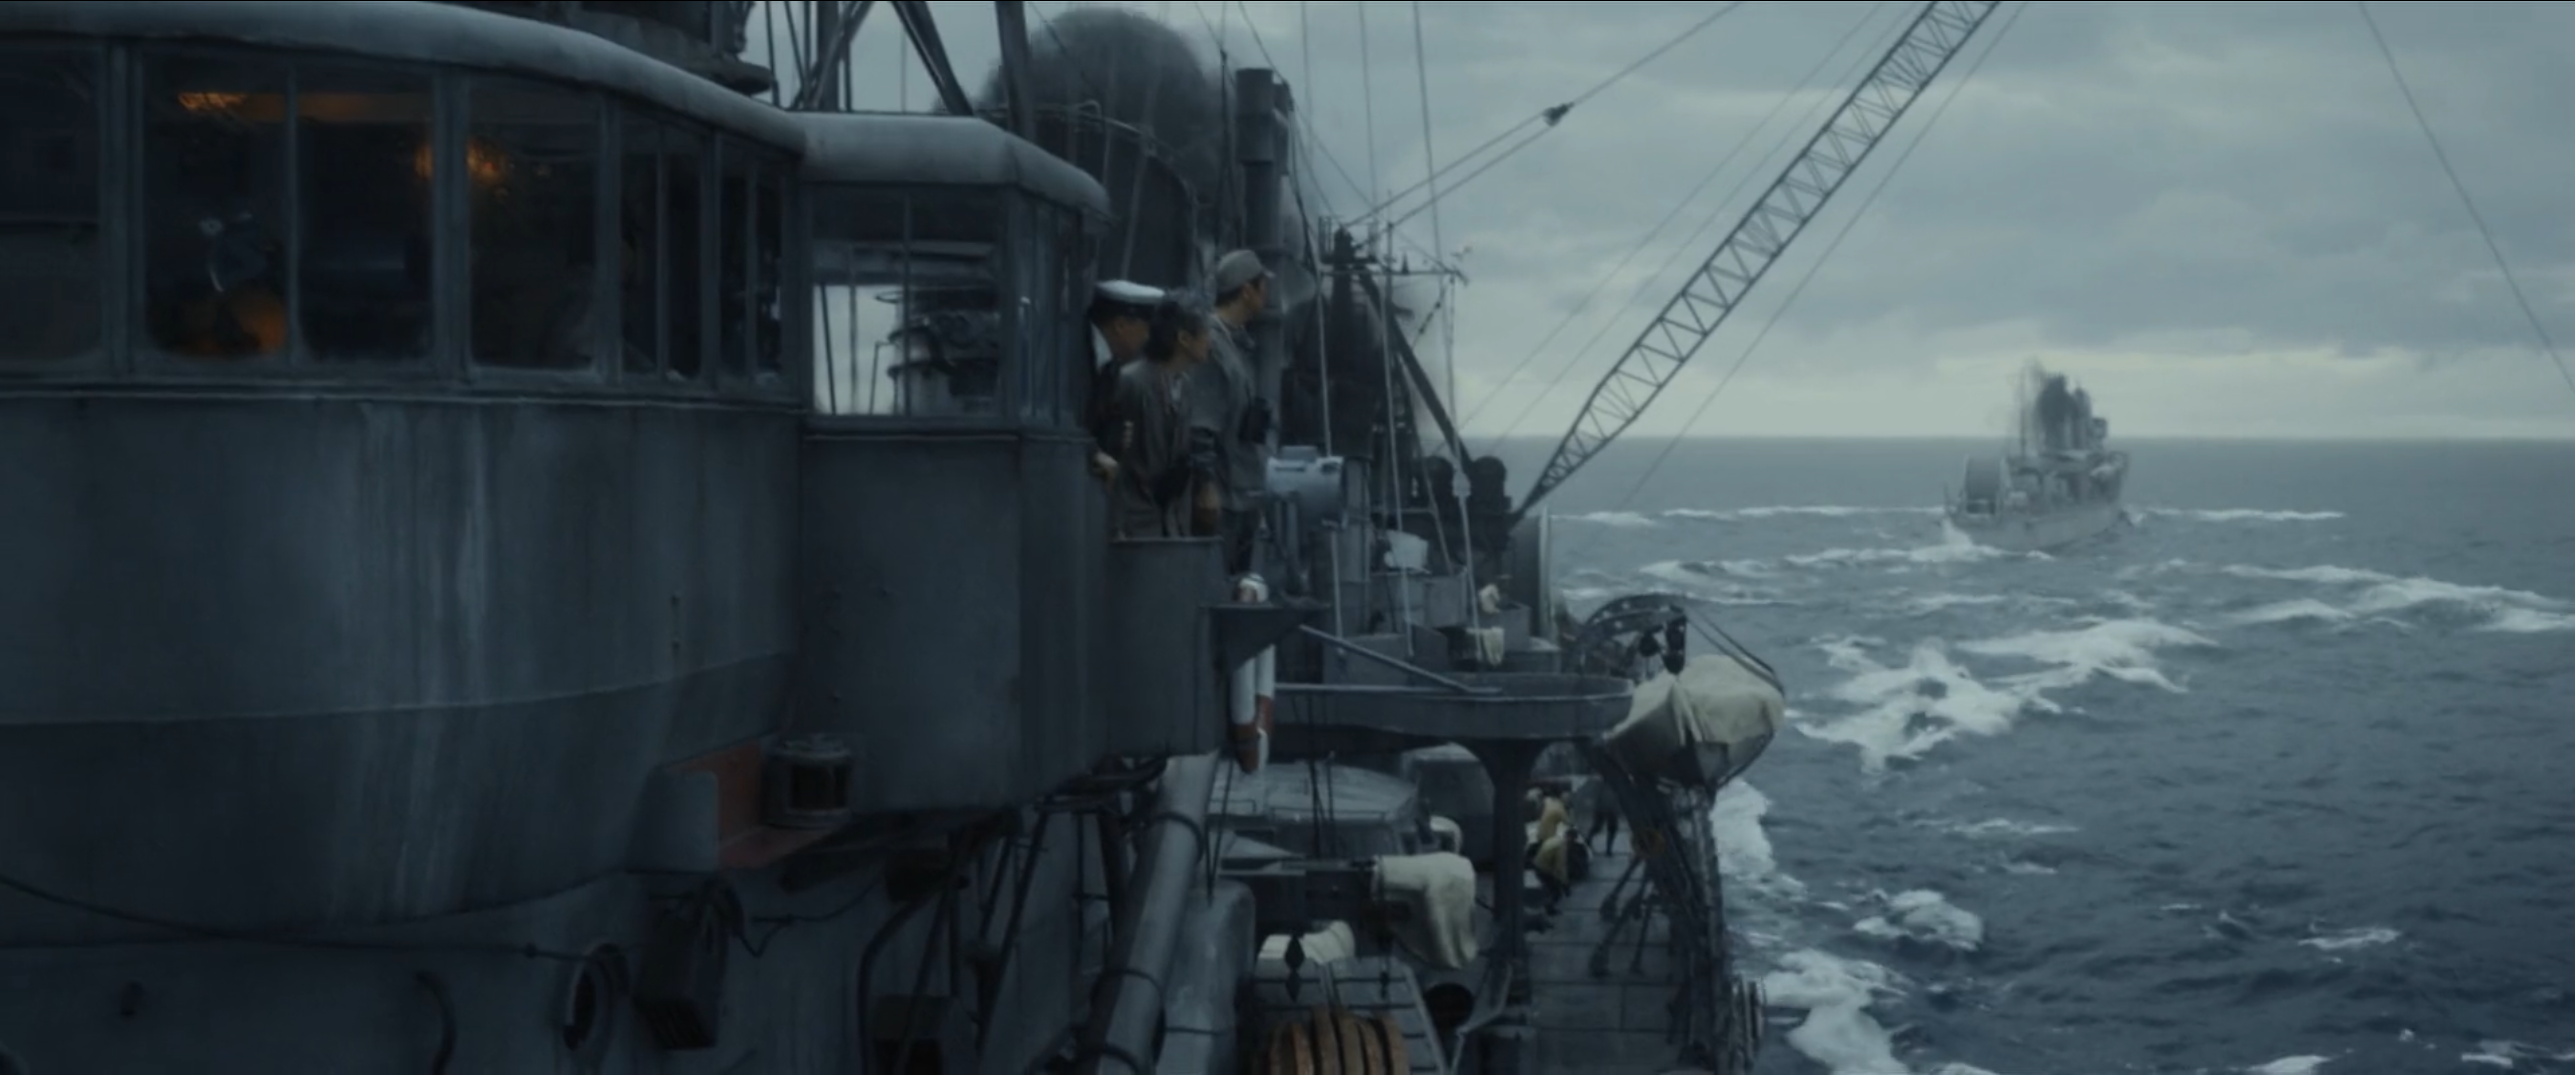
 (From furthest to closest) Yukikaze, Hibiki, Yūkaze, and Keyaki sailing toward Sagami Bay
 -

-
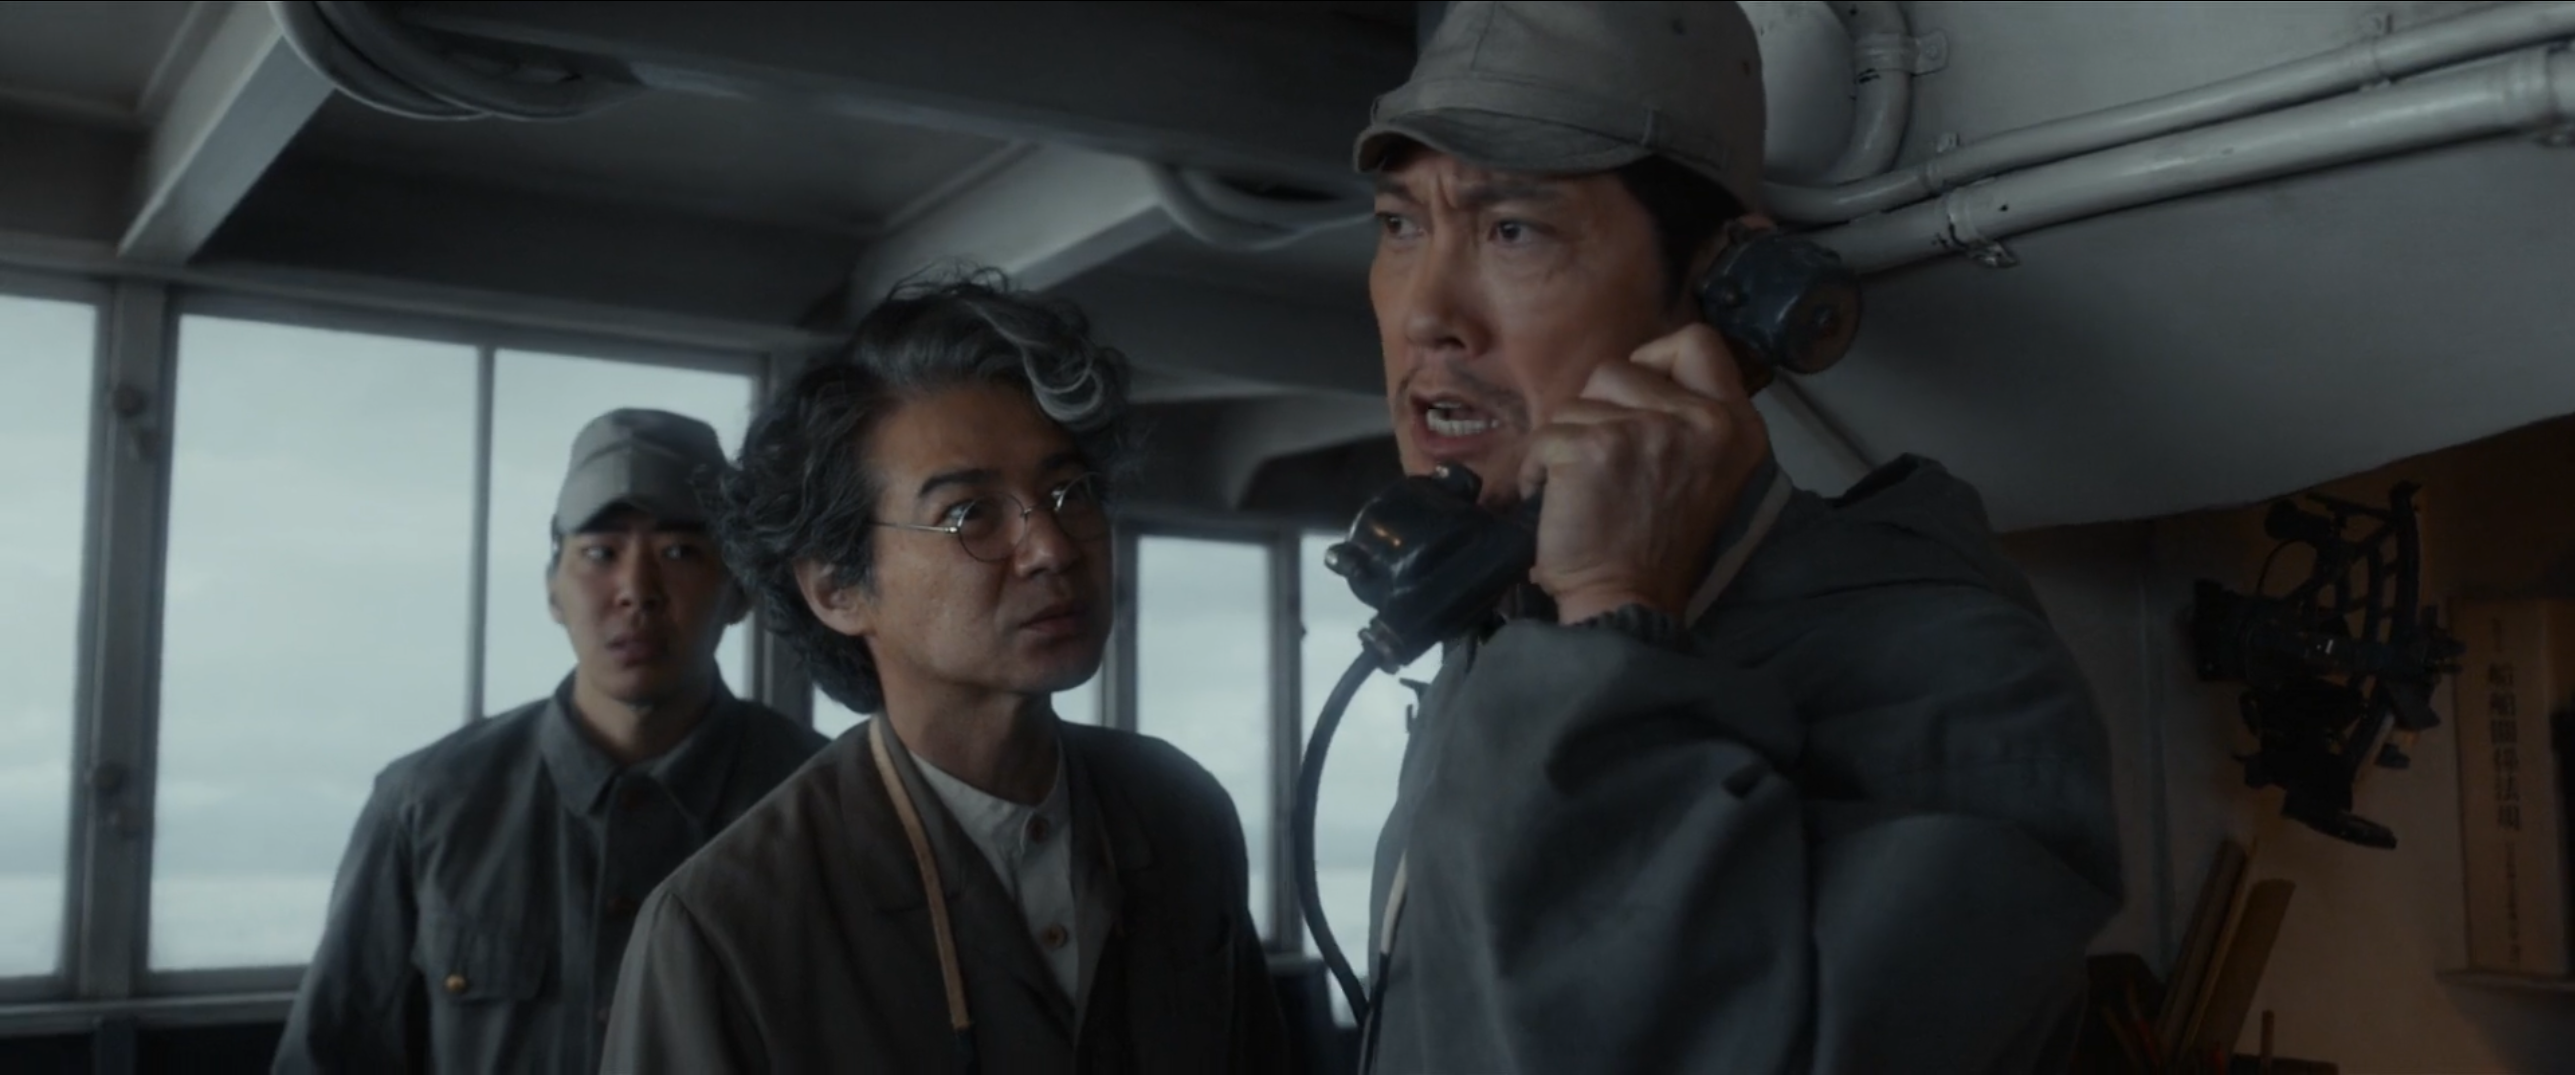
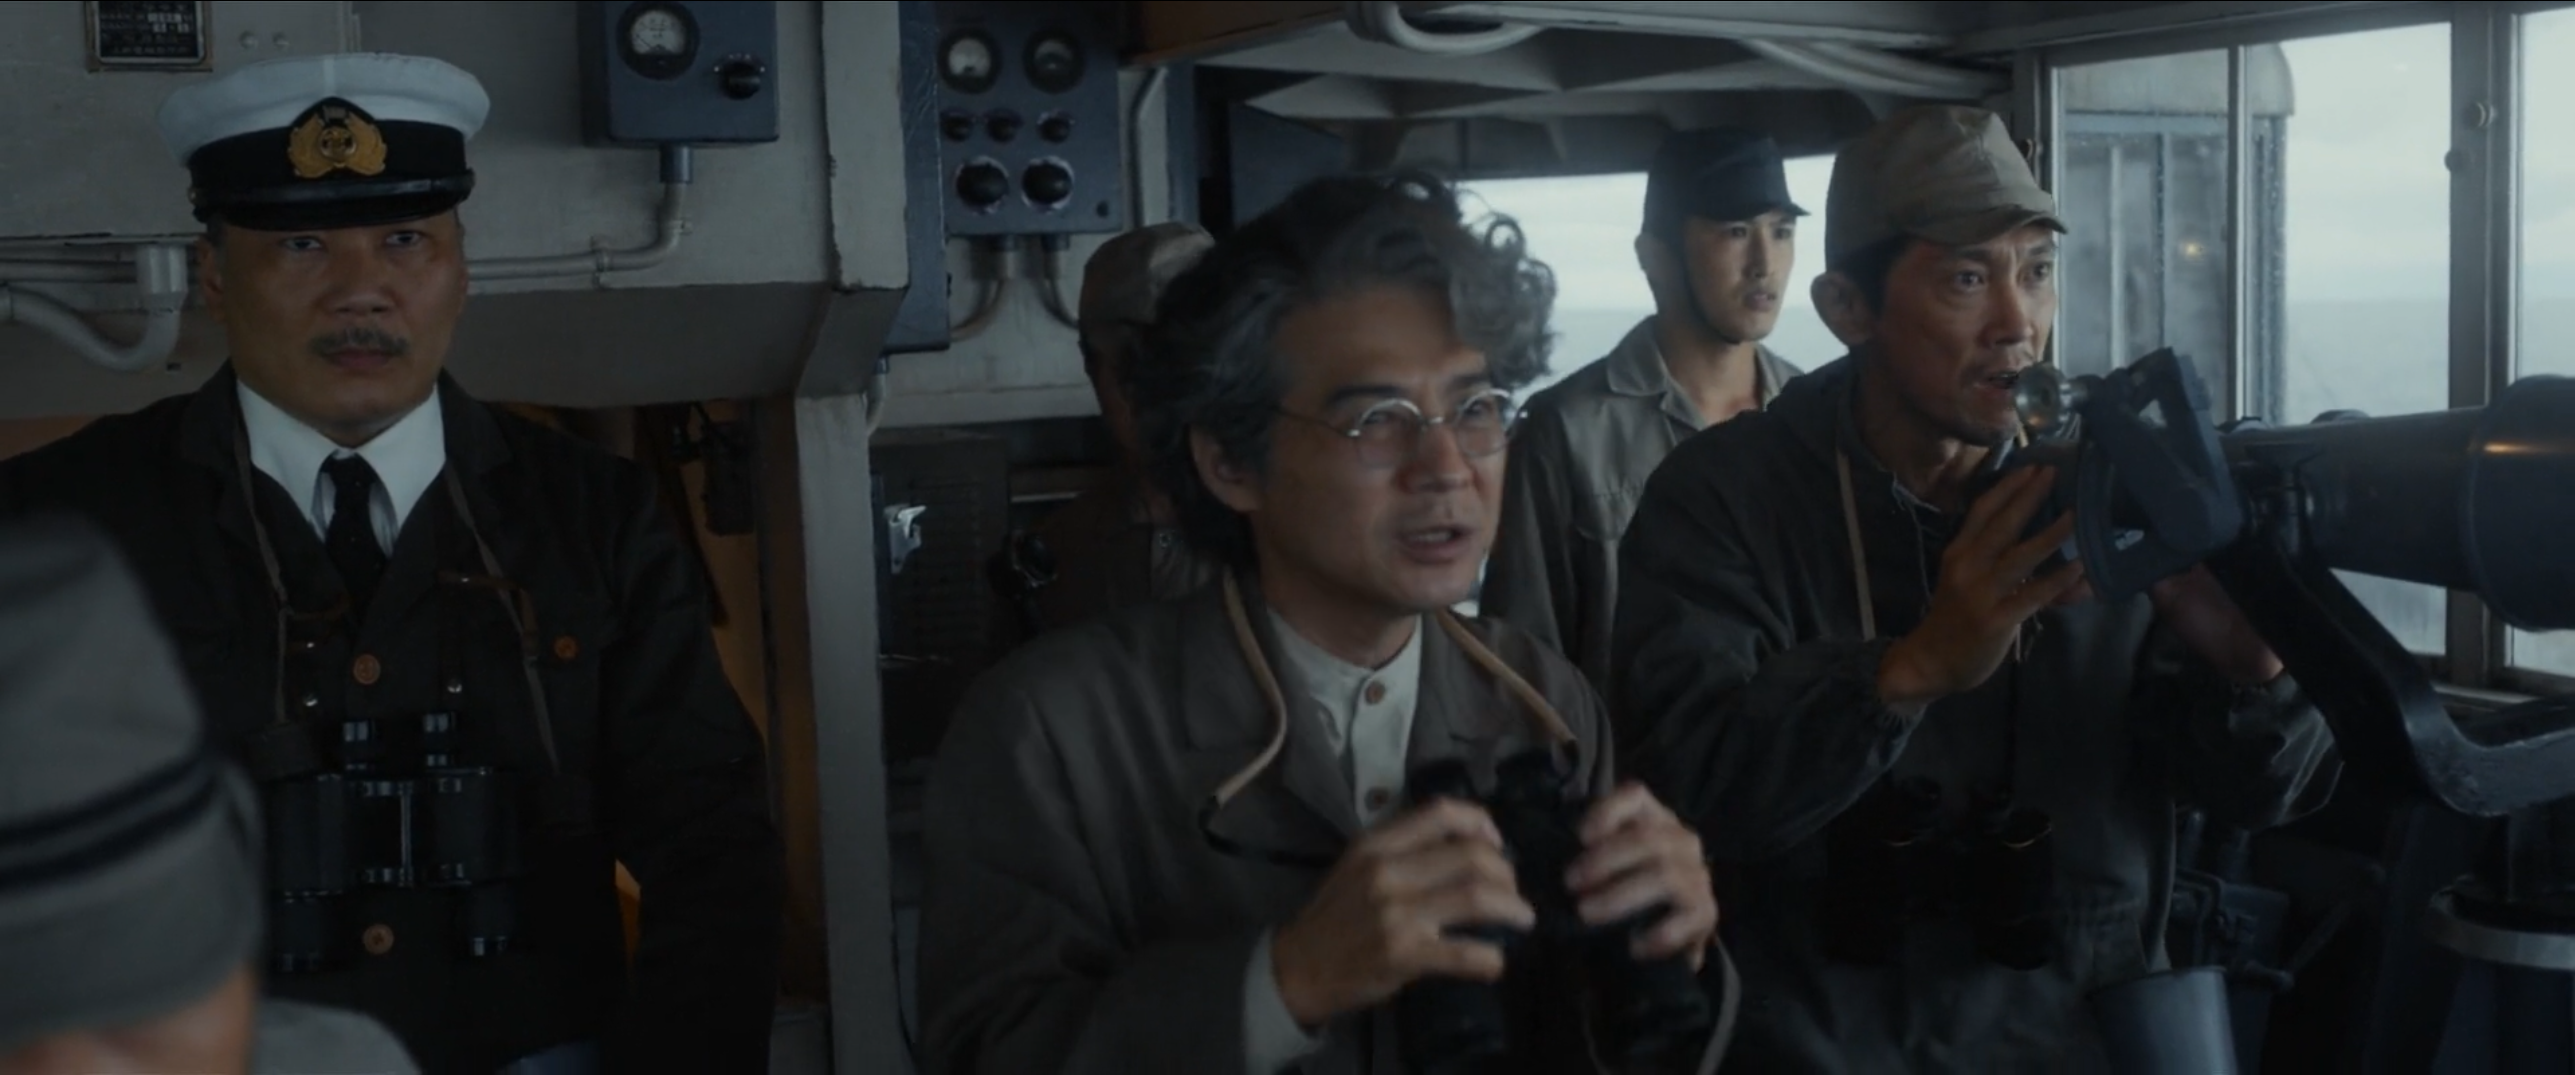
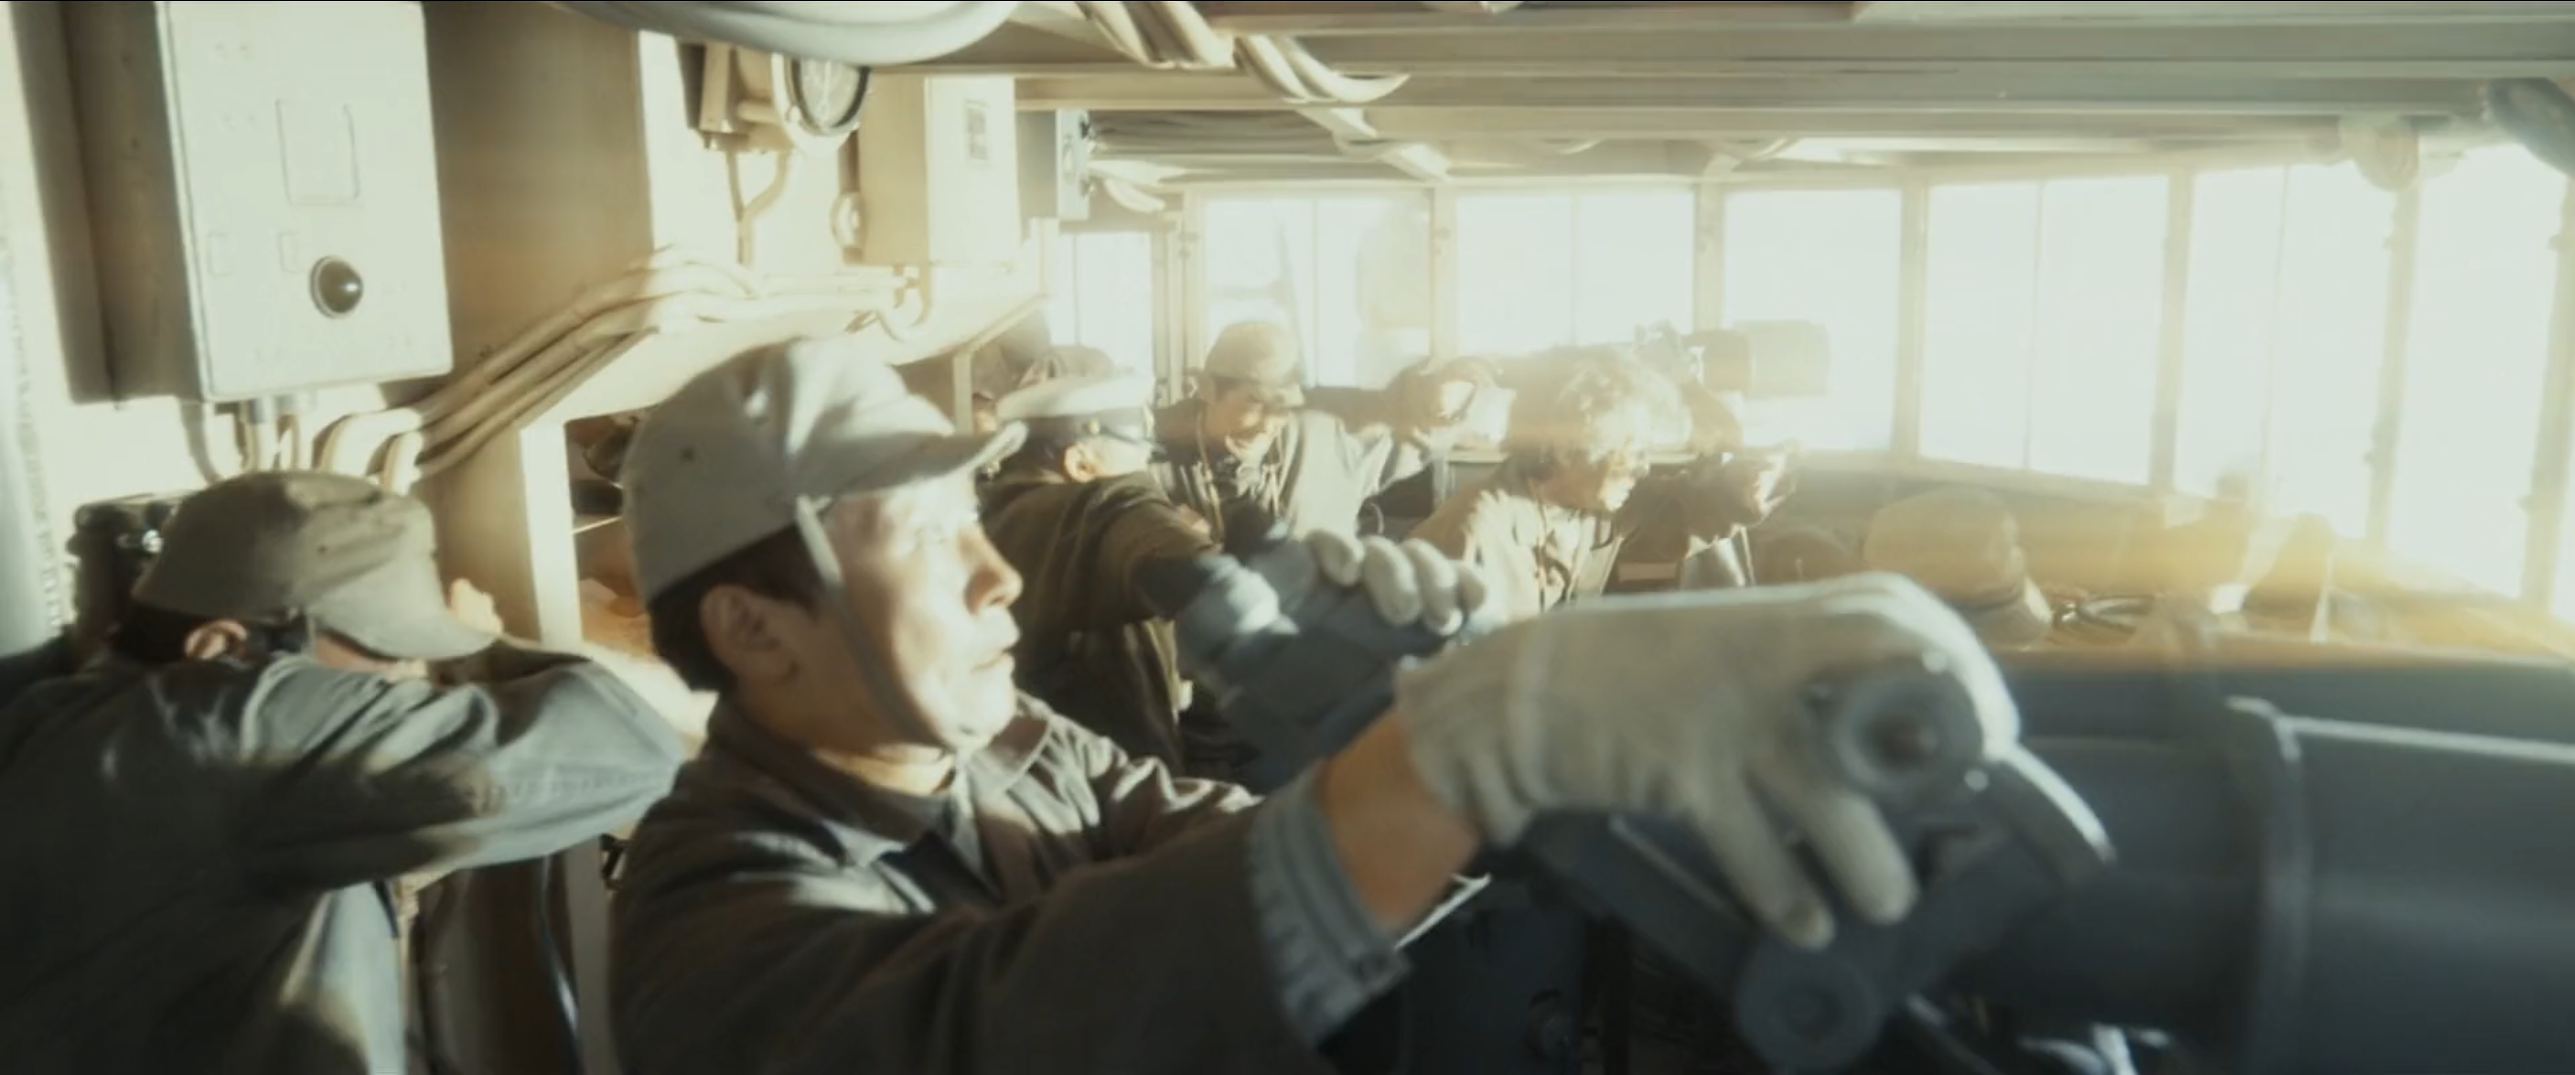
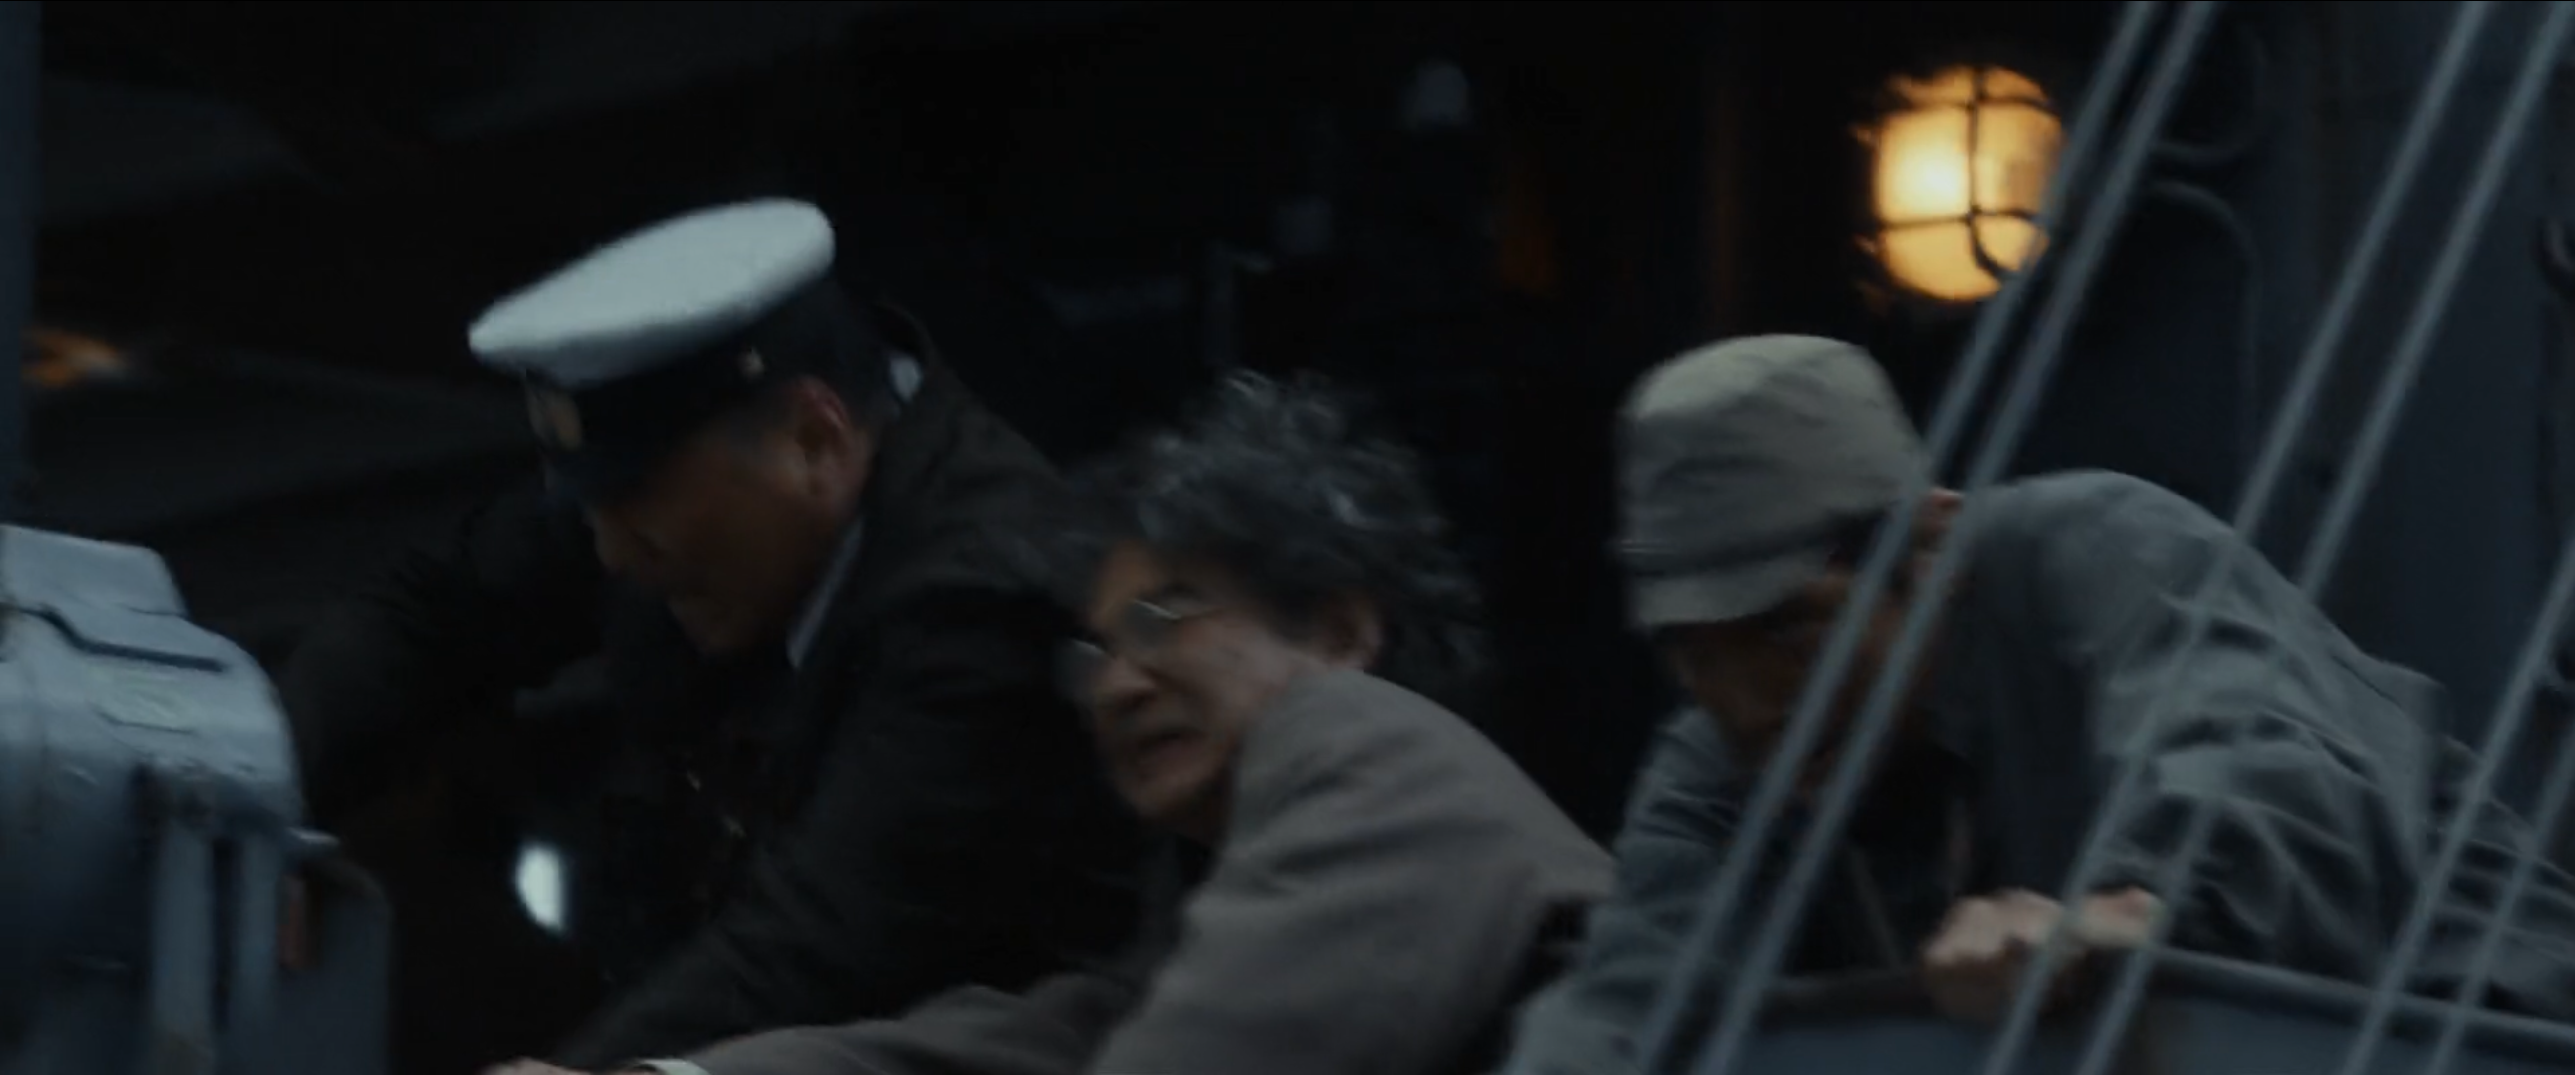
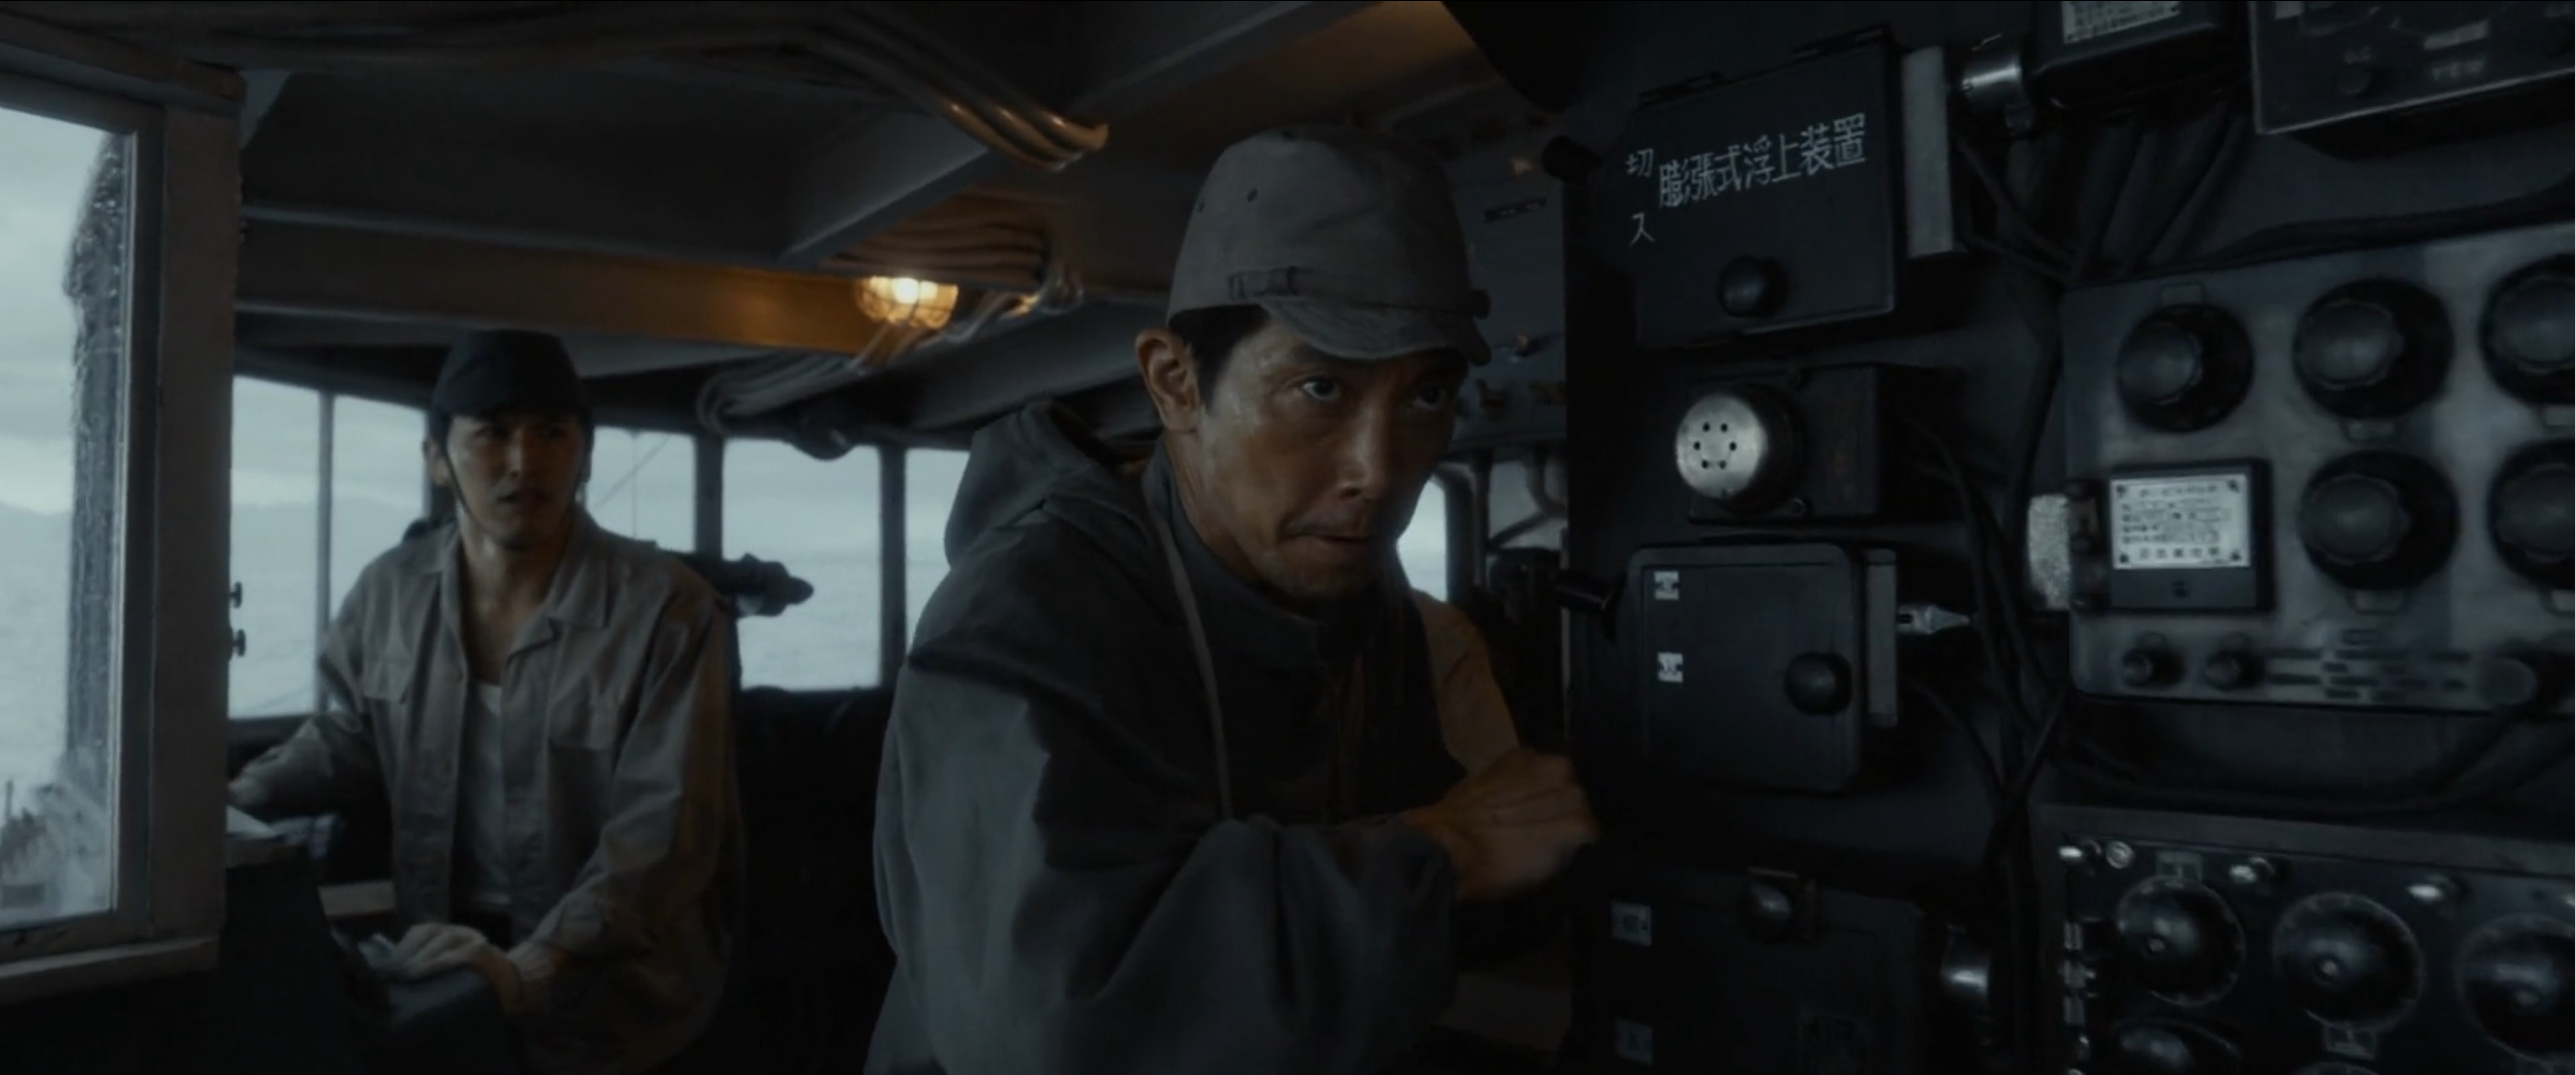
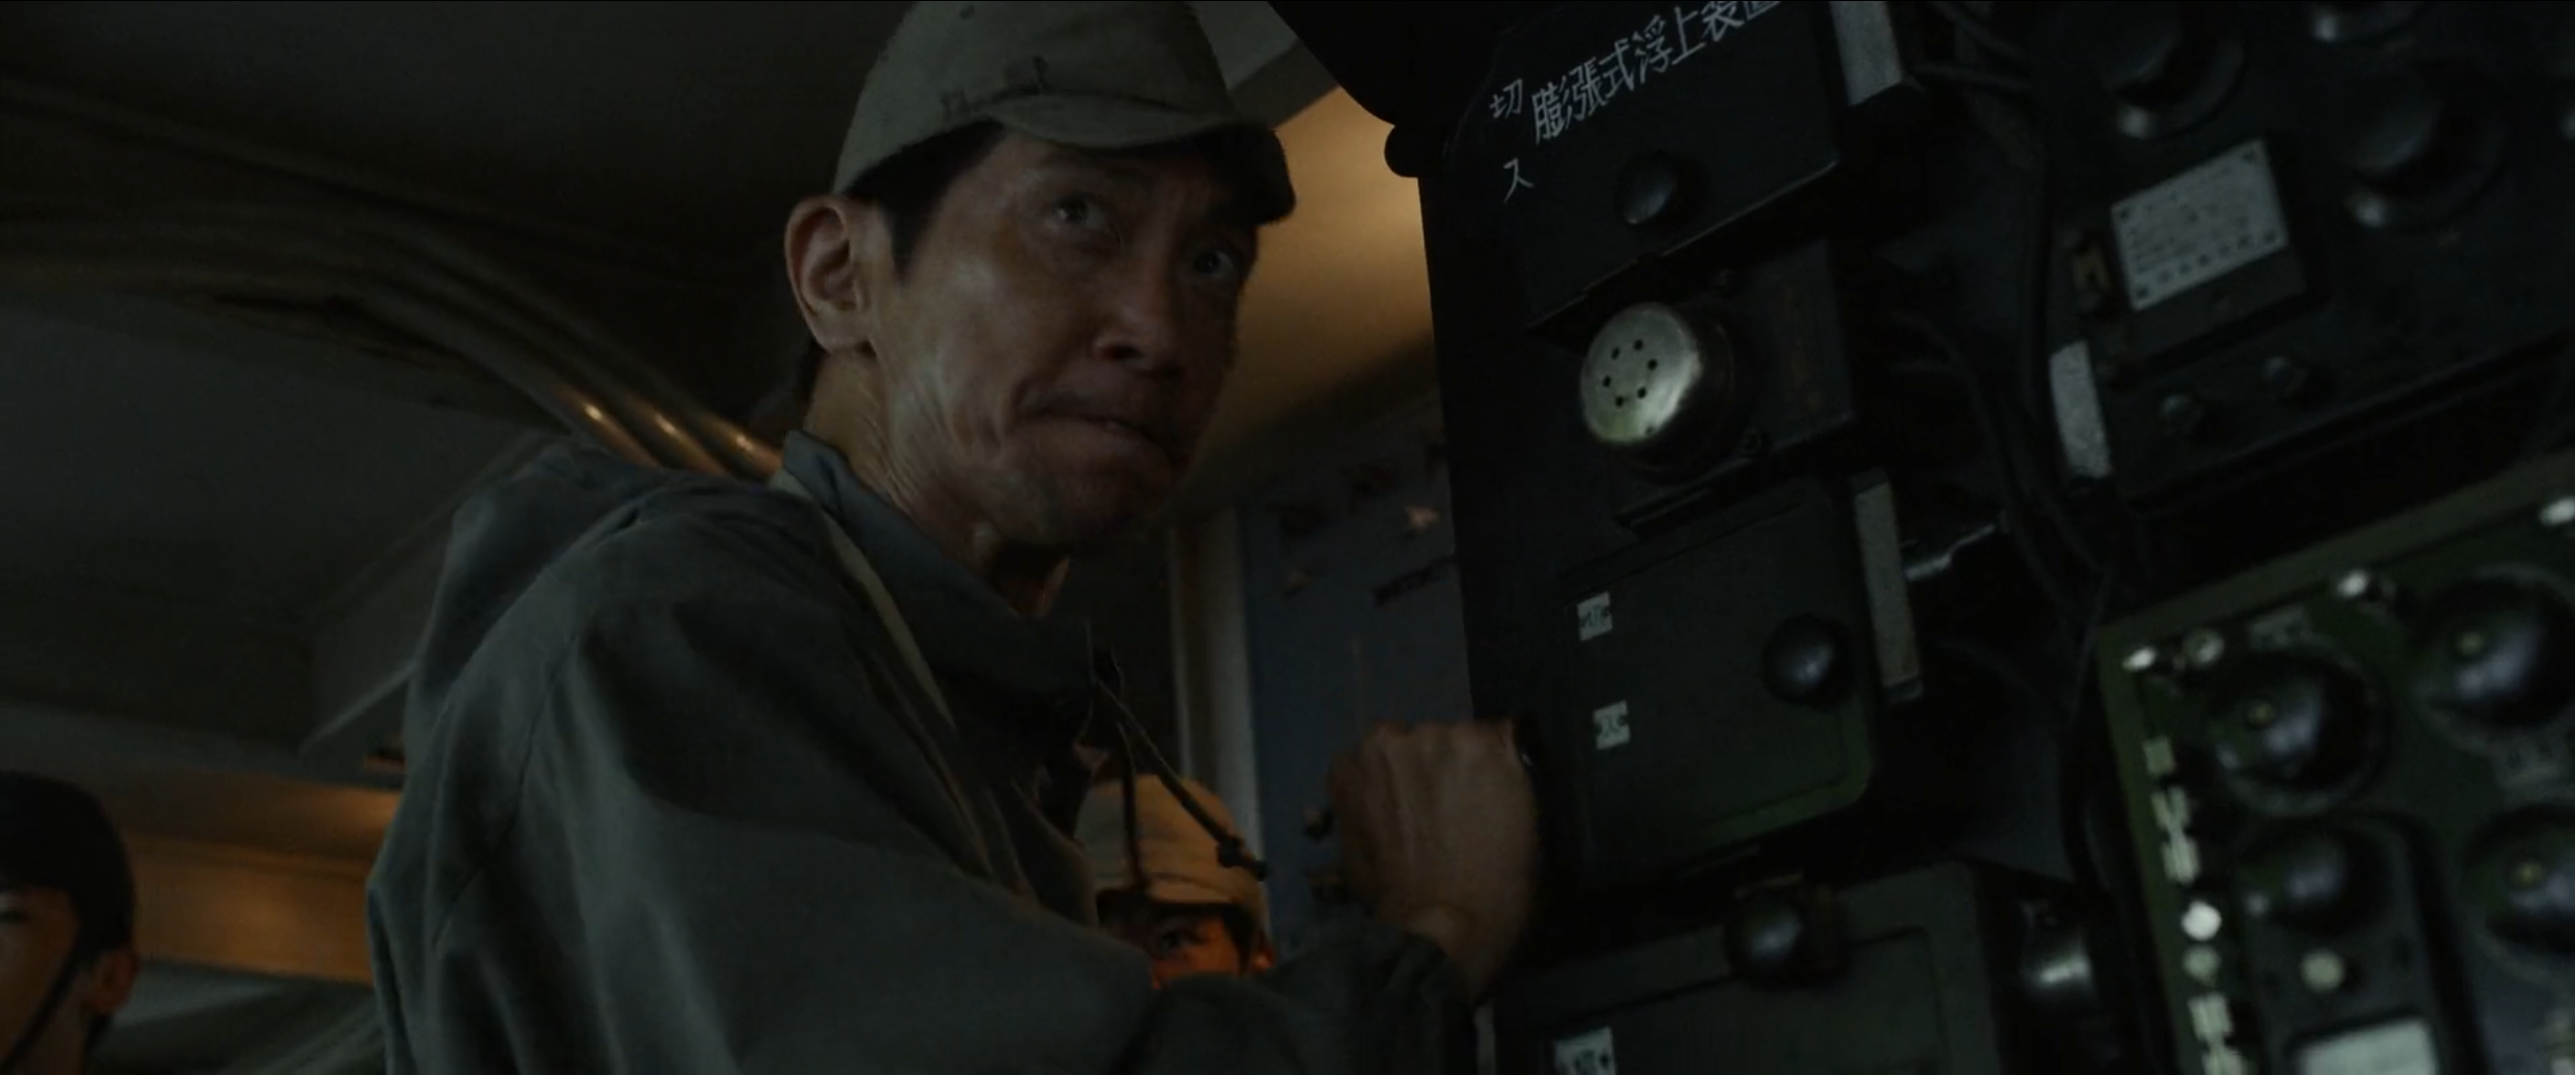
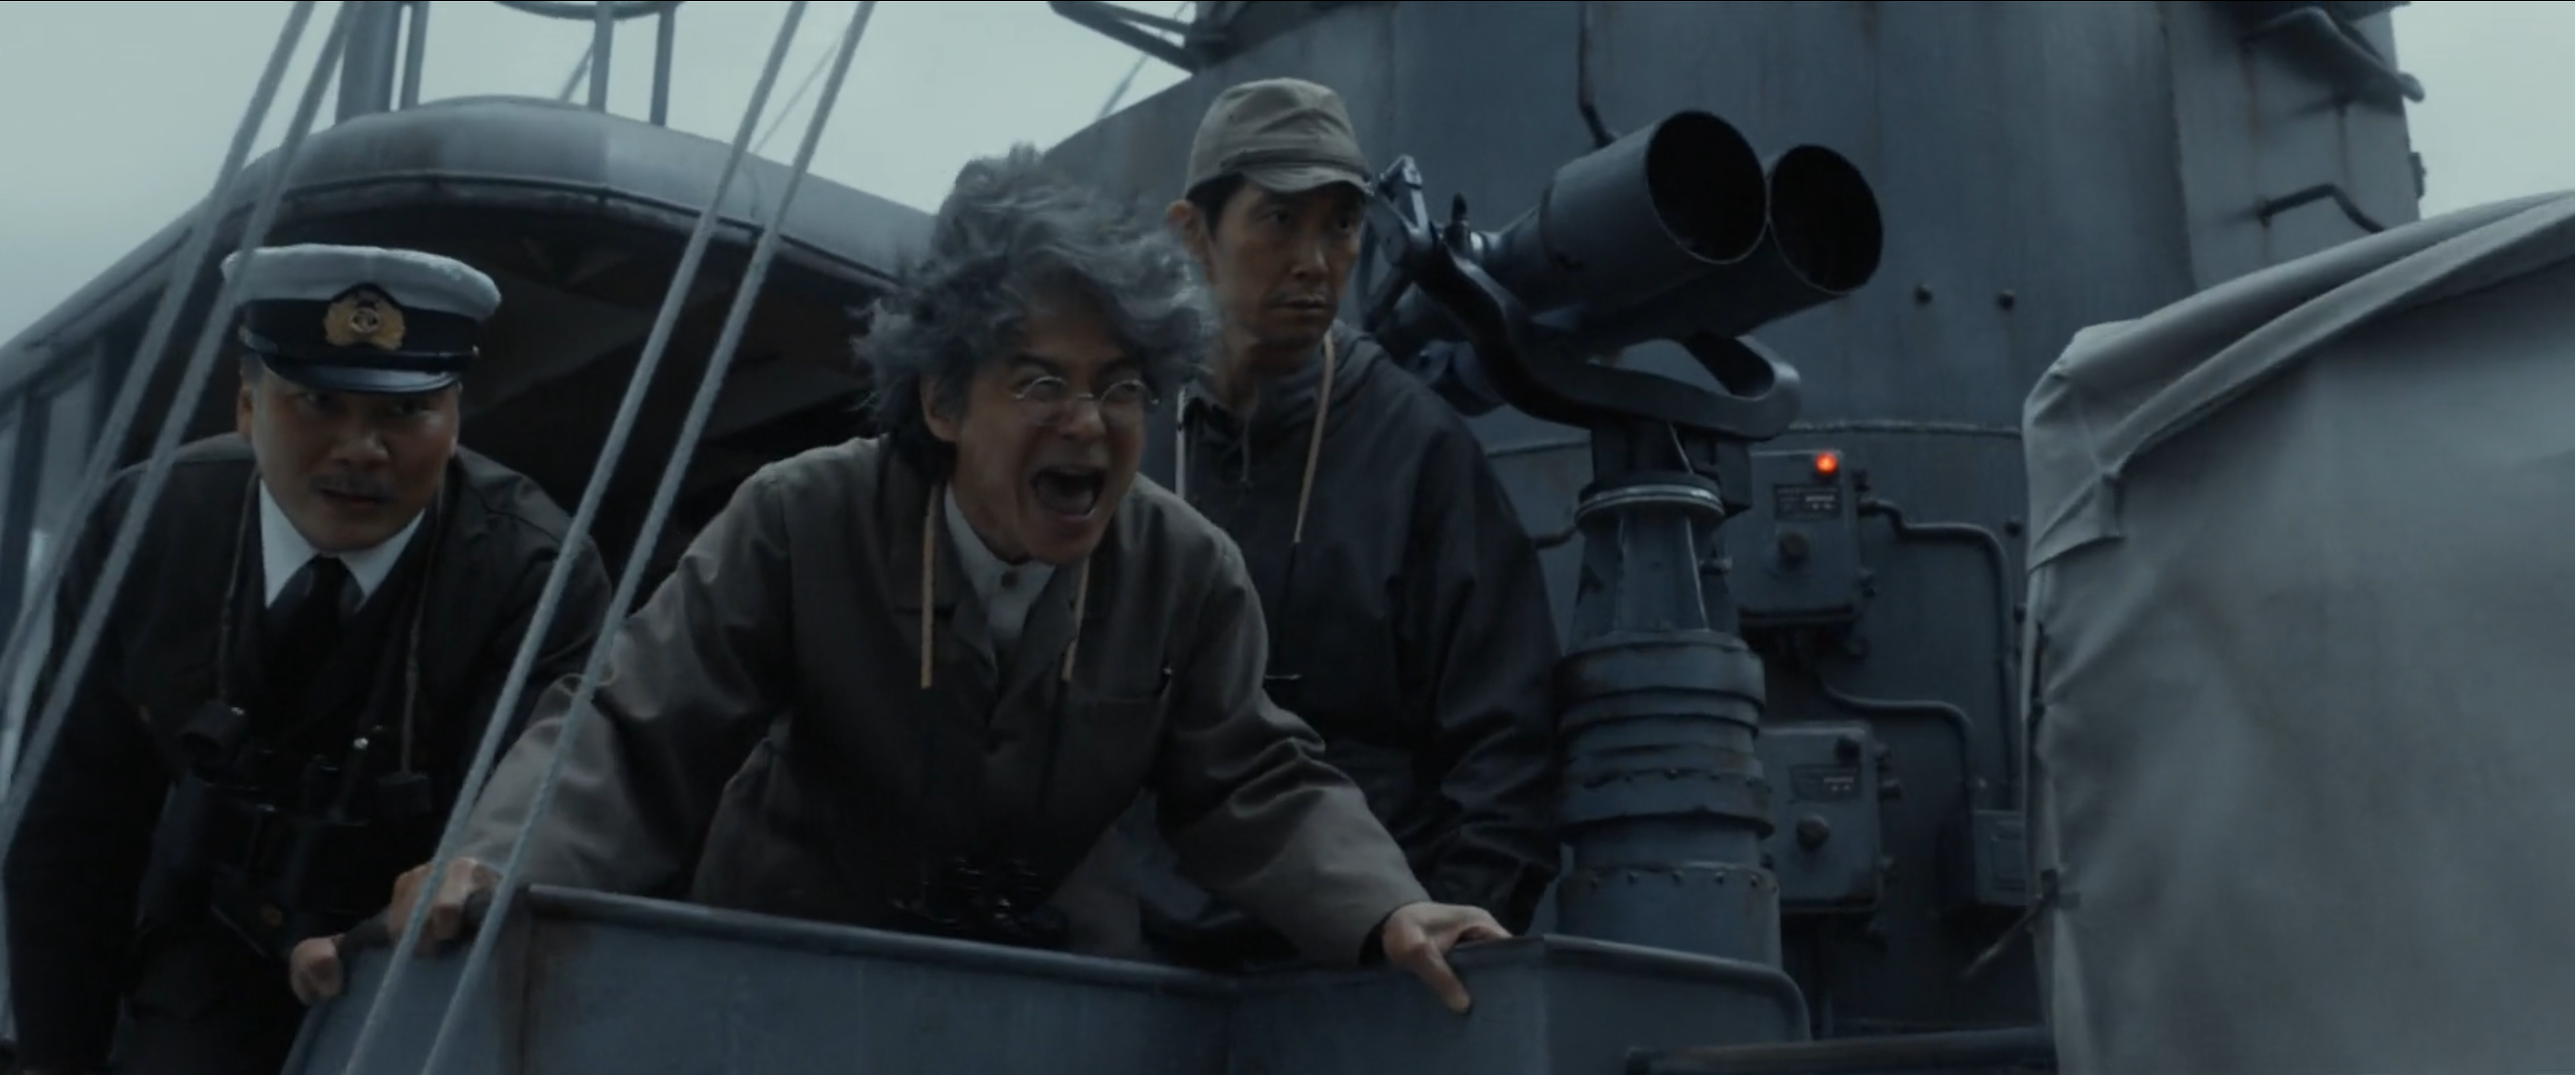
 The interior of Yukikaze's bridge
 -

-
-

-

-

-
-

-

-
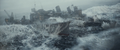
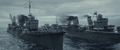
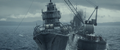
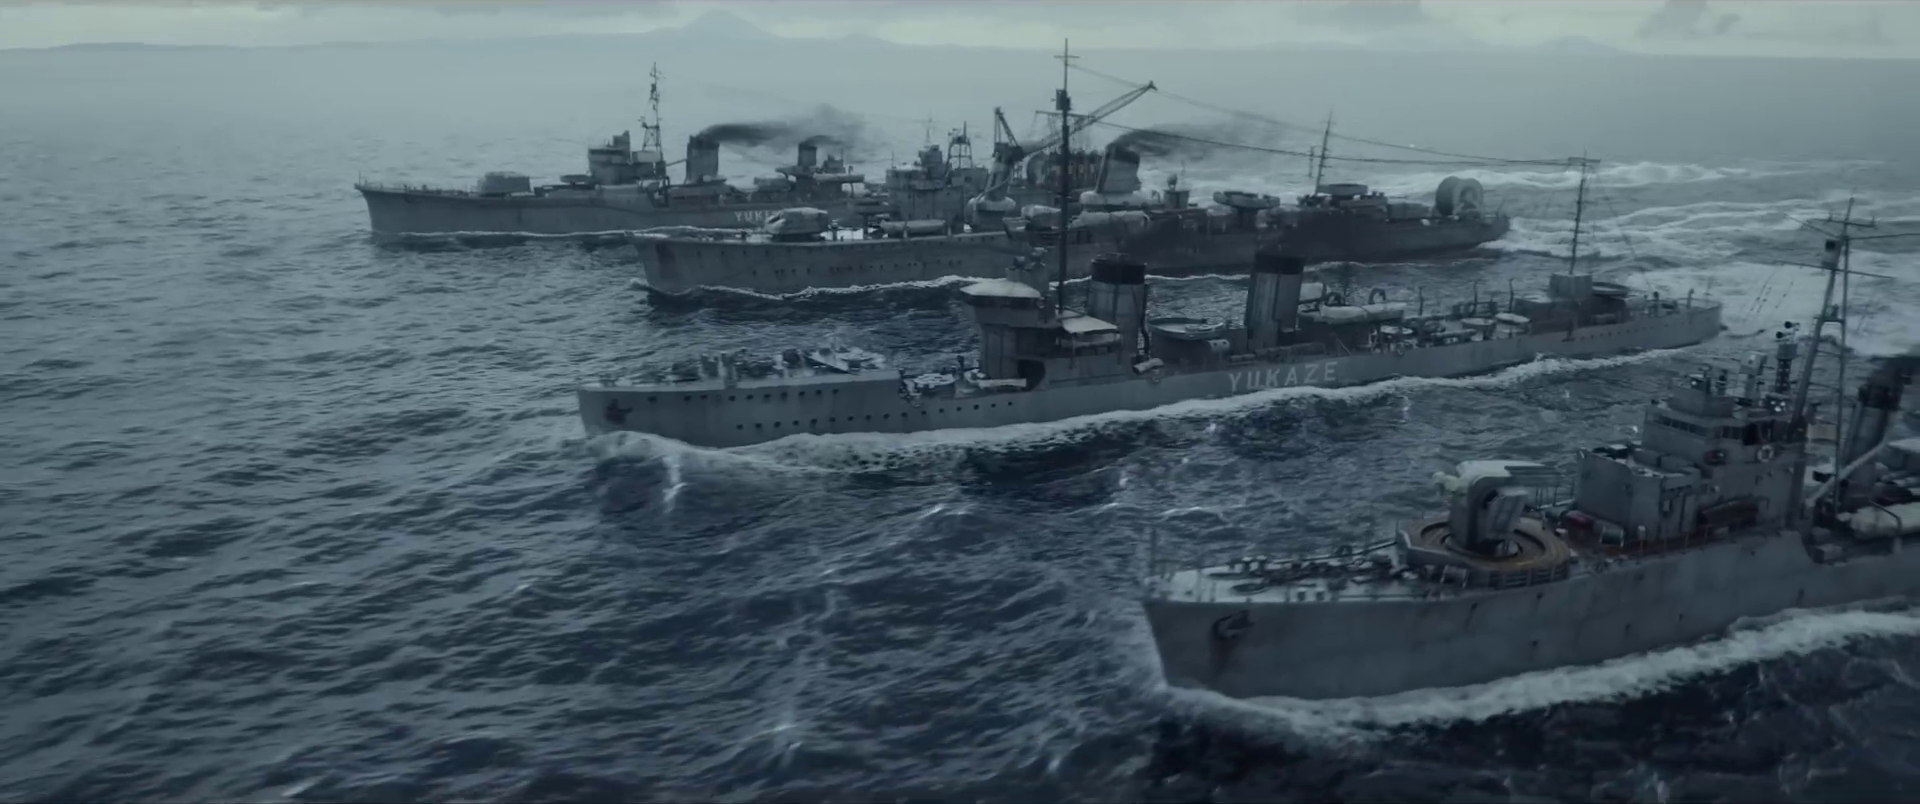
 (From closest to furthest) Yukikaze, Hibiki, Yūkaze, and Keyaki in position before the operation
 -
 Yūkaze and Keyaki sailing together toward Godzilla
 -
-
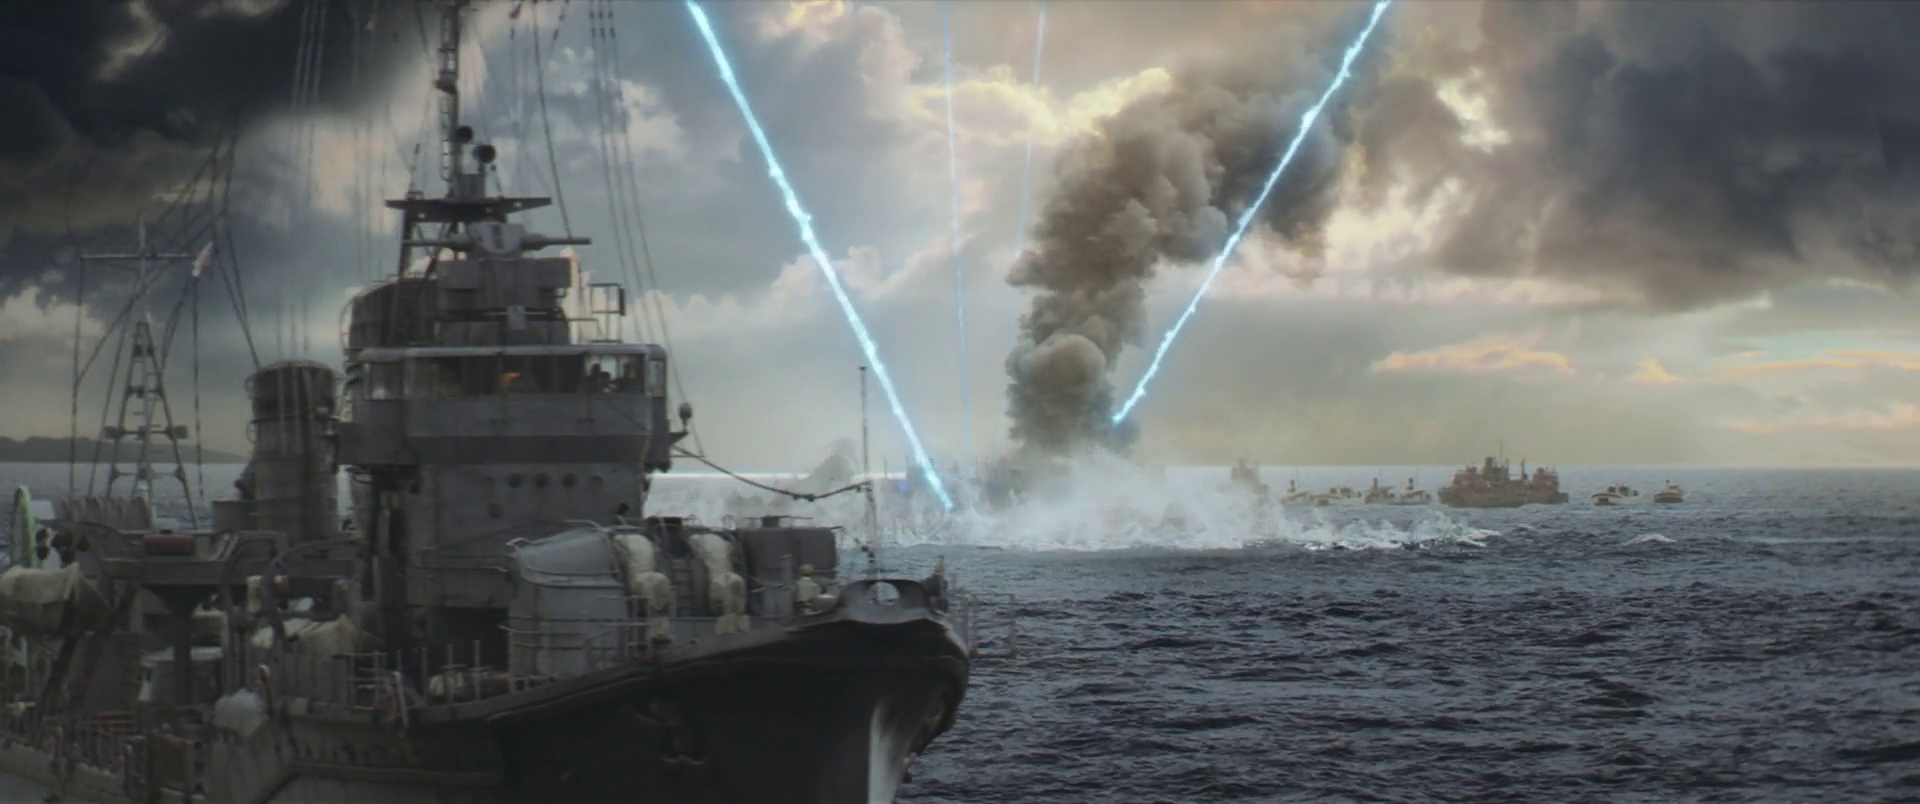
 Yūkaze and Keyaki exploding from Godzilla's atomic breath in front of Yukikaze (right) and Hibiki (left)
 -
 The light of the explosion flooding the bridge
 -

-

-
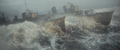
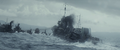
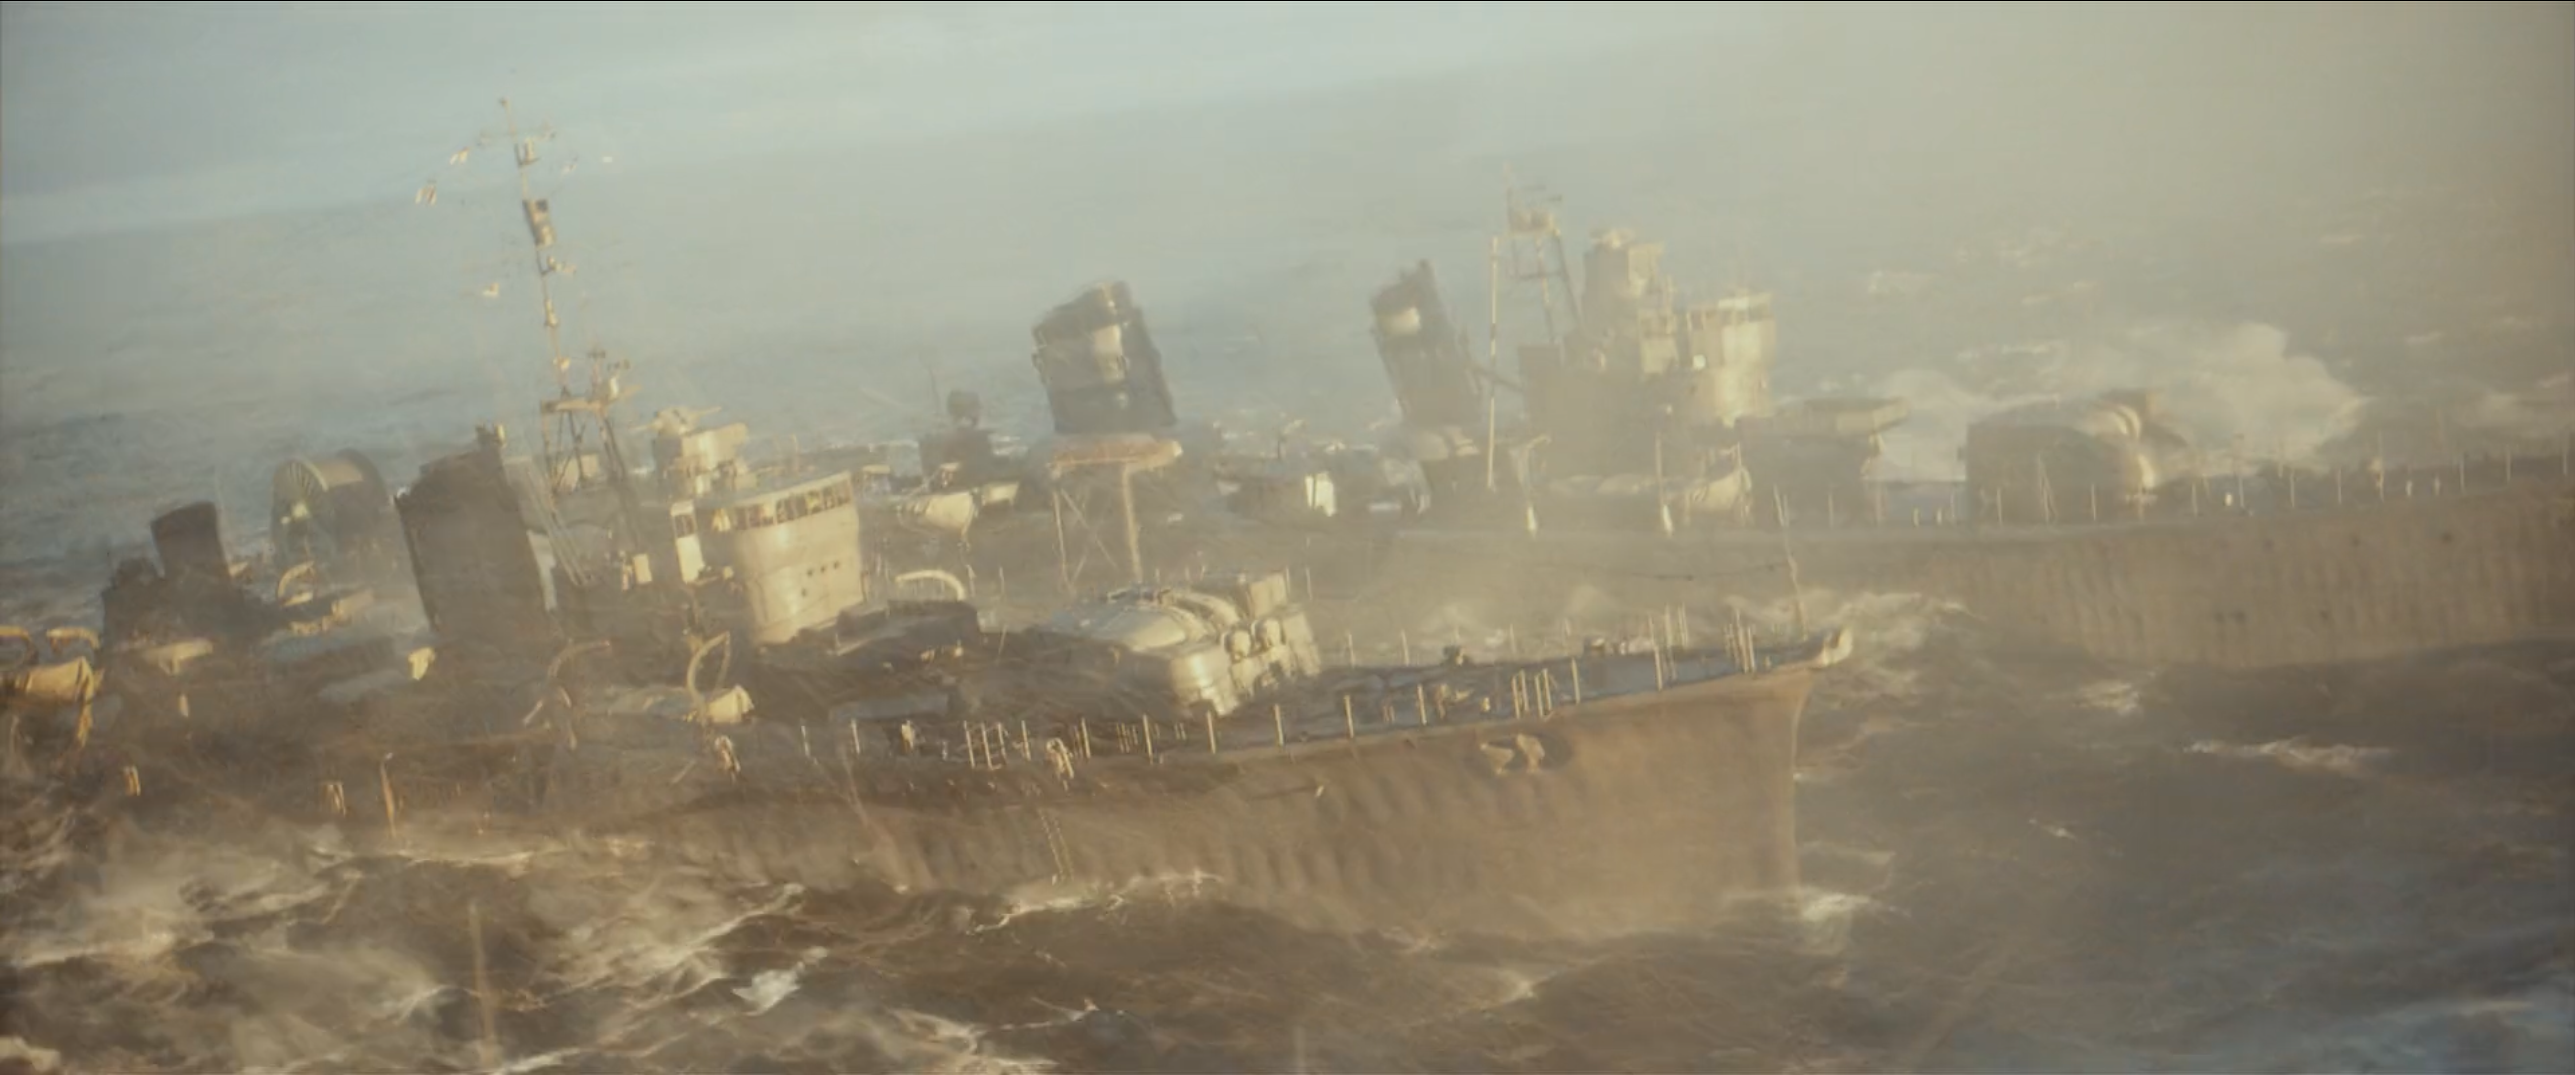
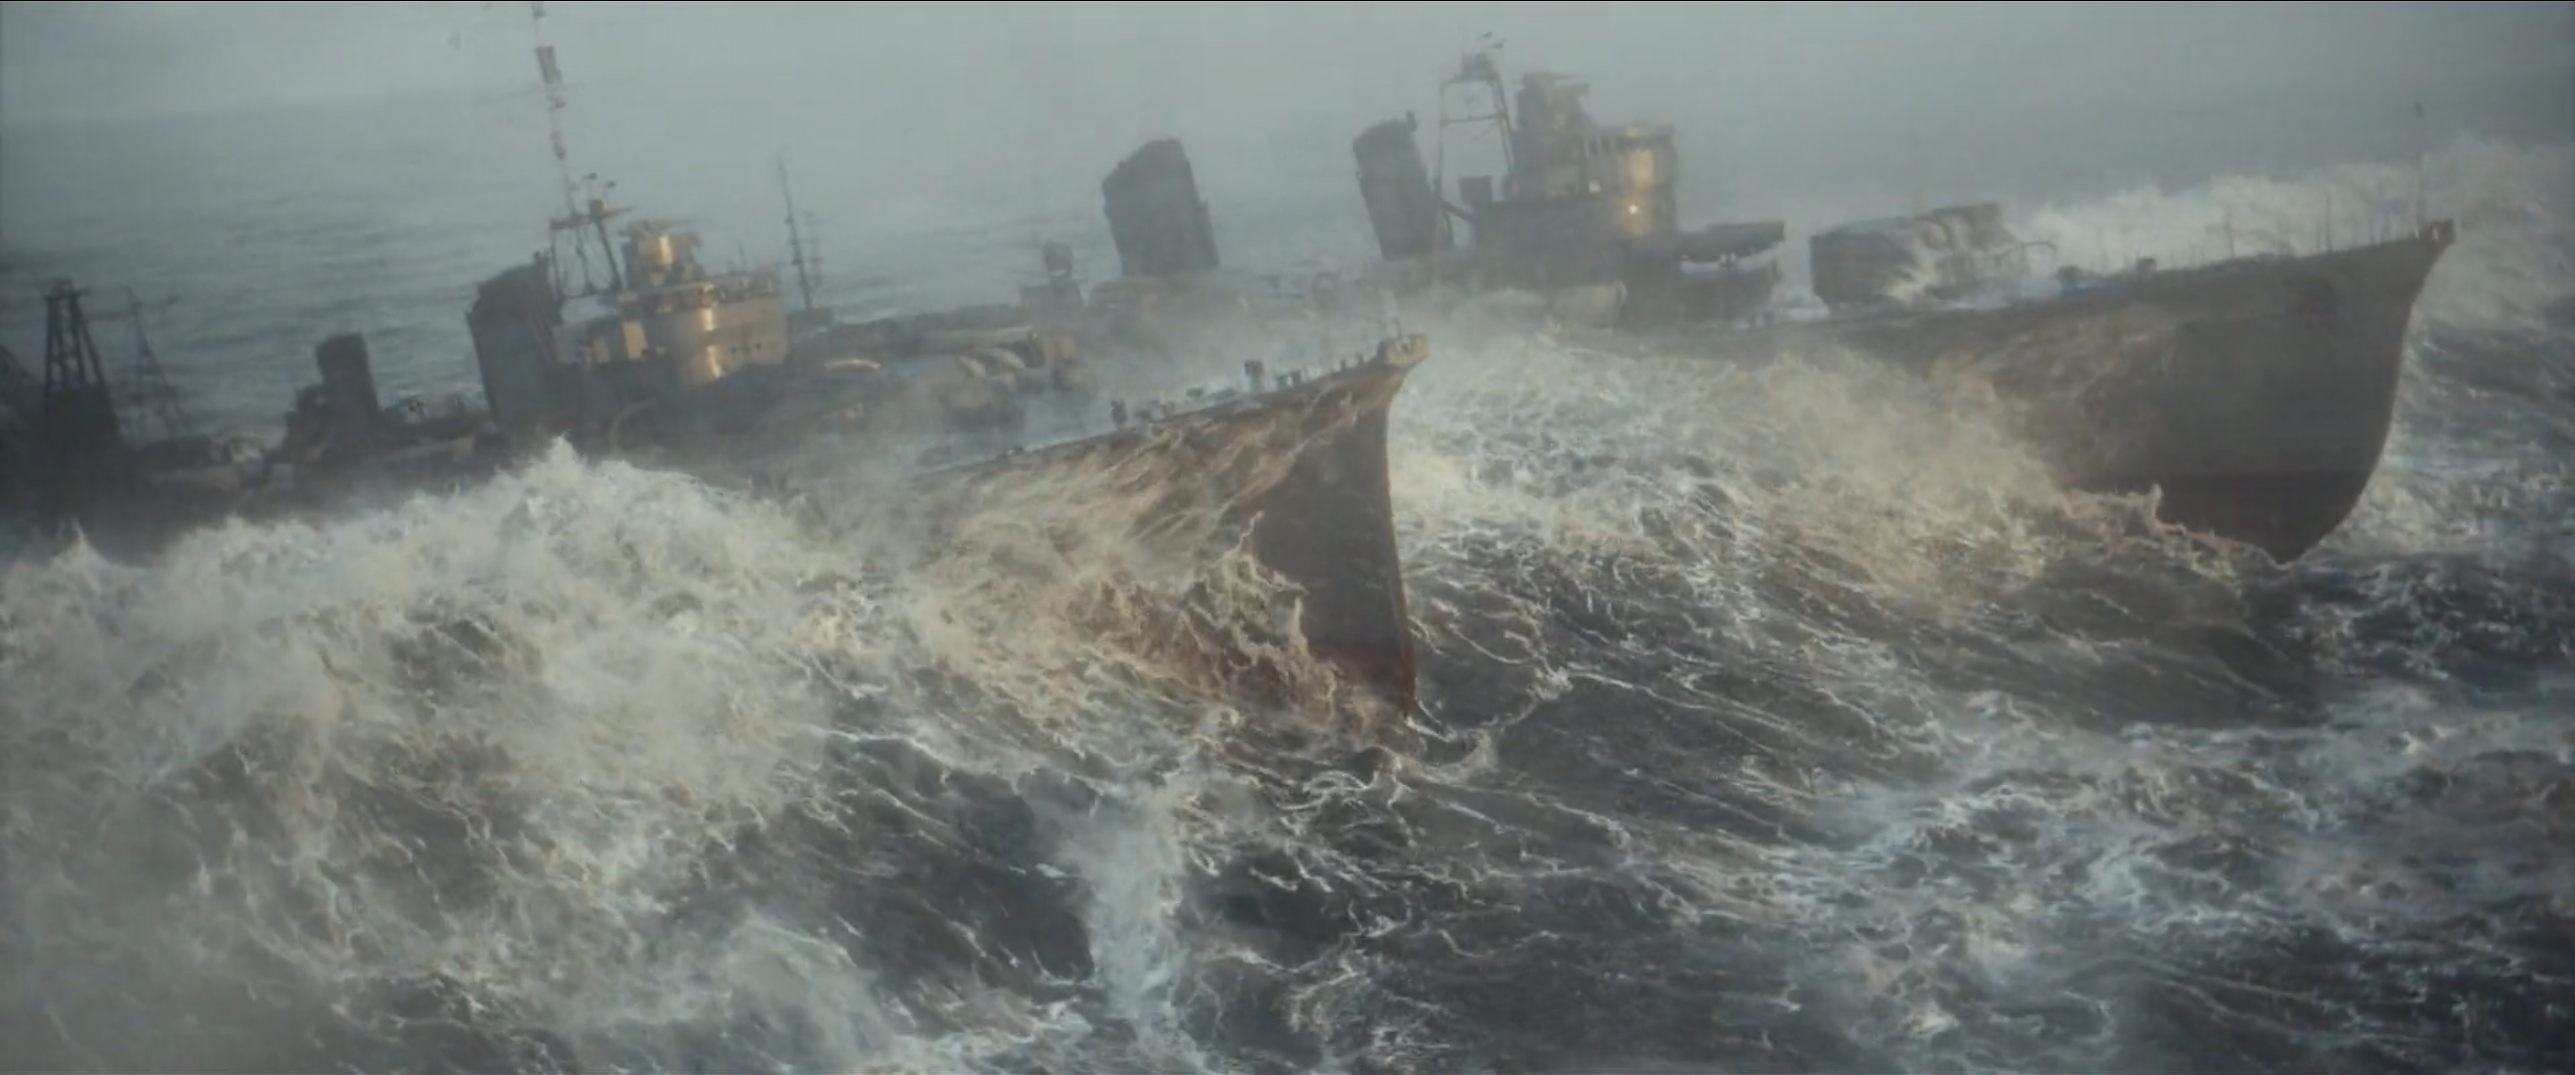
 Yukikaze and Hibiki withstanding the waves created by the explosion
 -
-
-
-
 Yukikaze and Hibiki commencing Operation Wadatsumi
 -
-
-
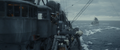
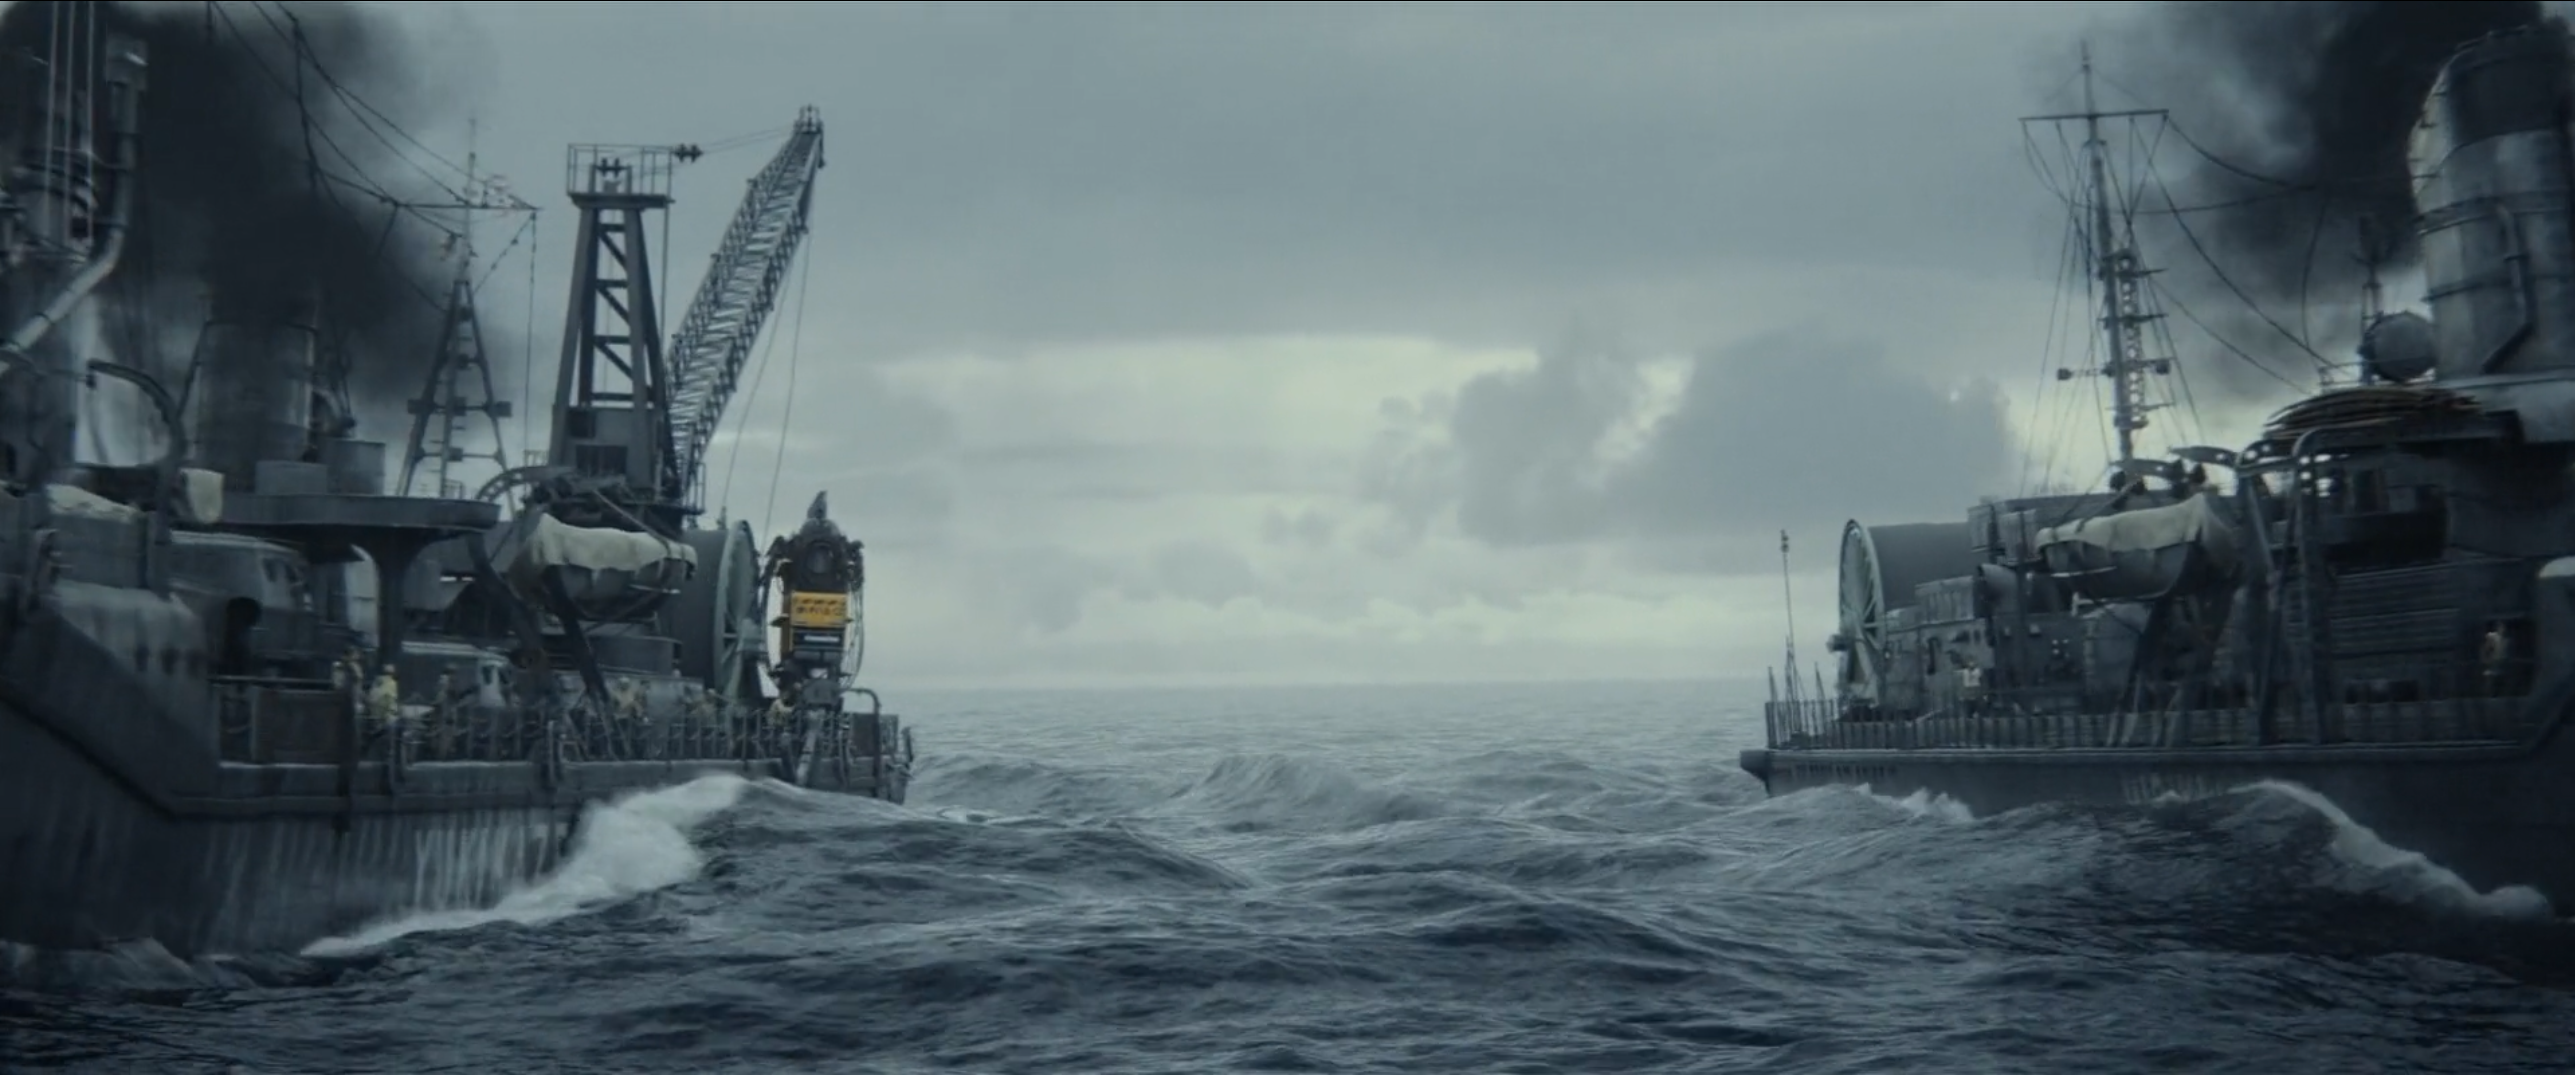
 Yukikaze (right) and Hibiki (left), showing the Freon gas canisters
 -
-

-
-
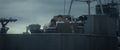
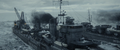
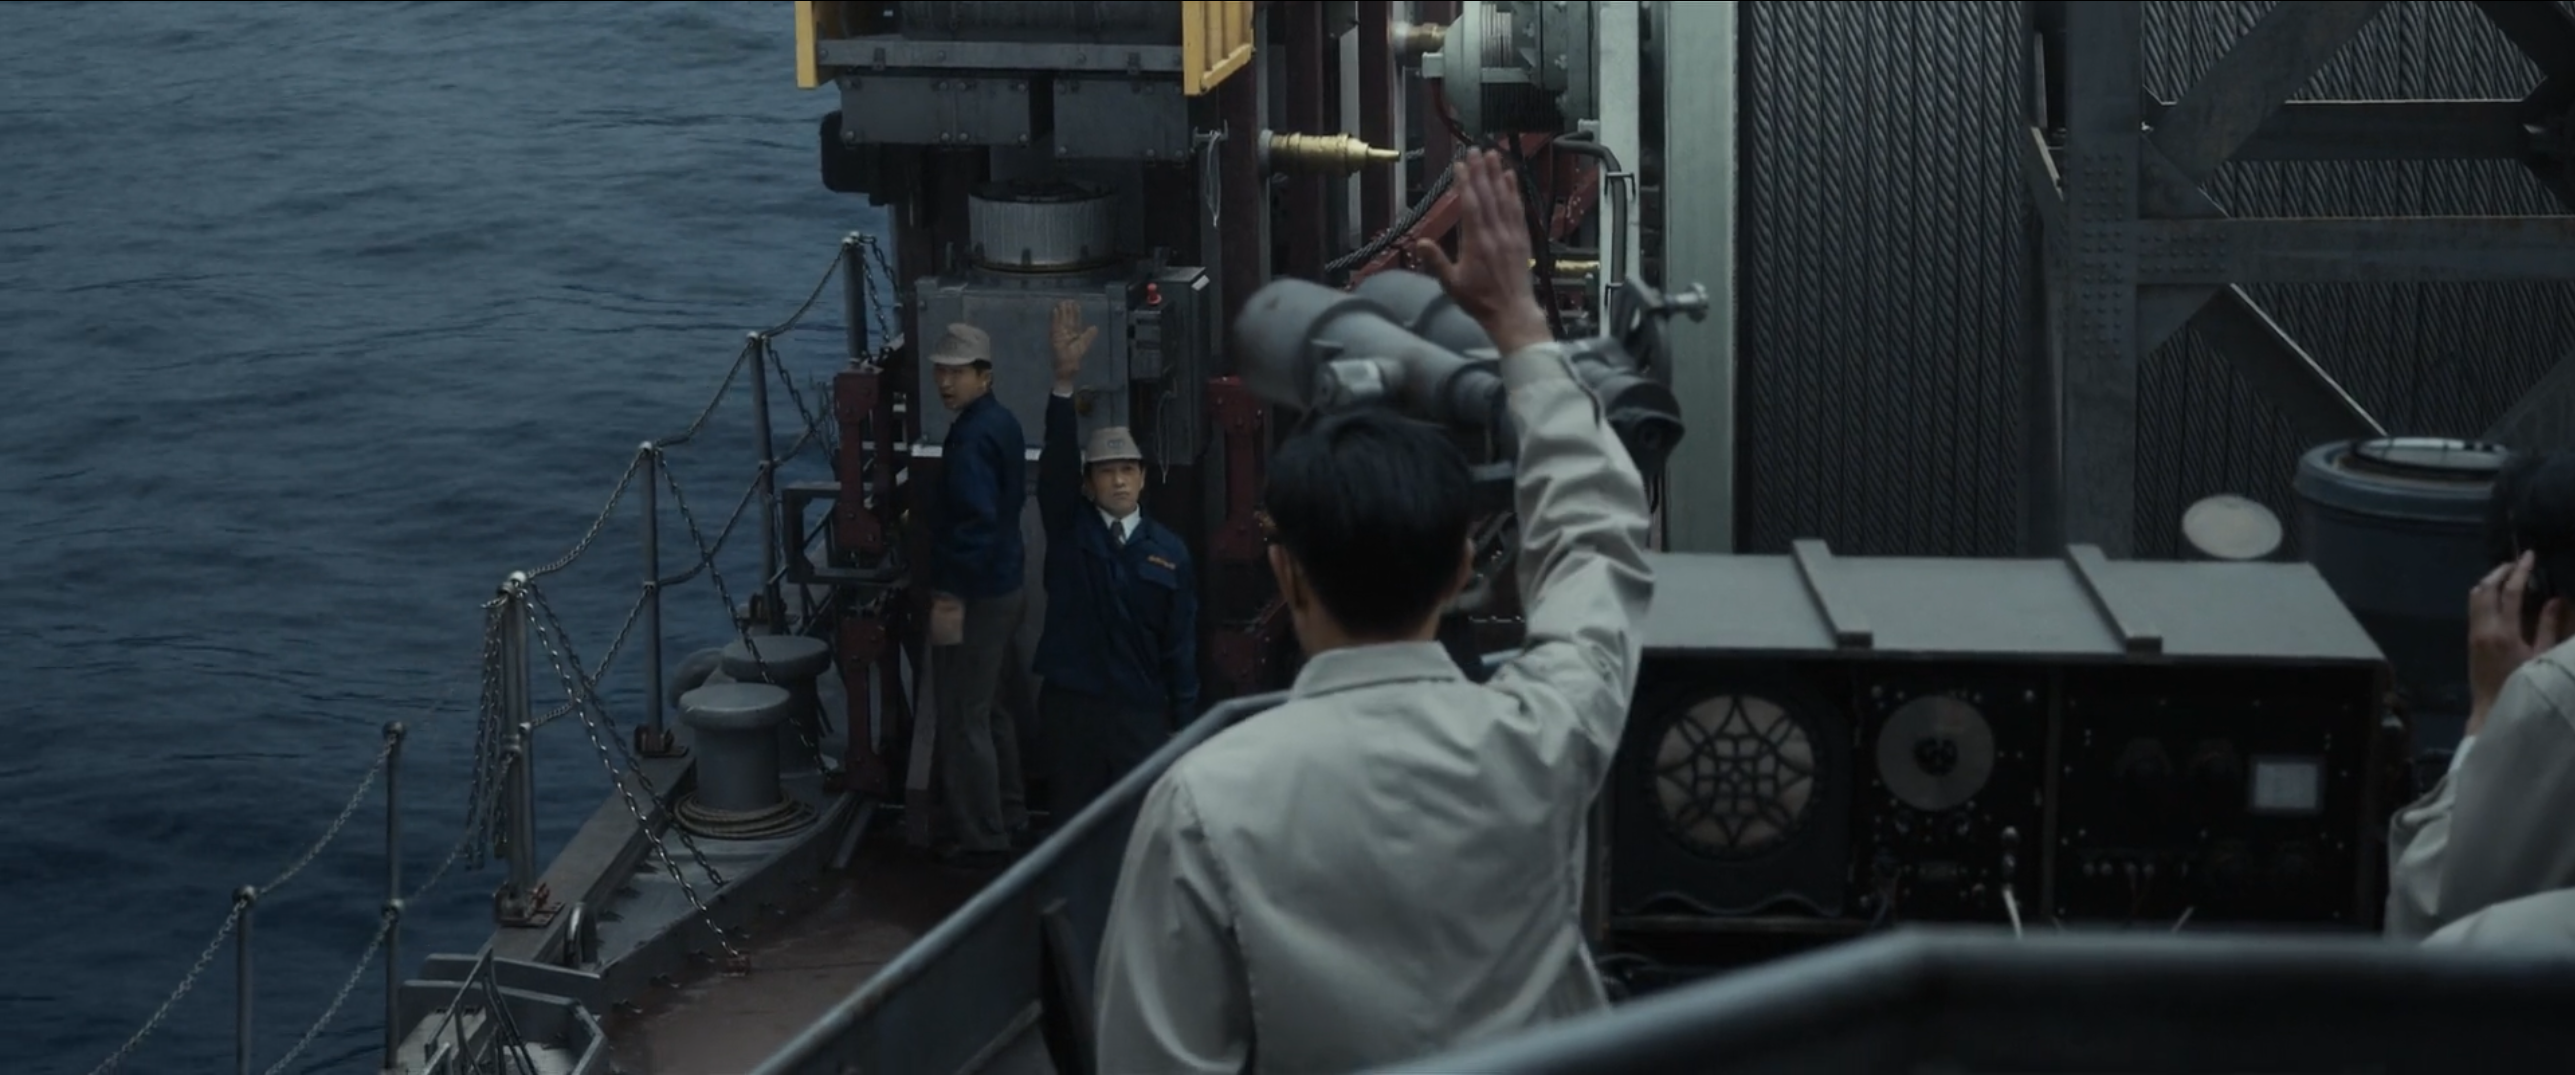
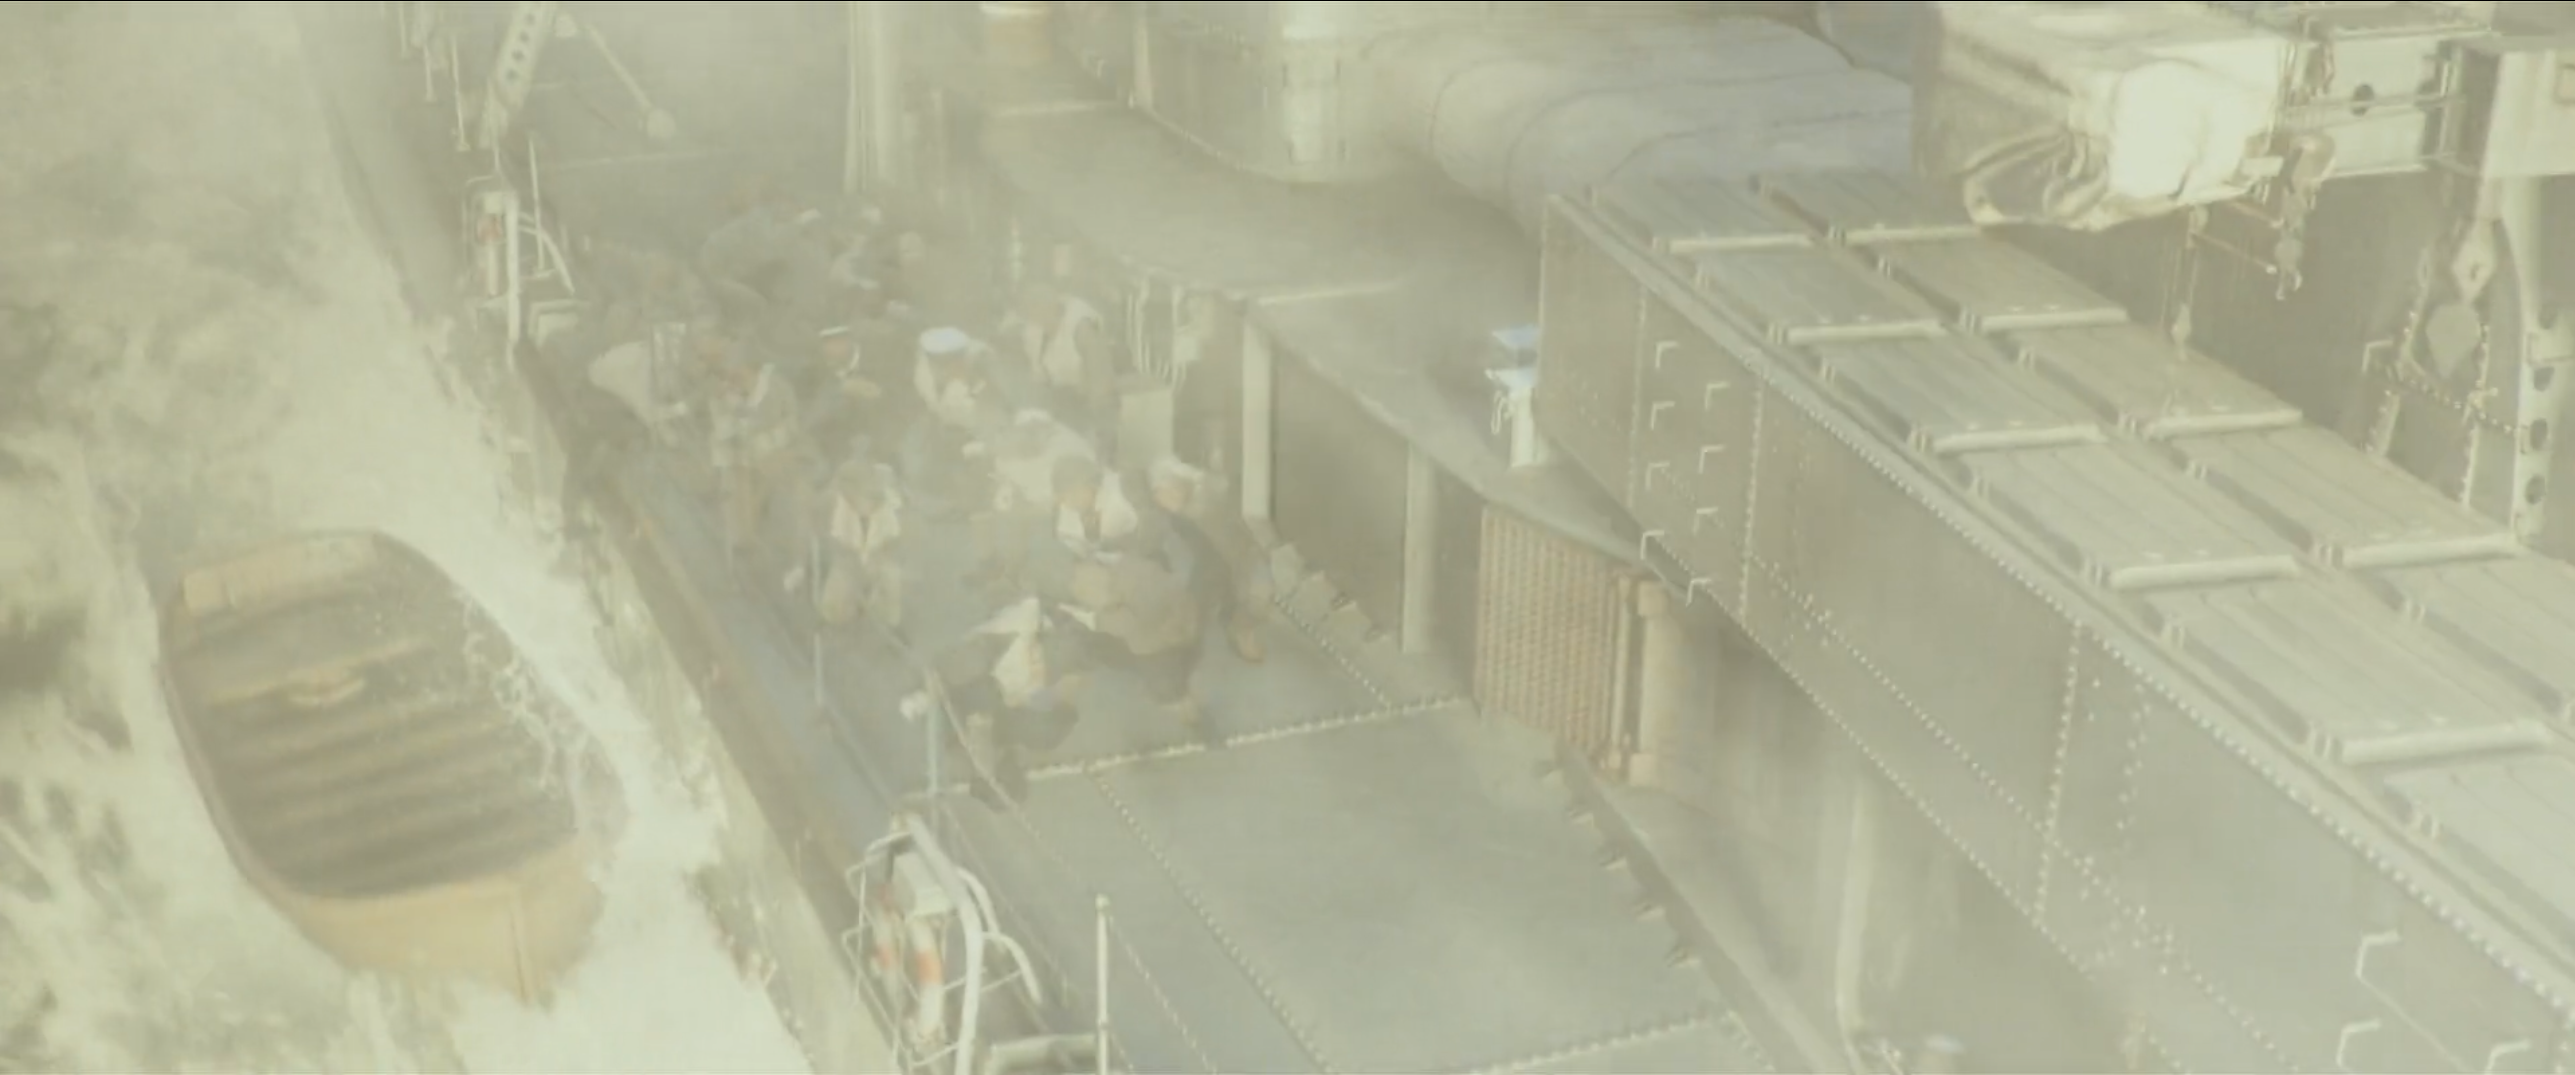
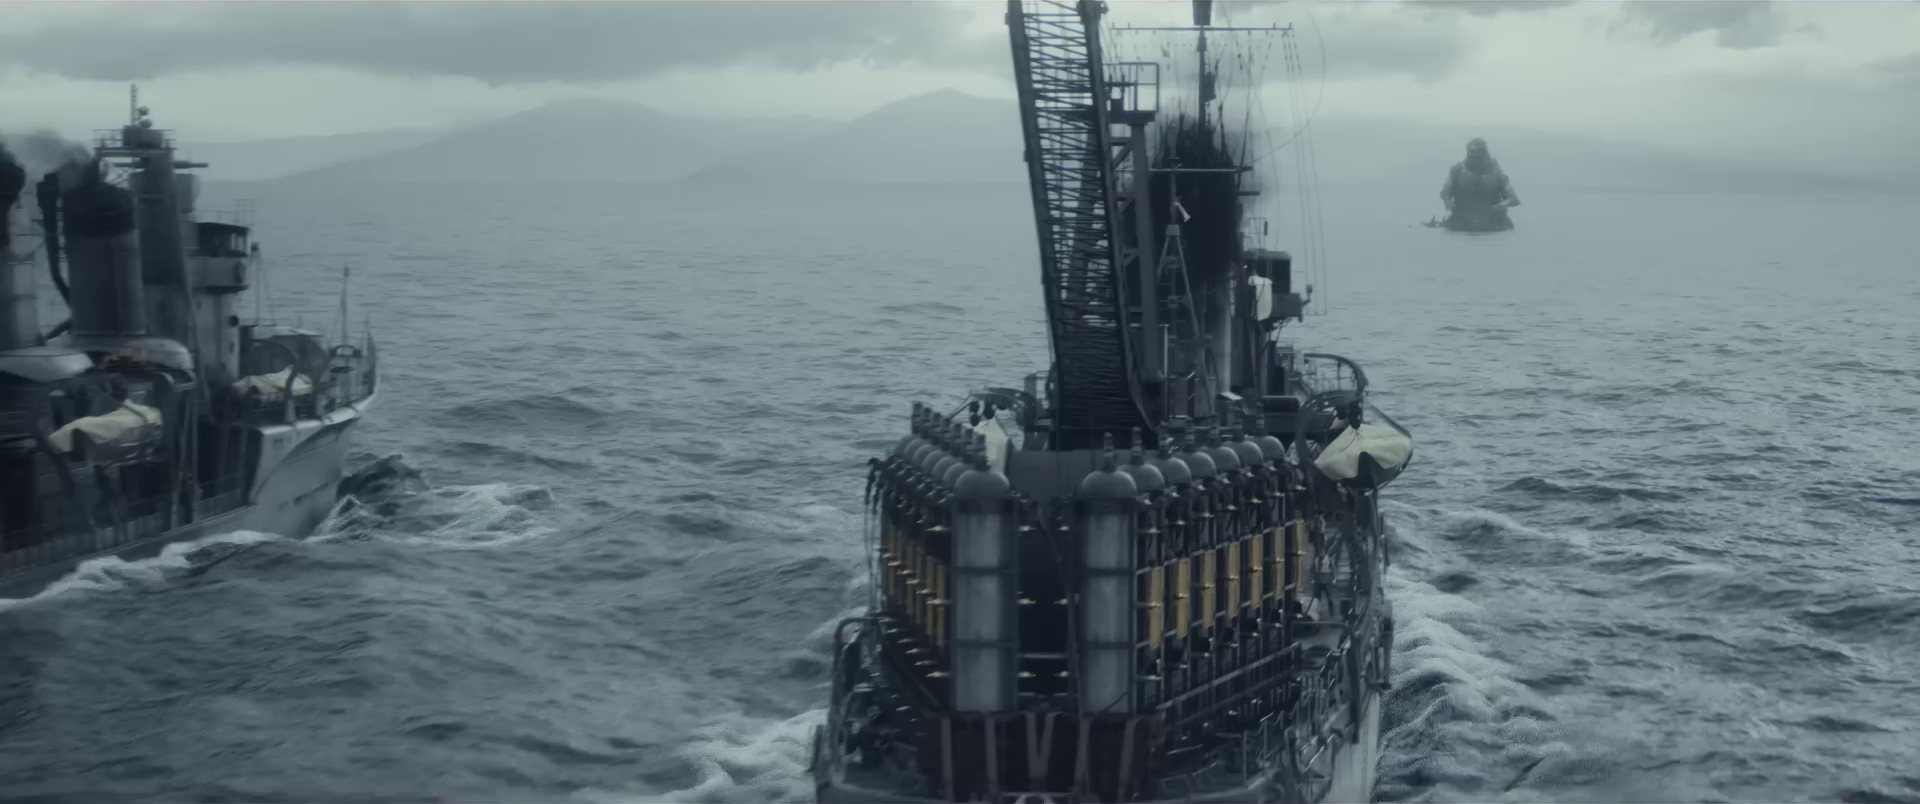
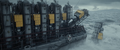 The Freon canisters being deployed off of Yukikaze's stern
 -

-

-

-

-

-
-

-

-
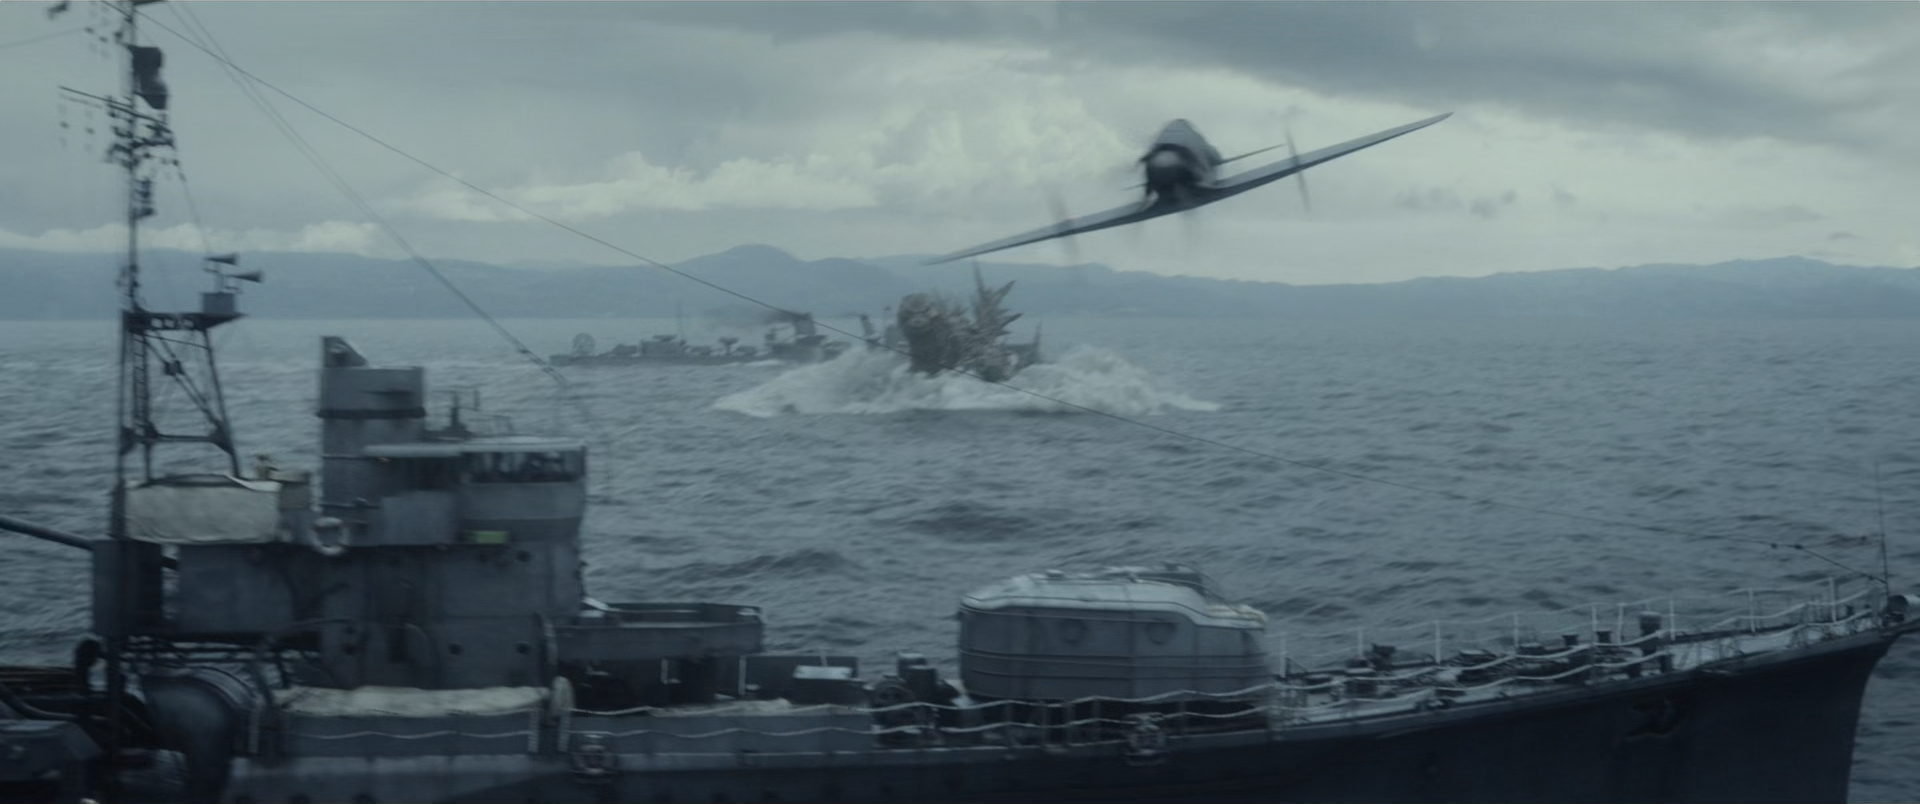
 Koichi firing on Godzilla while Yukikaze sails past at top left
 -

-

-

-

-
-
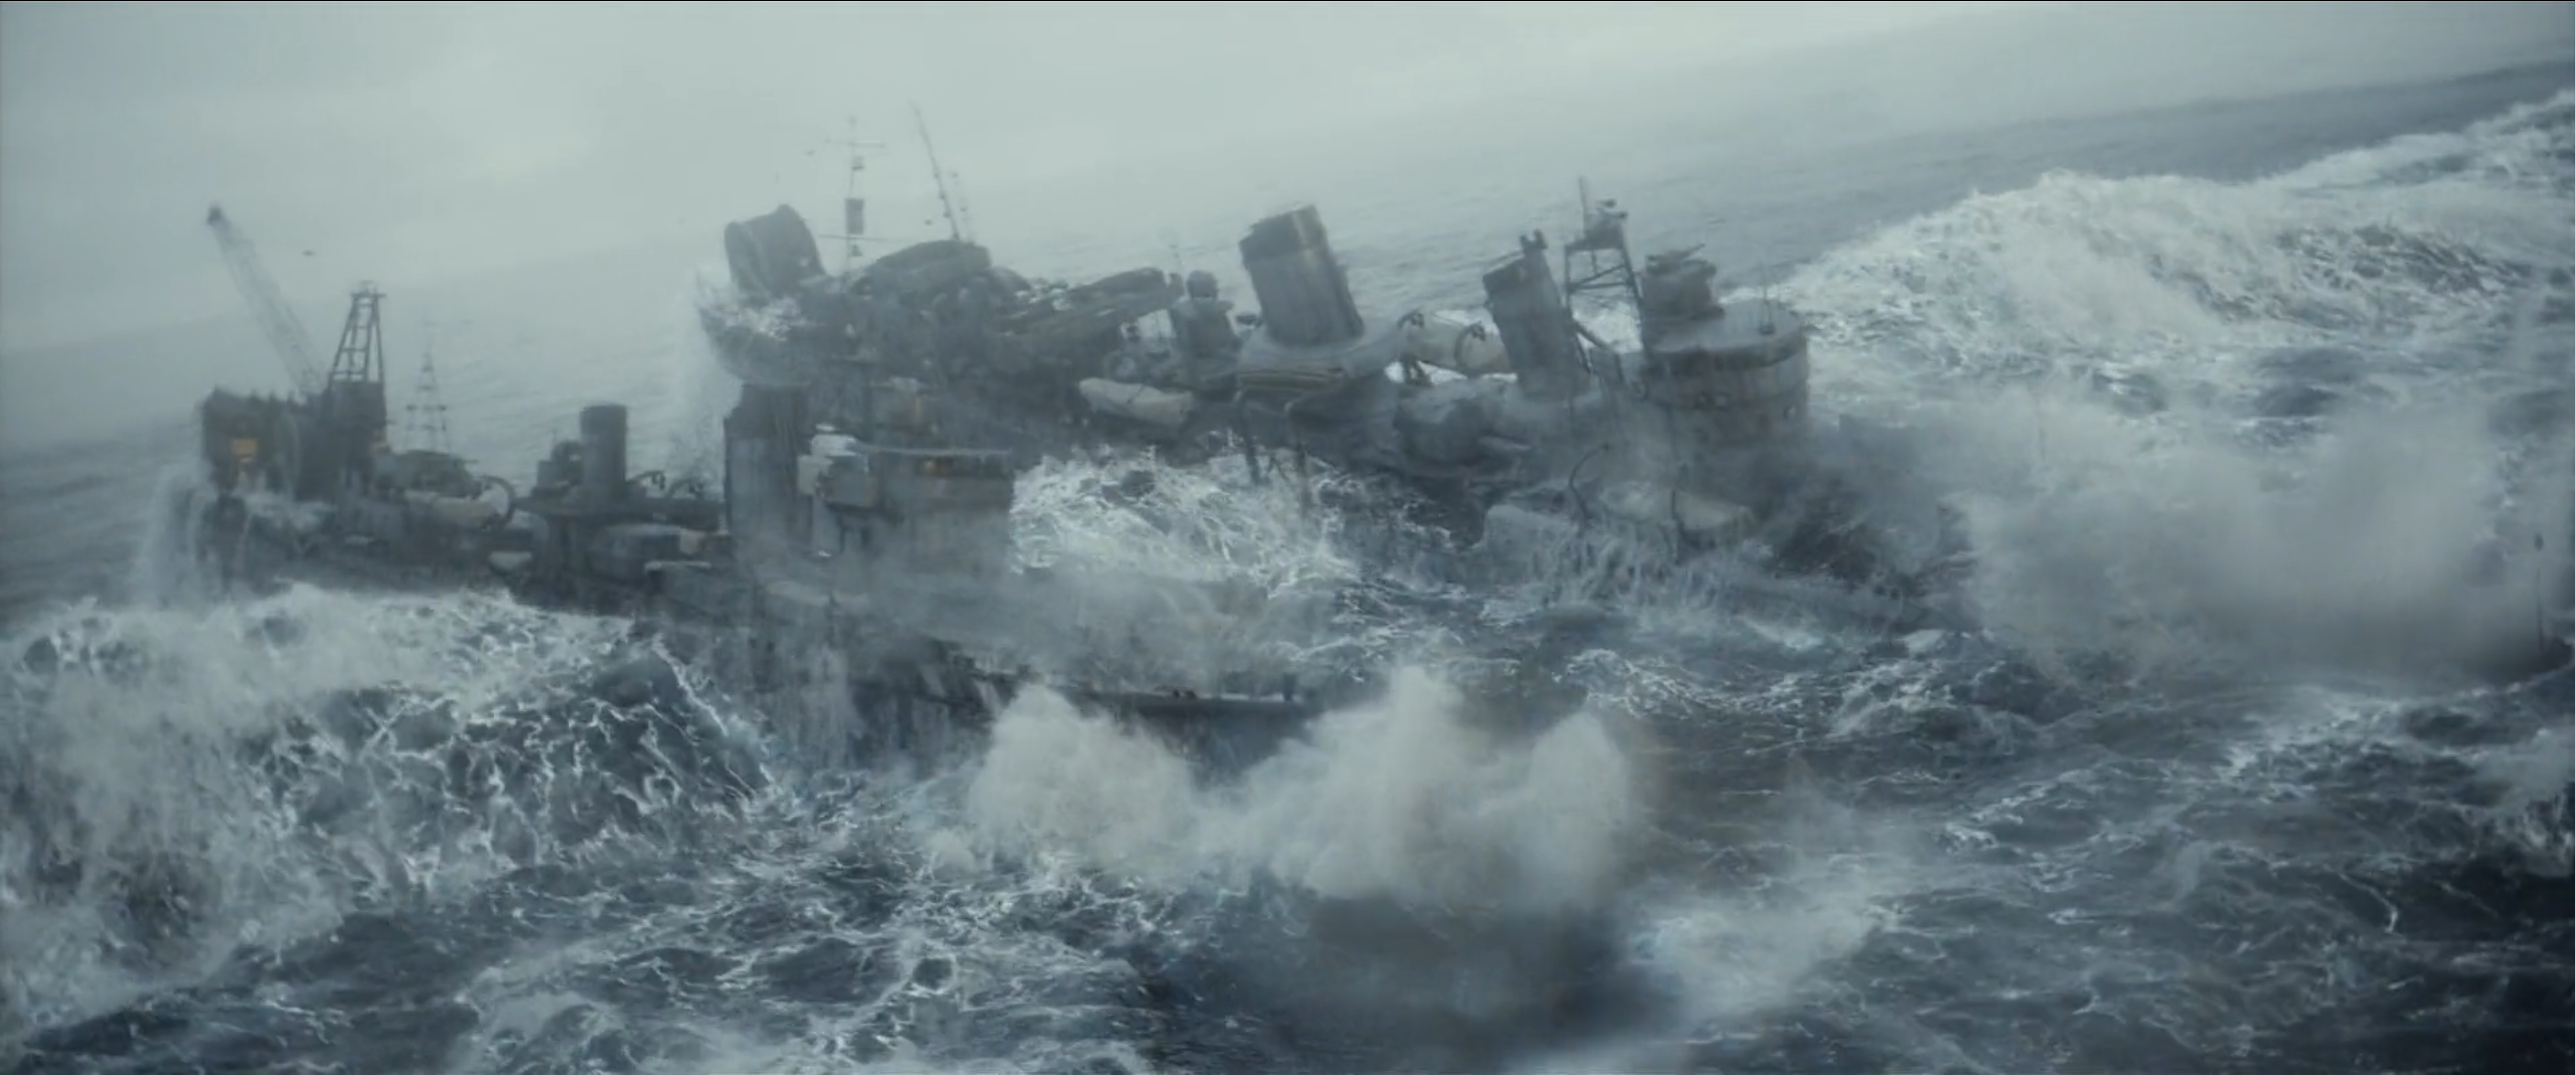
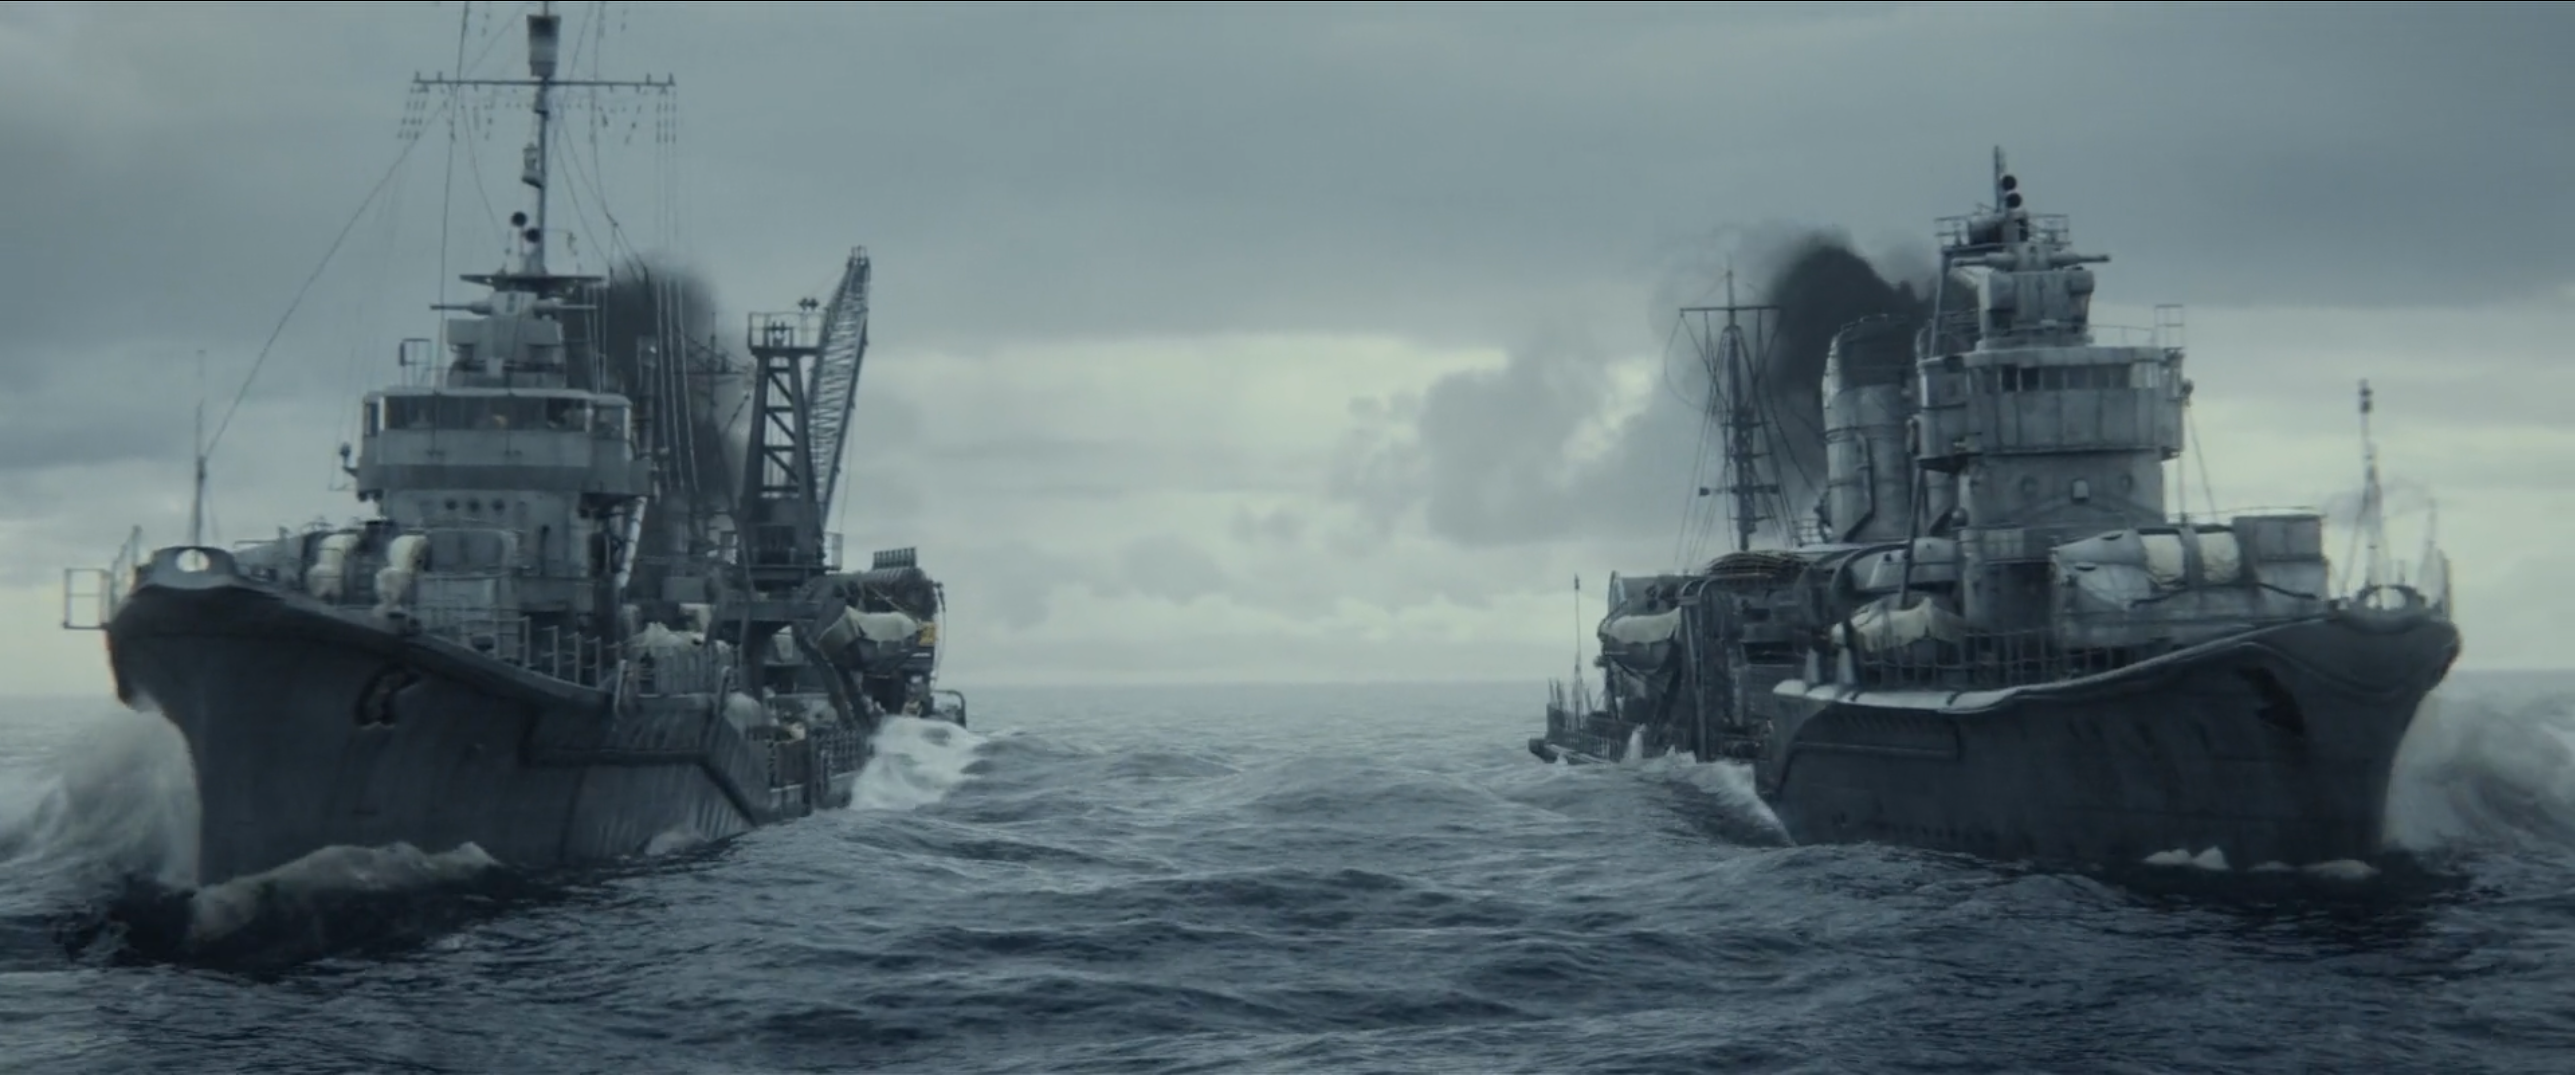
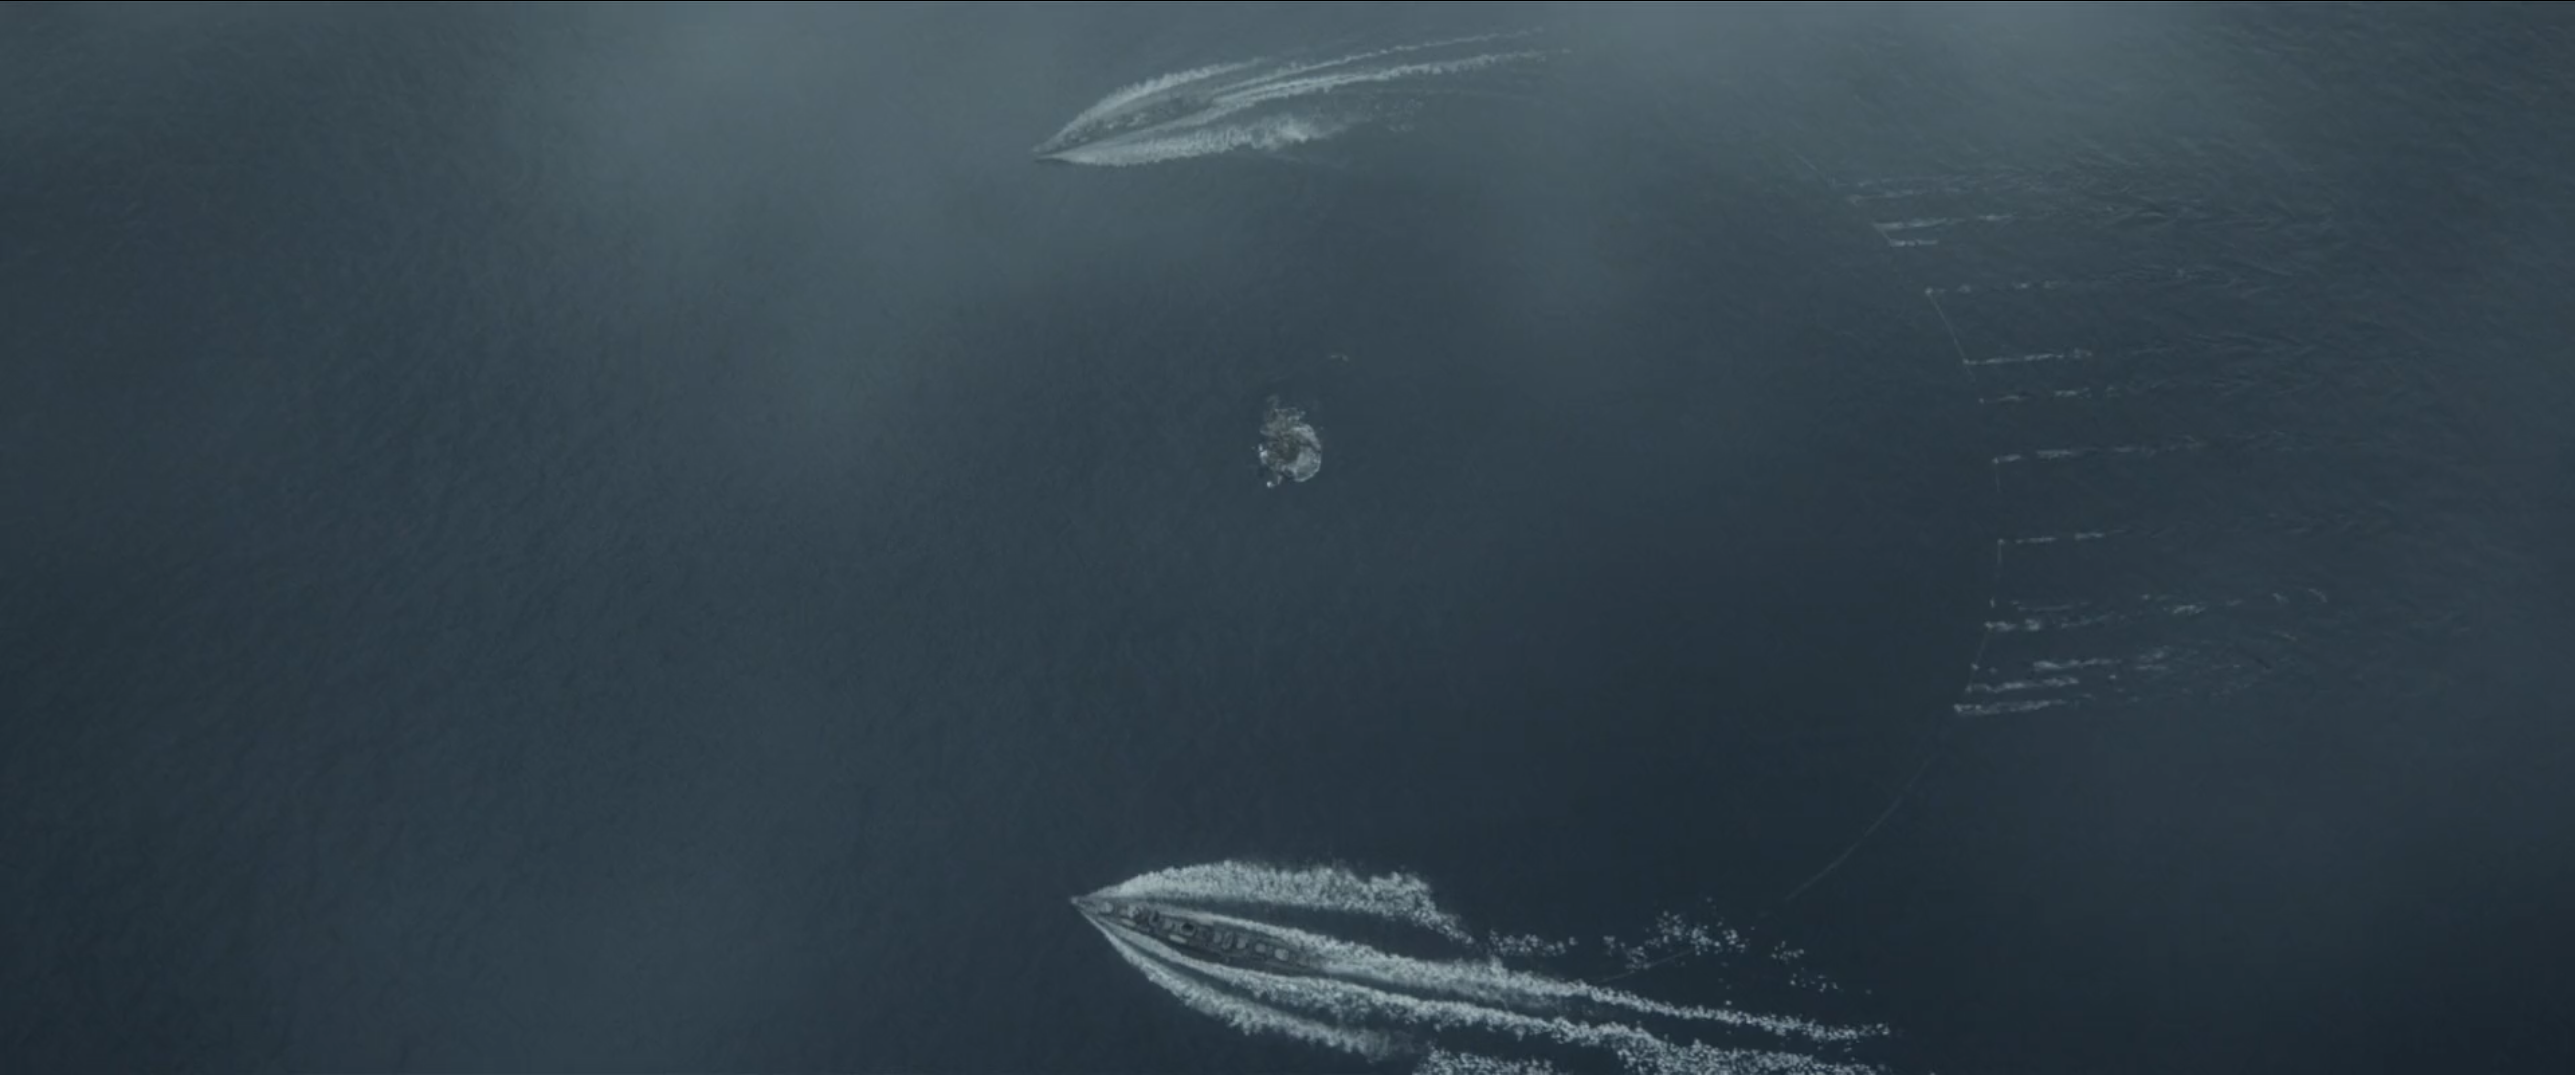
 Yukikaze (bottom) and Hibiki (top) about to scrape against each other to loop the cable around Godzilla
 -

-
 "Brace for impact!"
 -
 Yukikaze and Hibiki colliding
 -

-

-
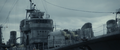
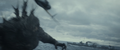
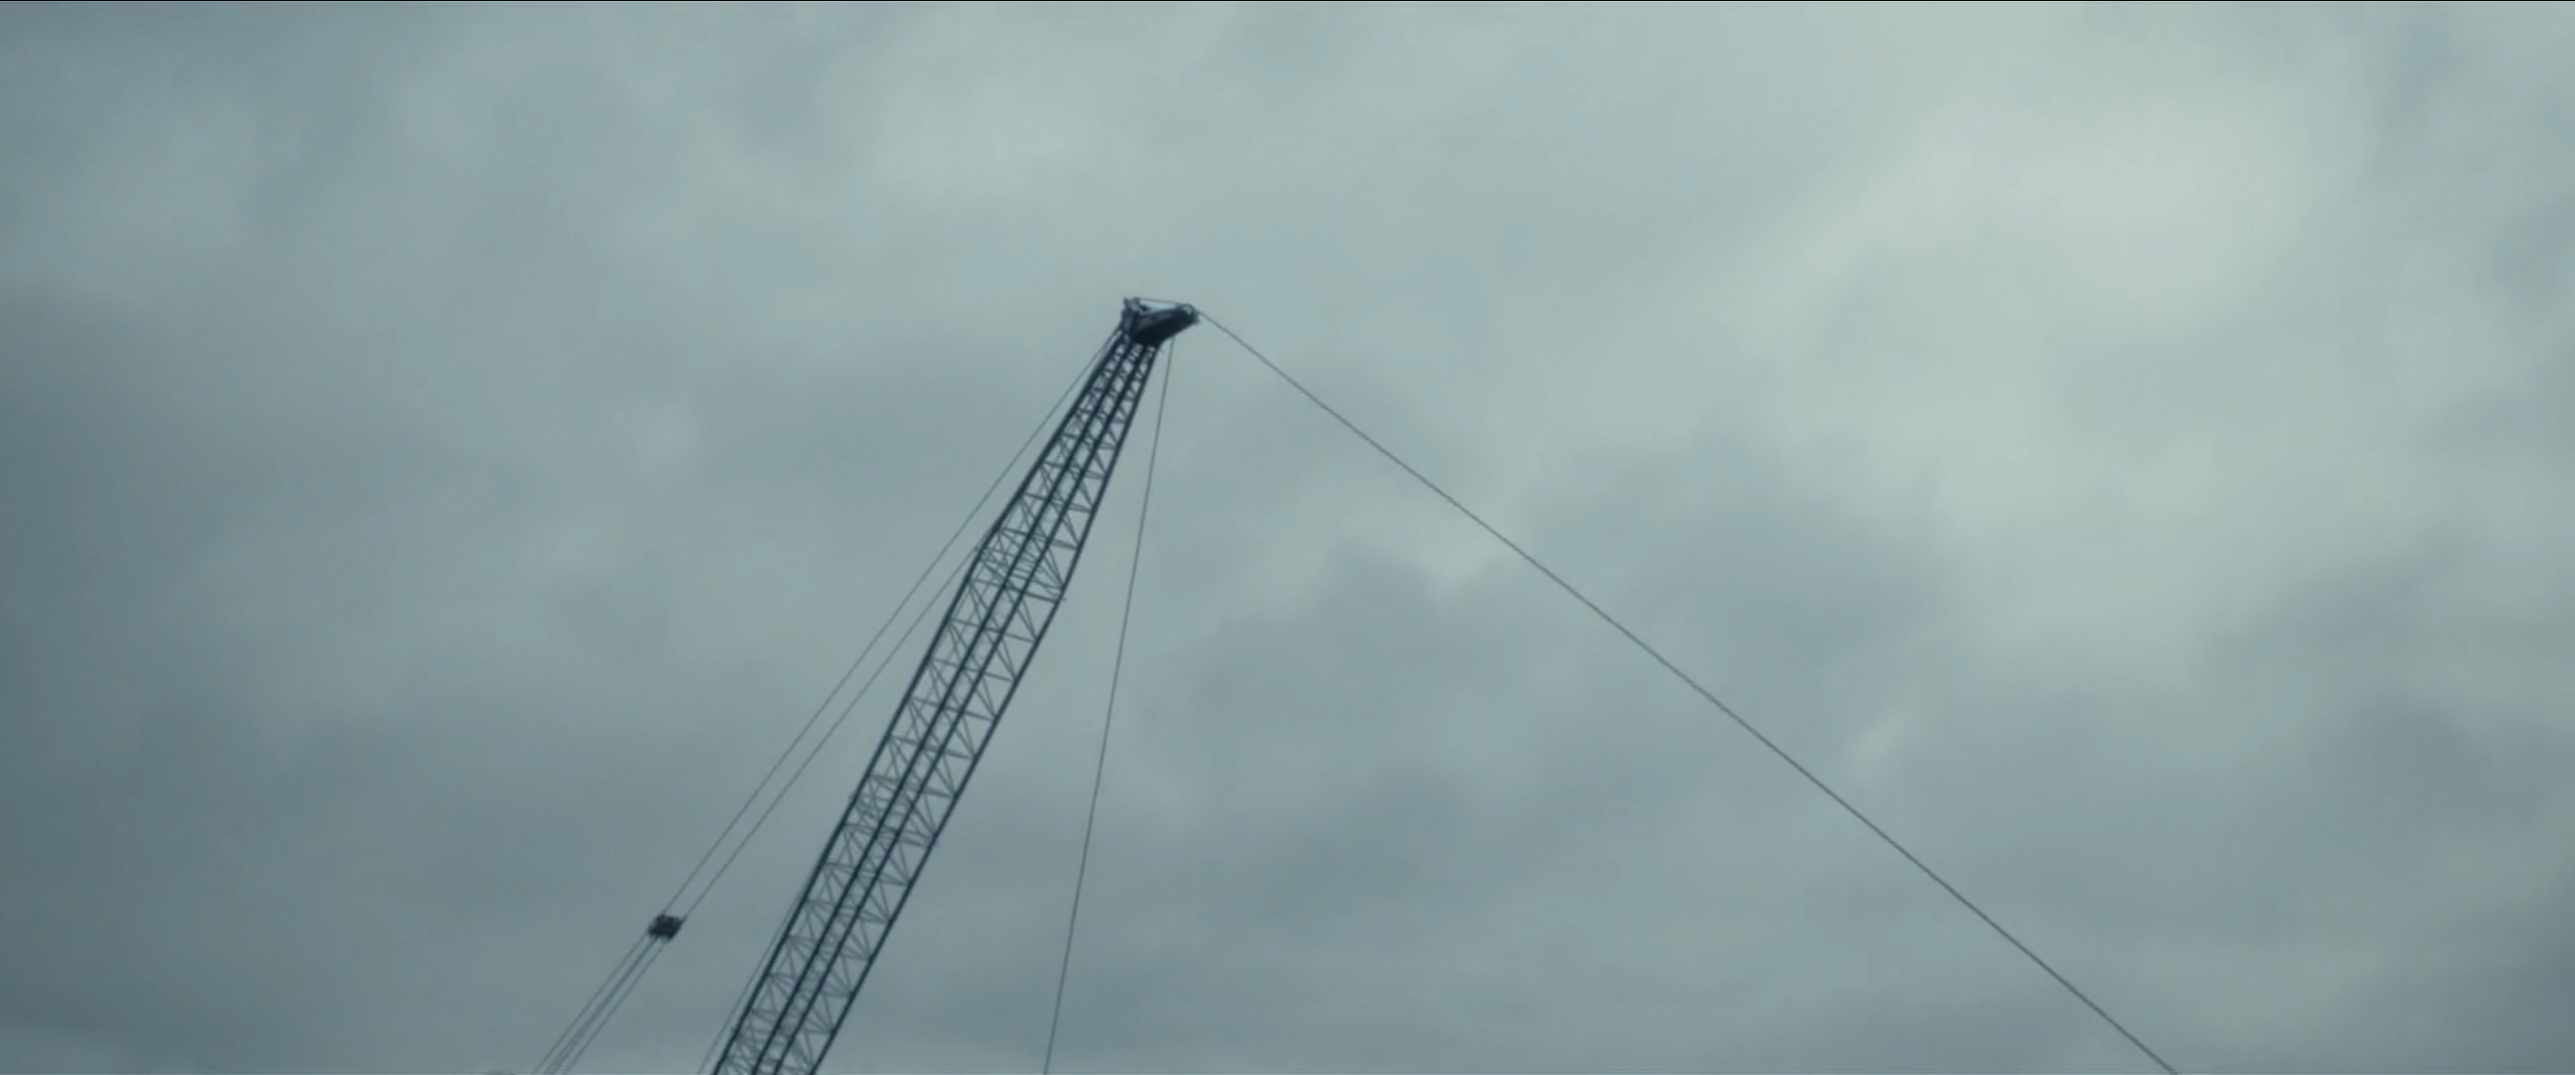
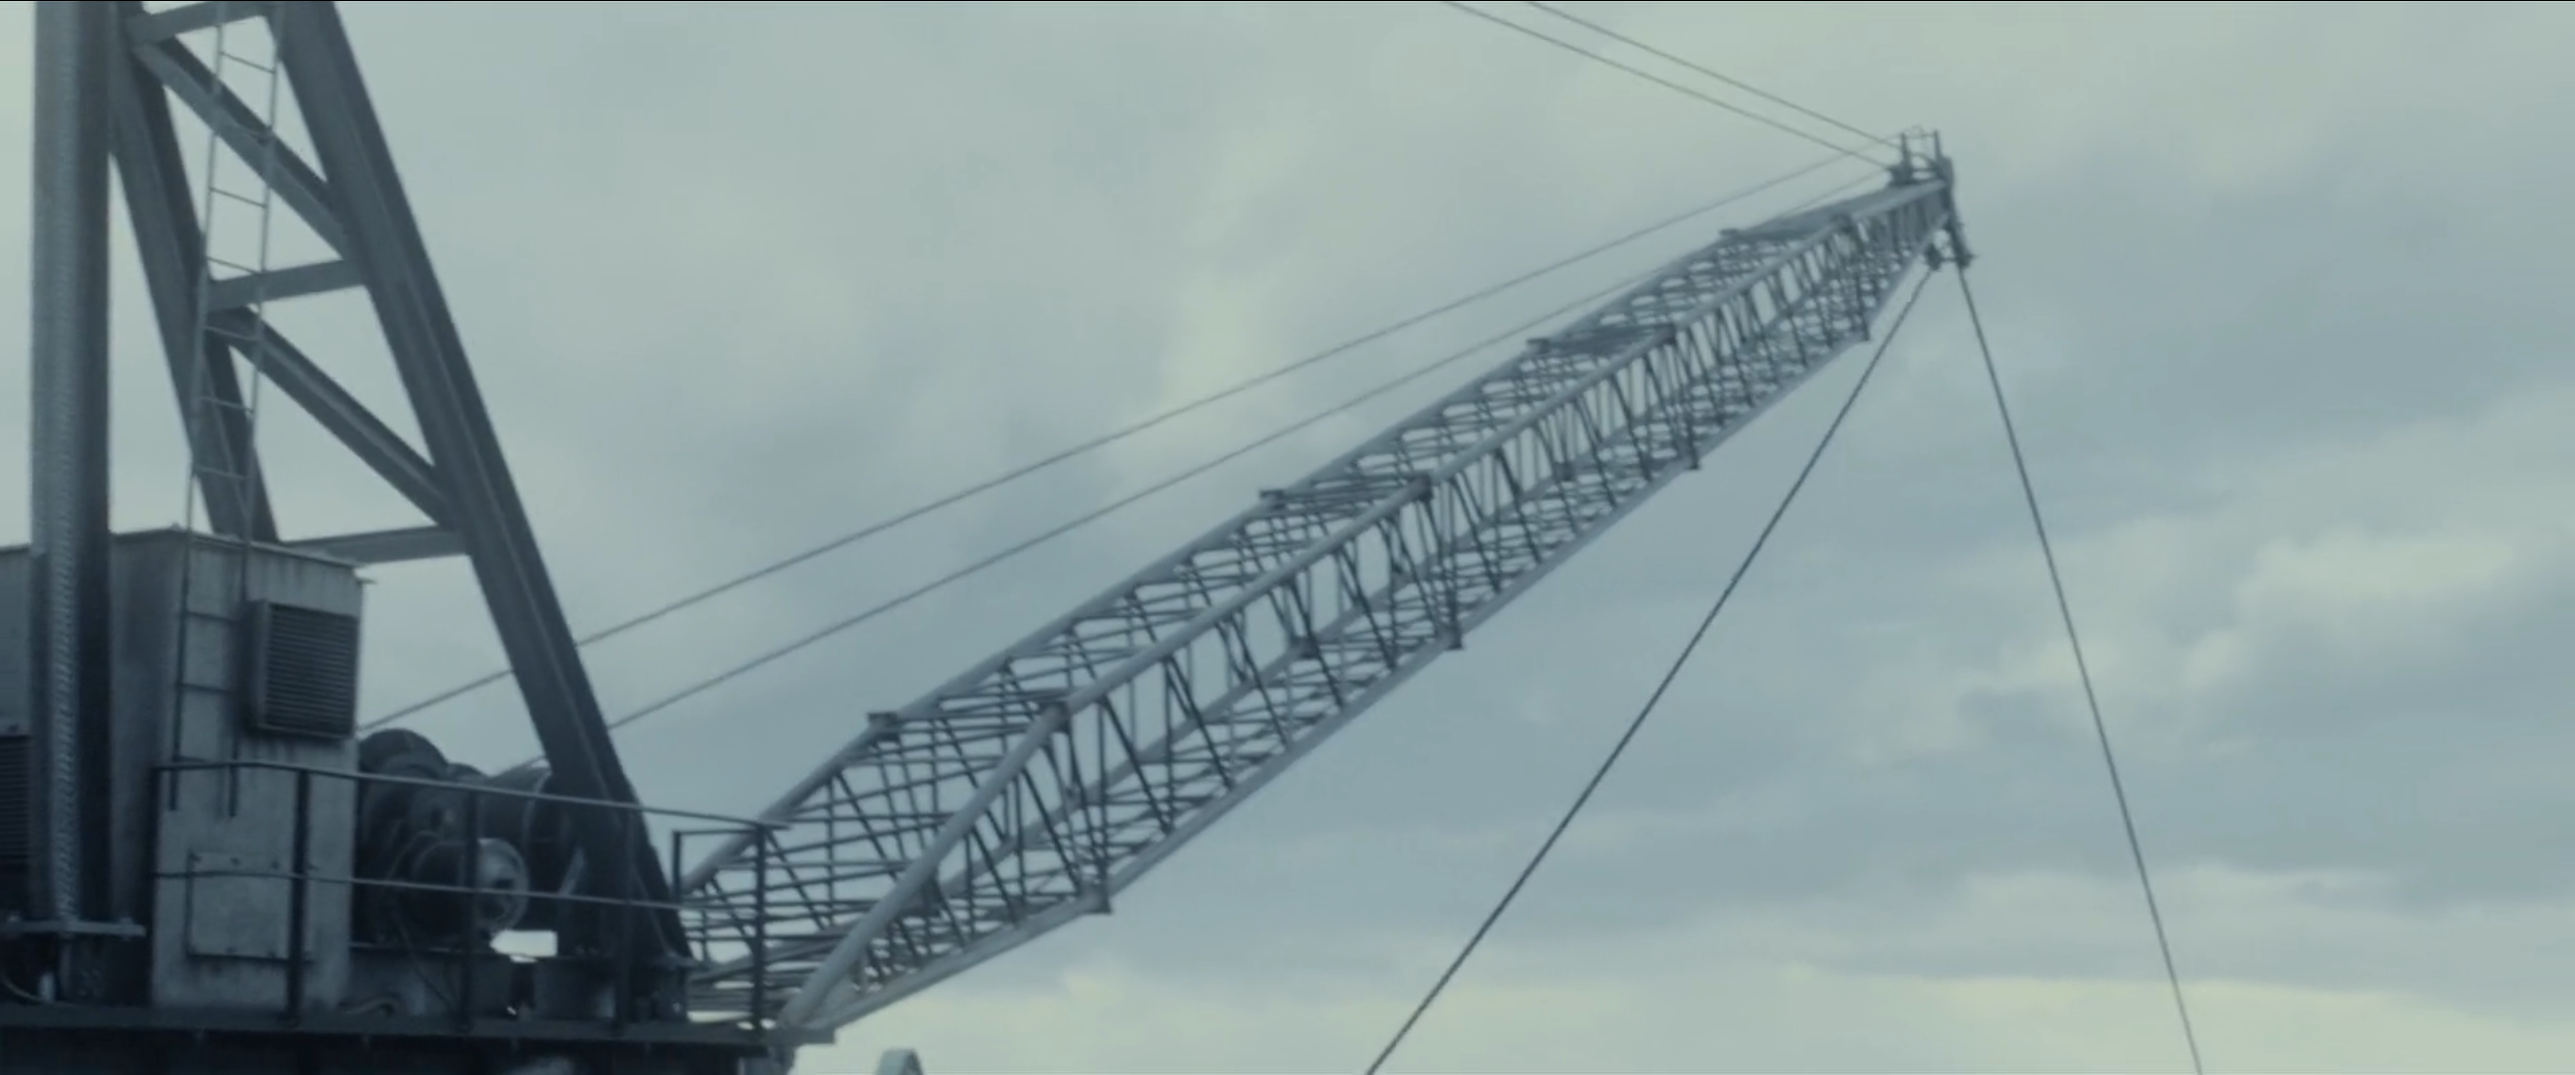
 Yukikaze's crane sweeping over Hibiki as the ships pass each other
 -

-
-
 The completed crossing
 -

-

-
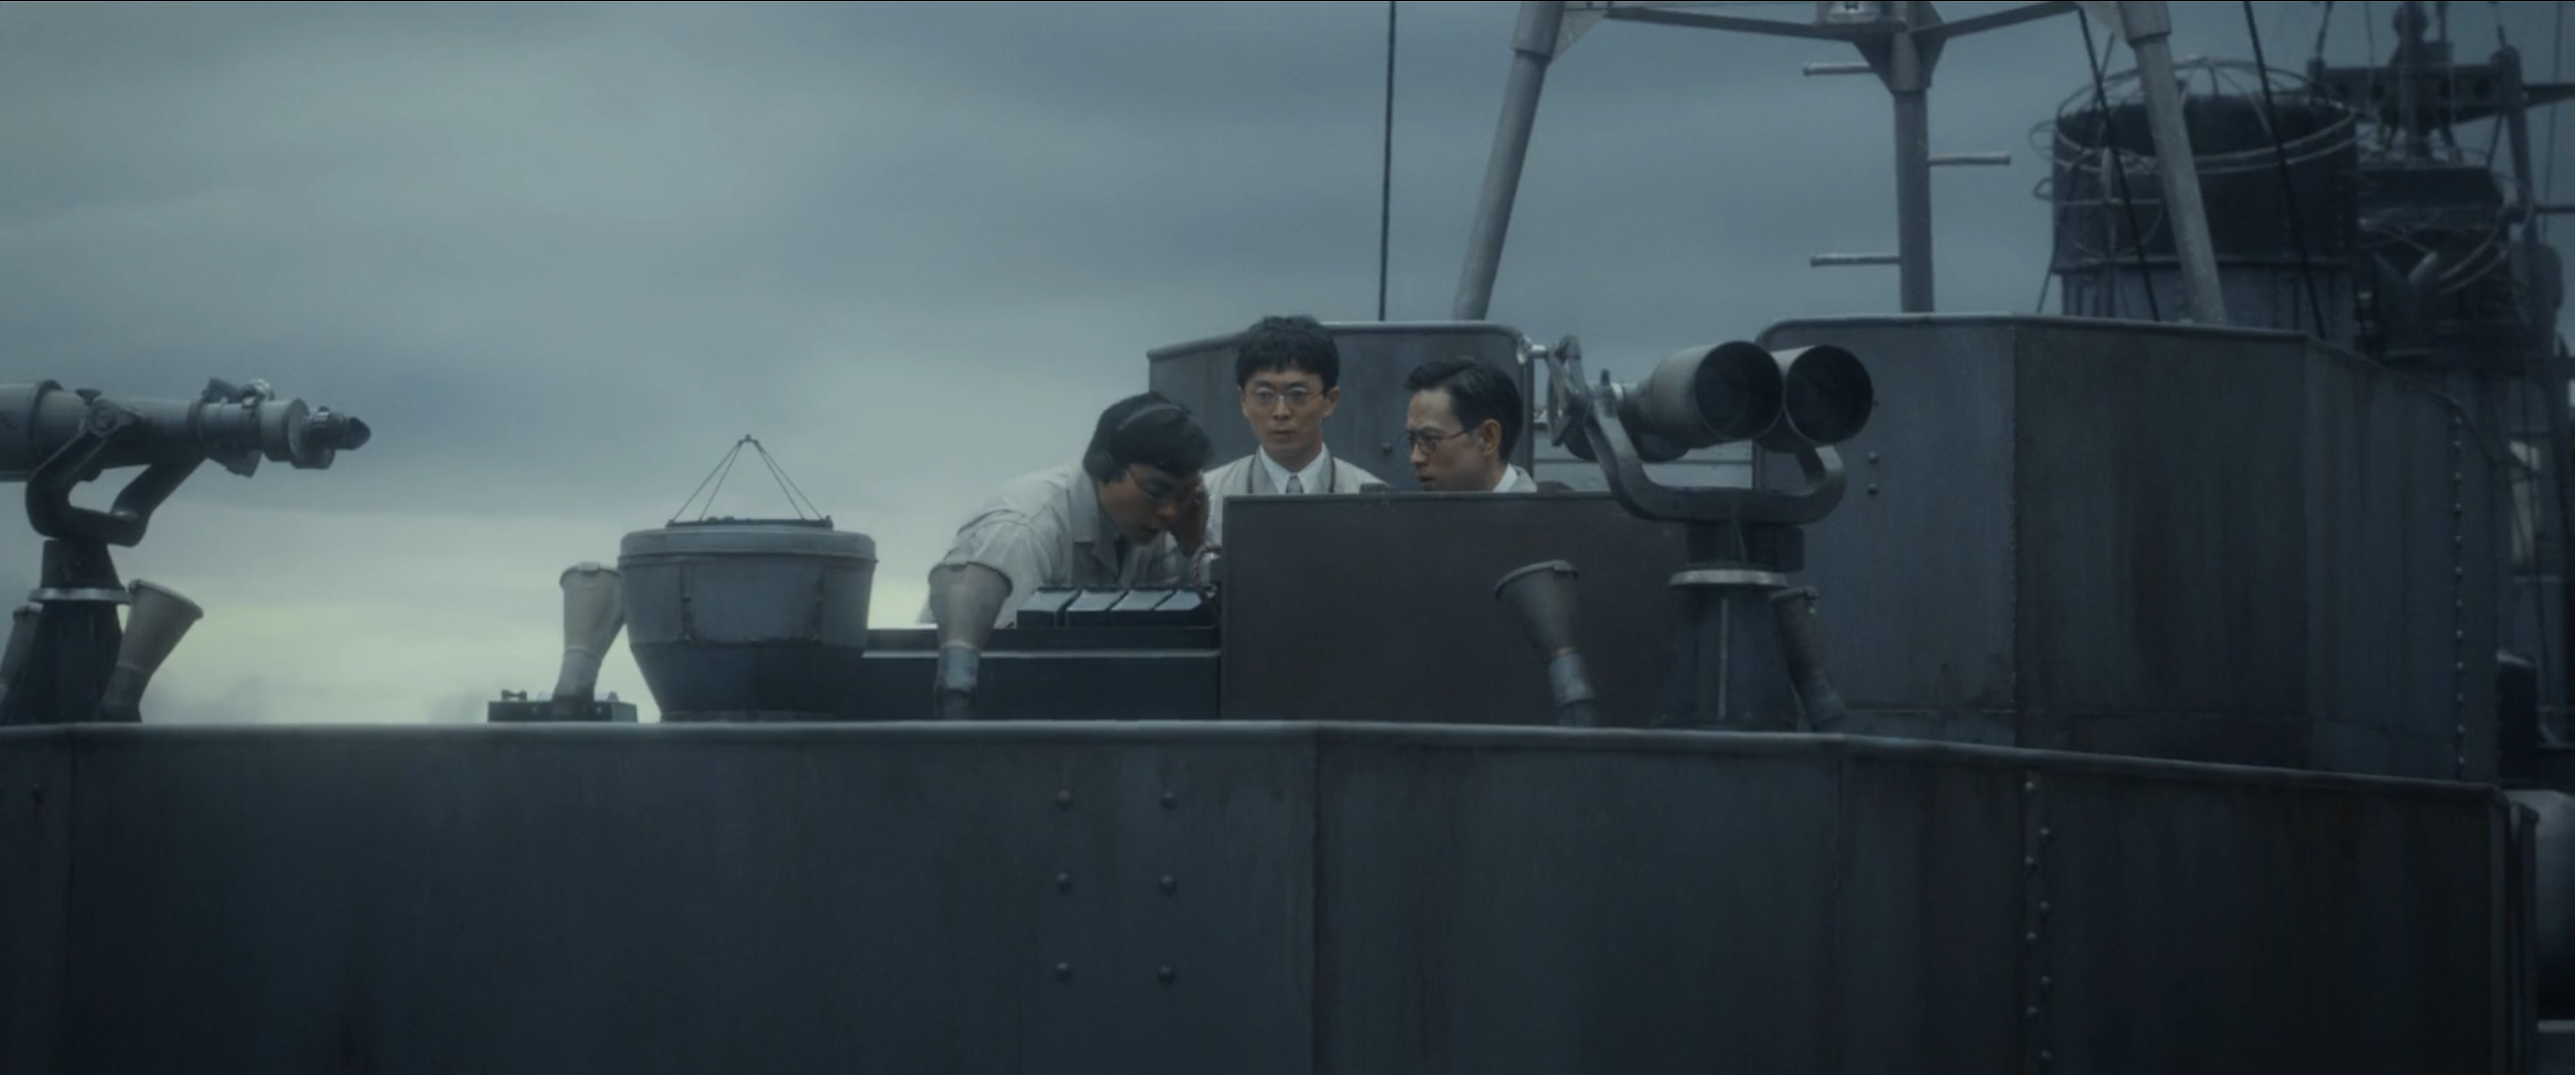
 Akitsu preparing to detonate the 46cm shells
 -
 Yukikaze's cable snapping taut
 -
 Akitsu rupturing the Freon canisters
 -

-
-

-
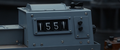
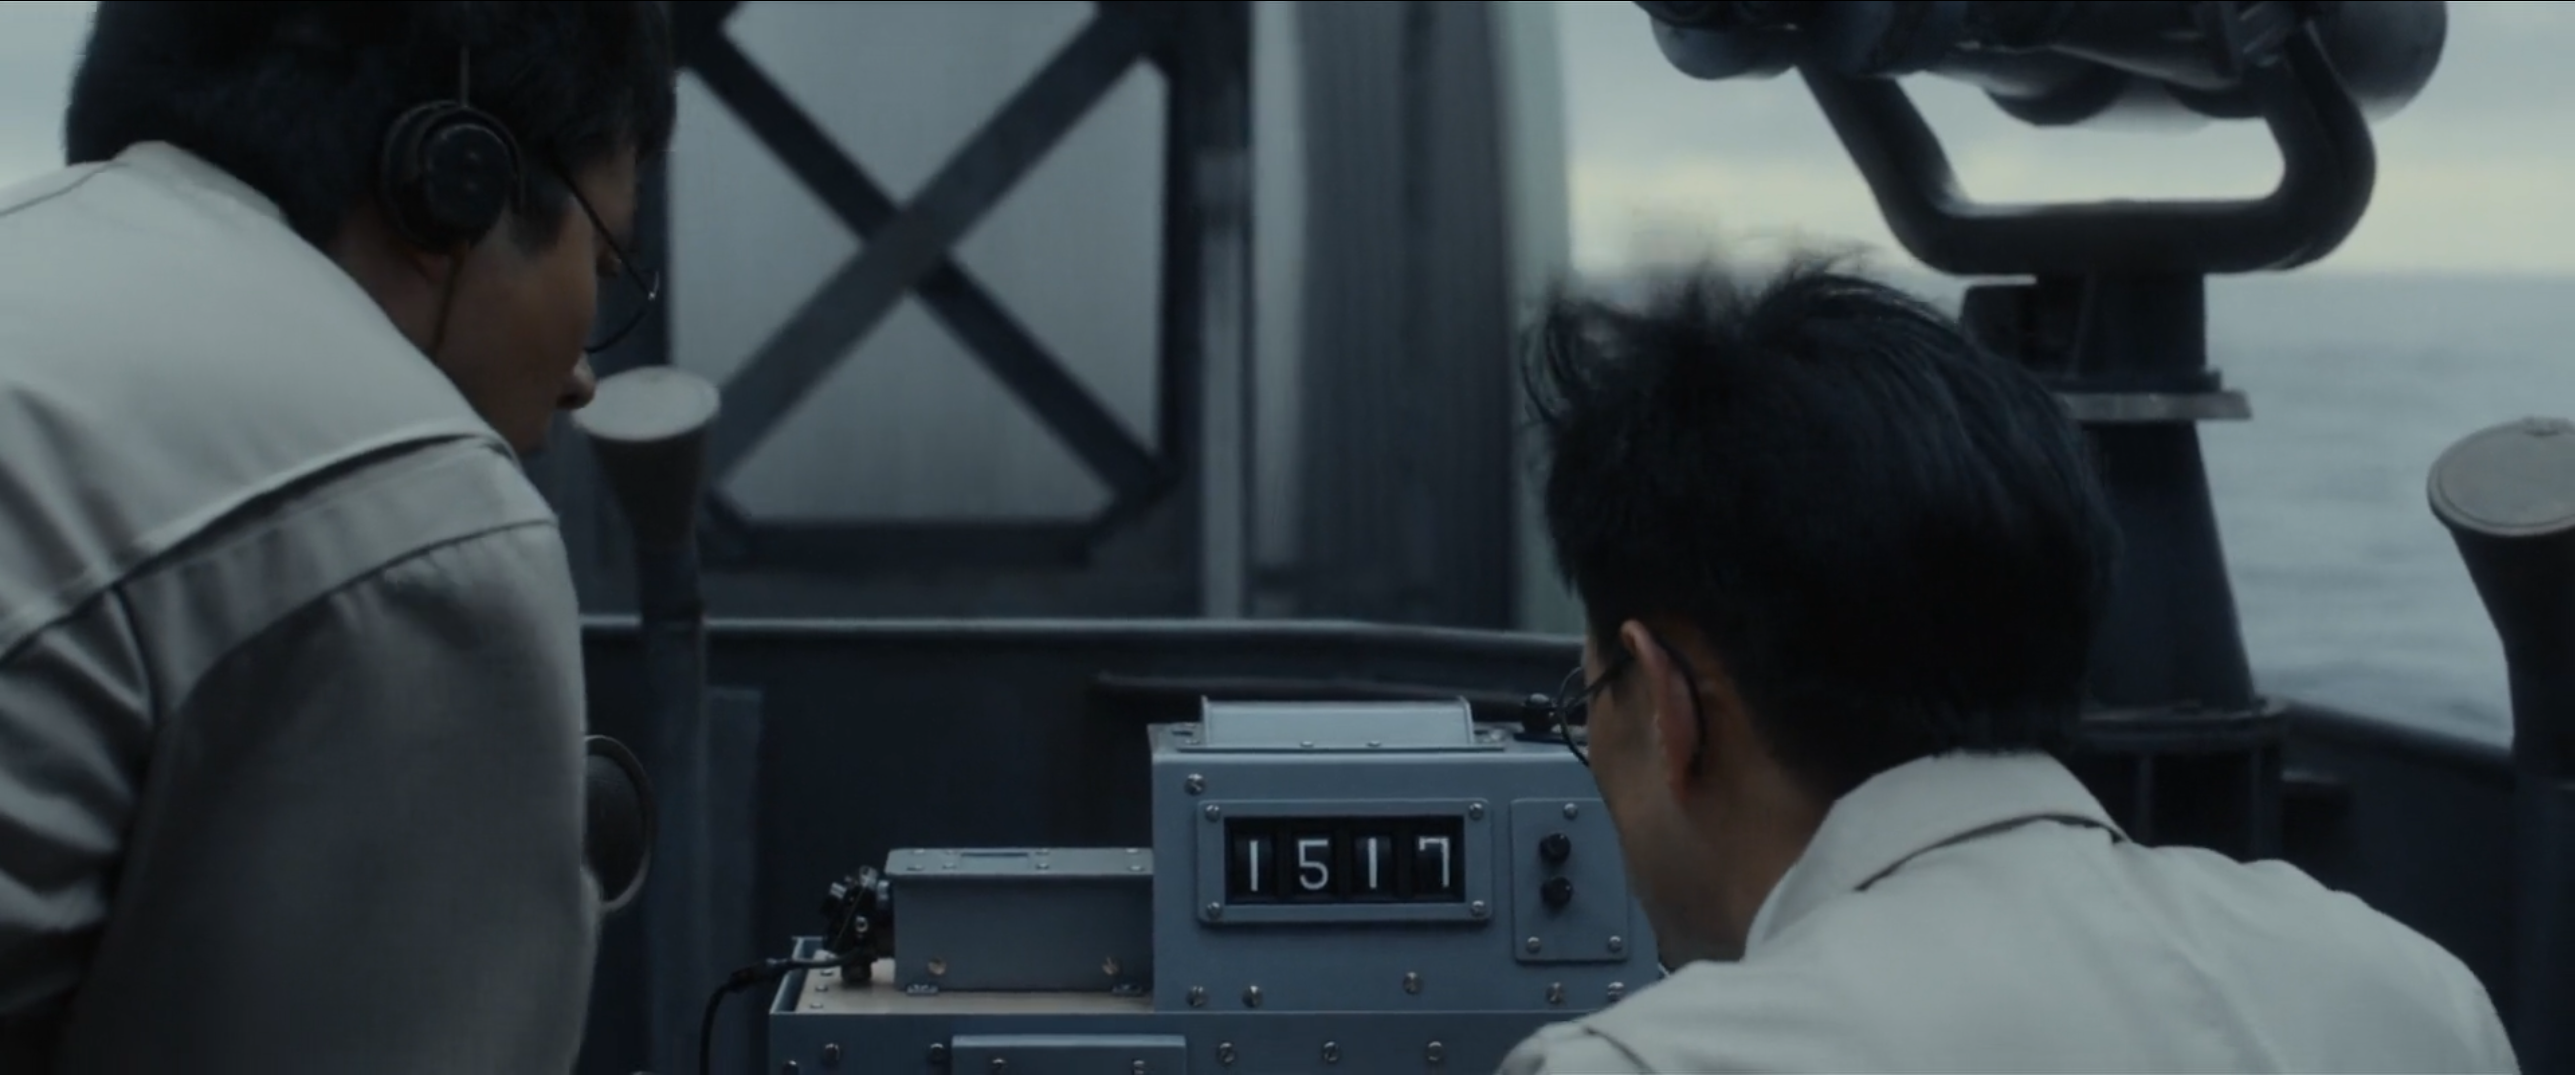
 Yukikaze's depth gauge passing 1,500 meters
 -
-
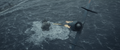
 Yukikaze being given assistance in pulling Godzilla to the surface by half of the fleet of tugboats led by Mizushima
 -
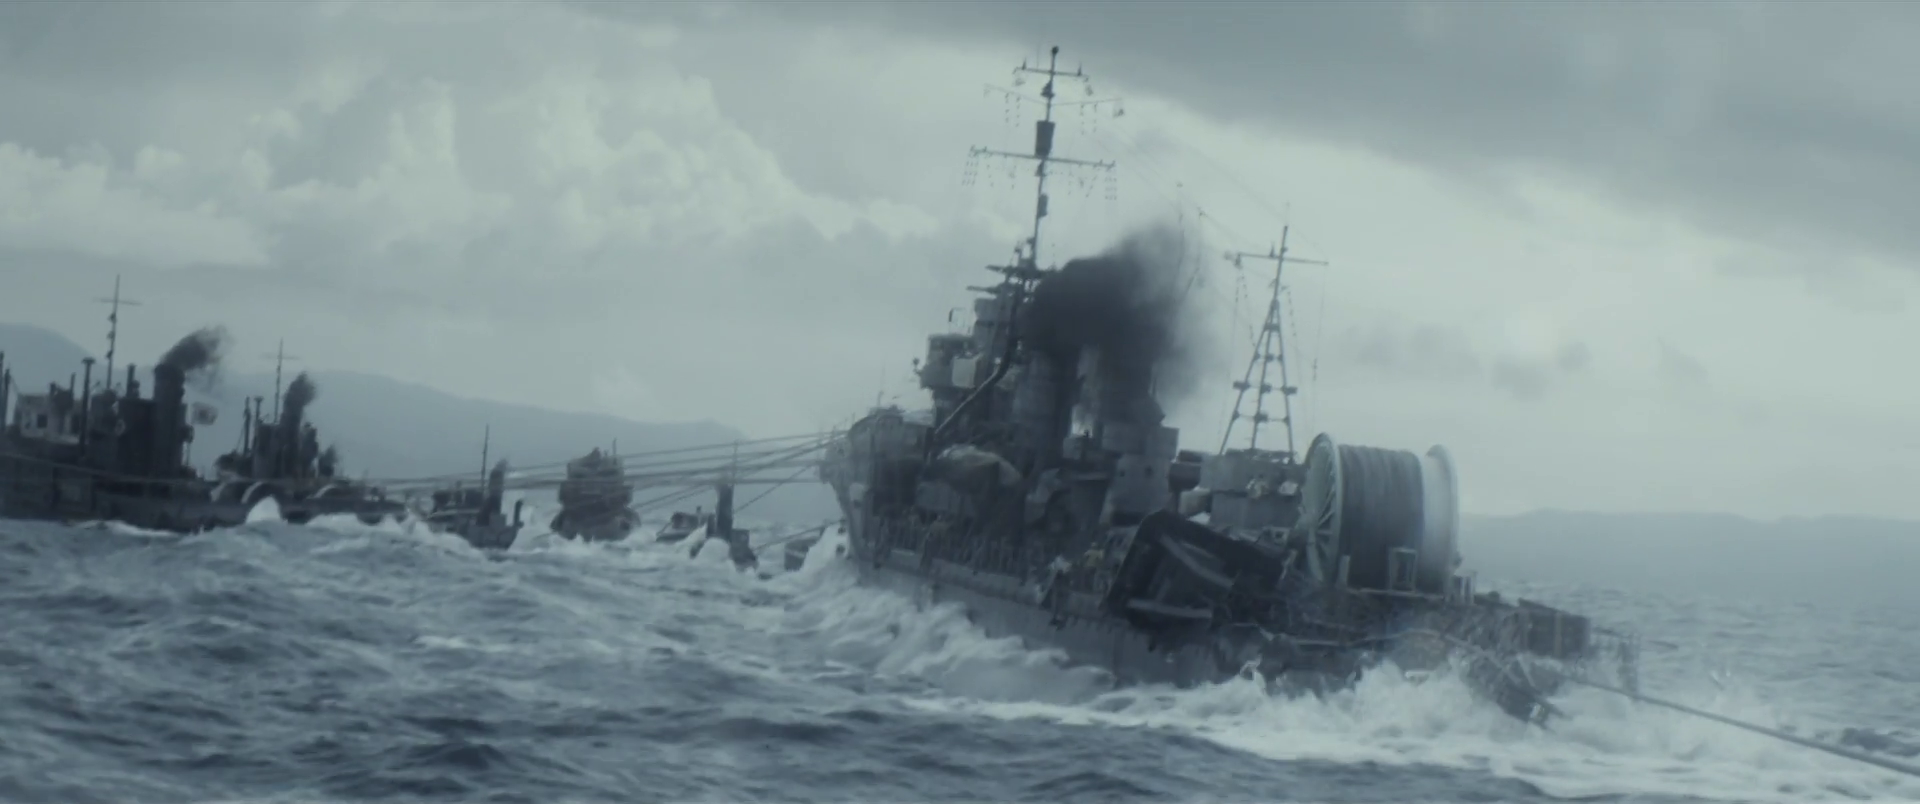
 Yukikaze yanked backwards by Godzilla freeing himself from the cable after surfacing and suffering from barotrauma
 -
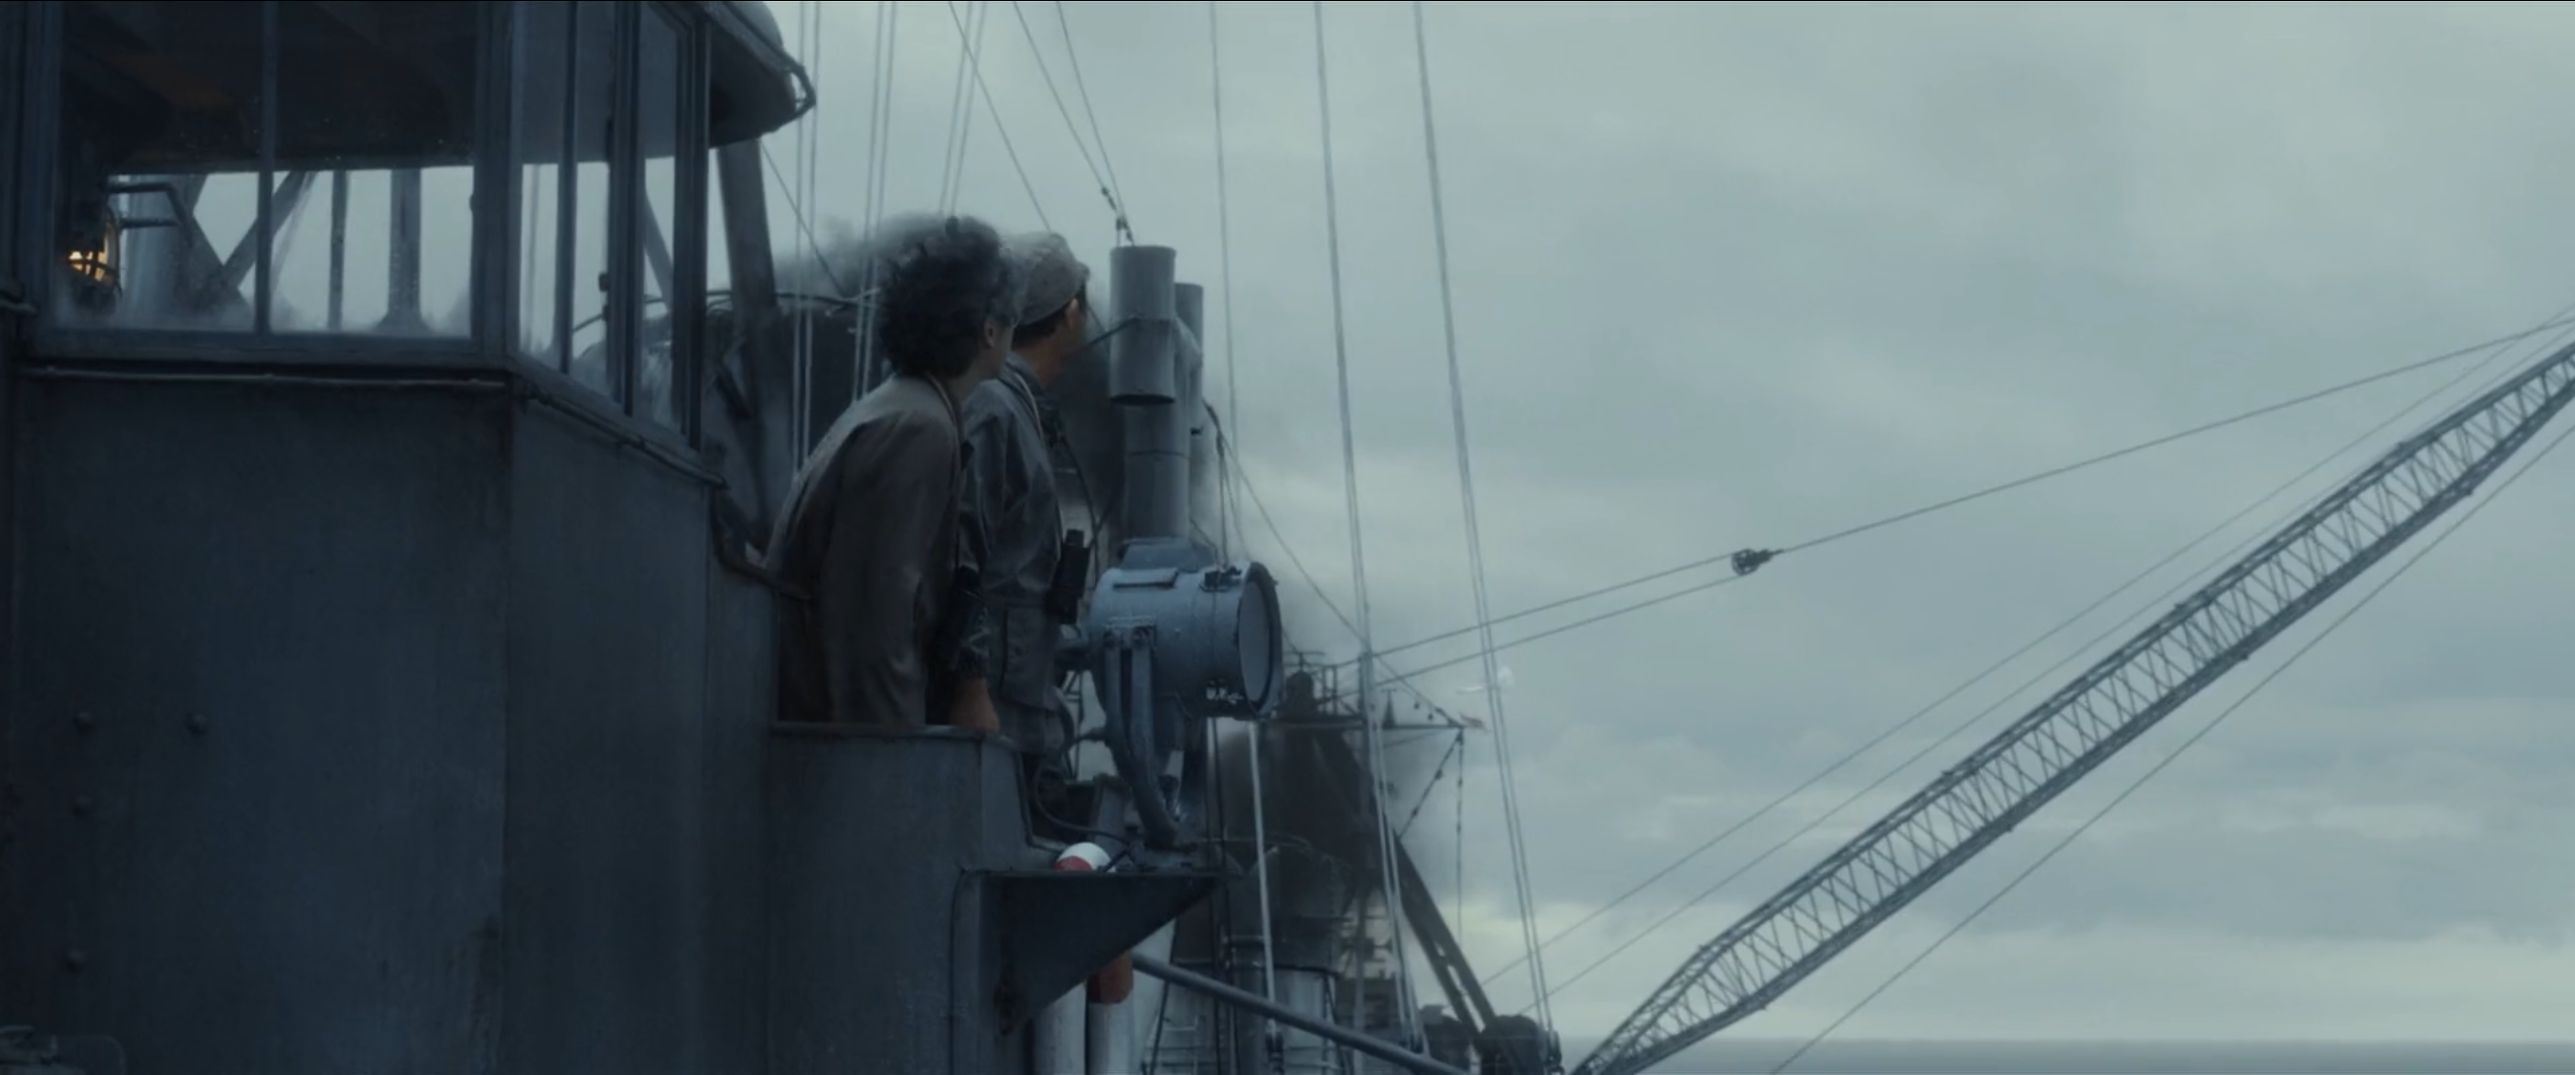
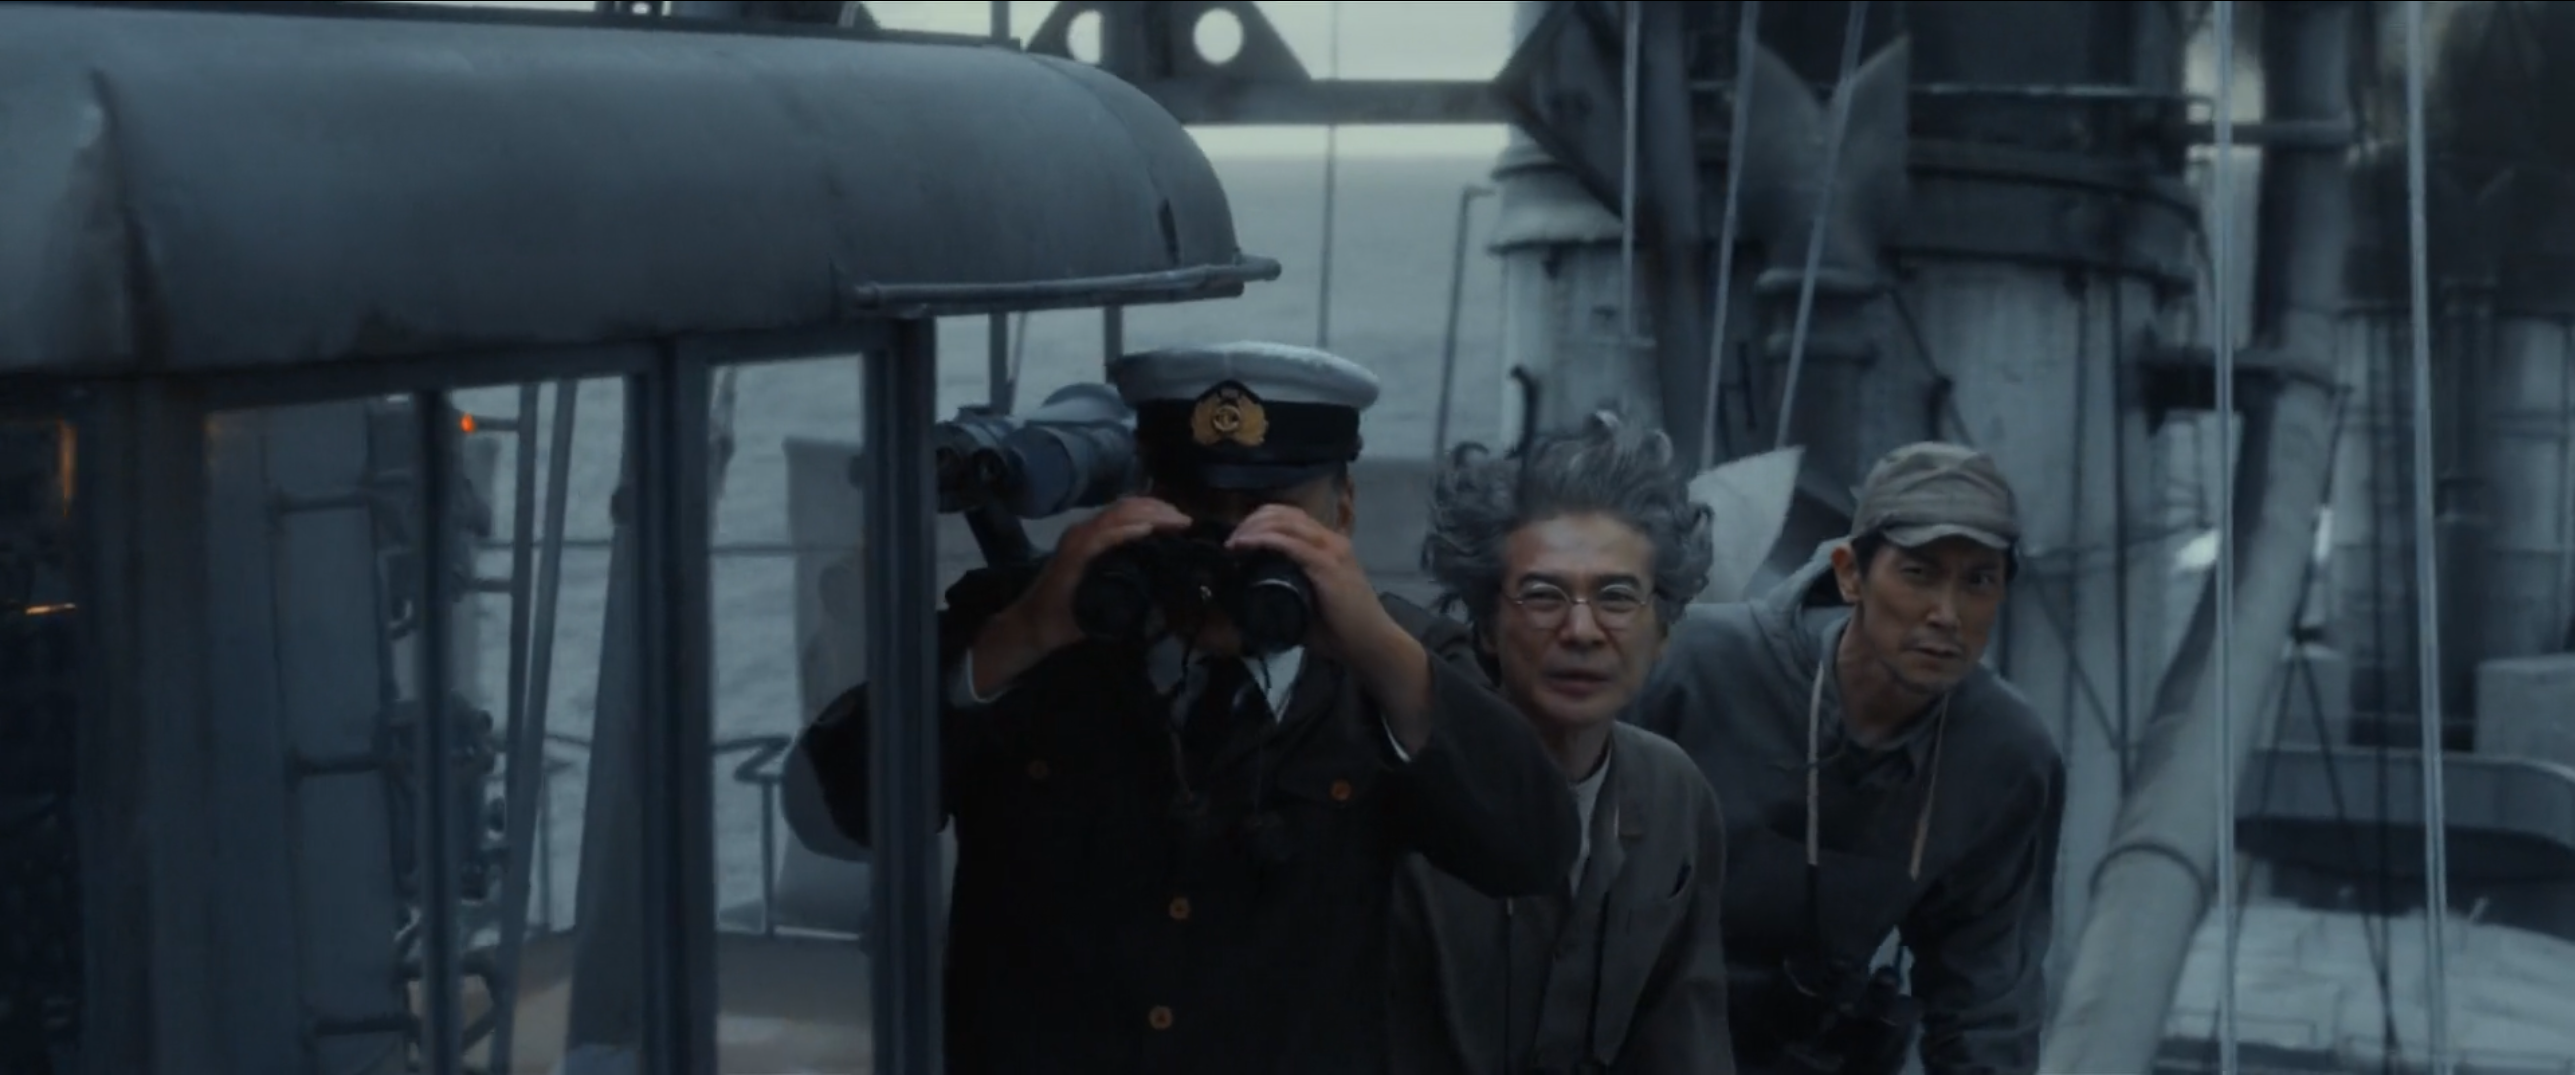
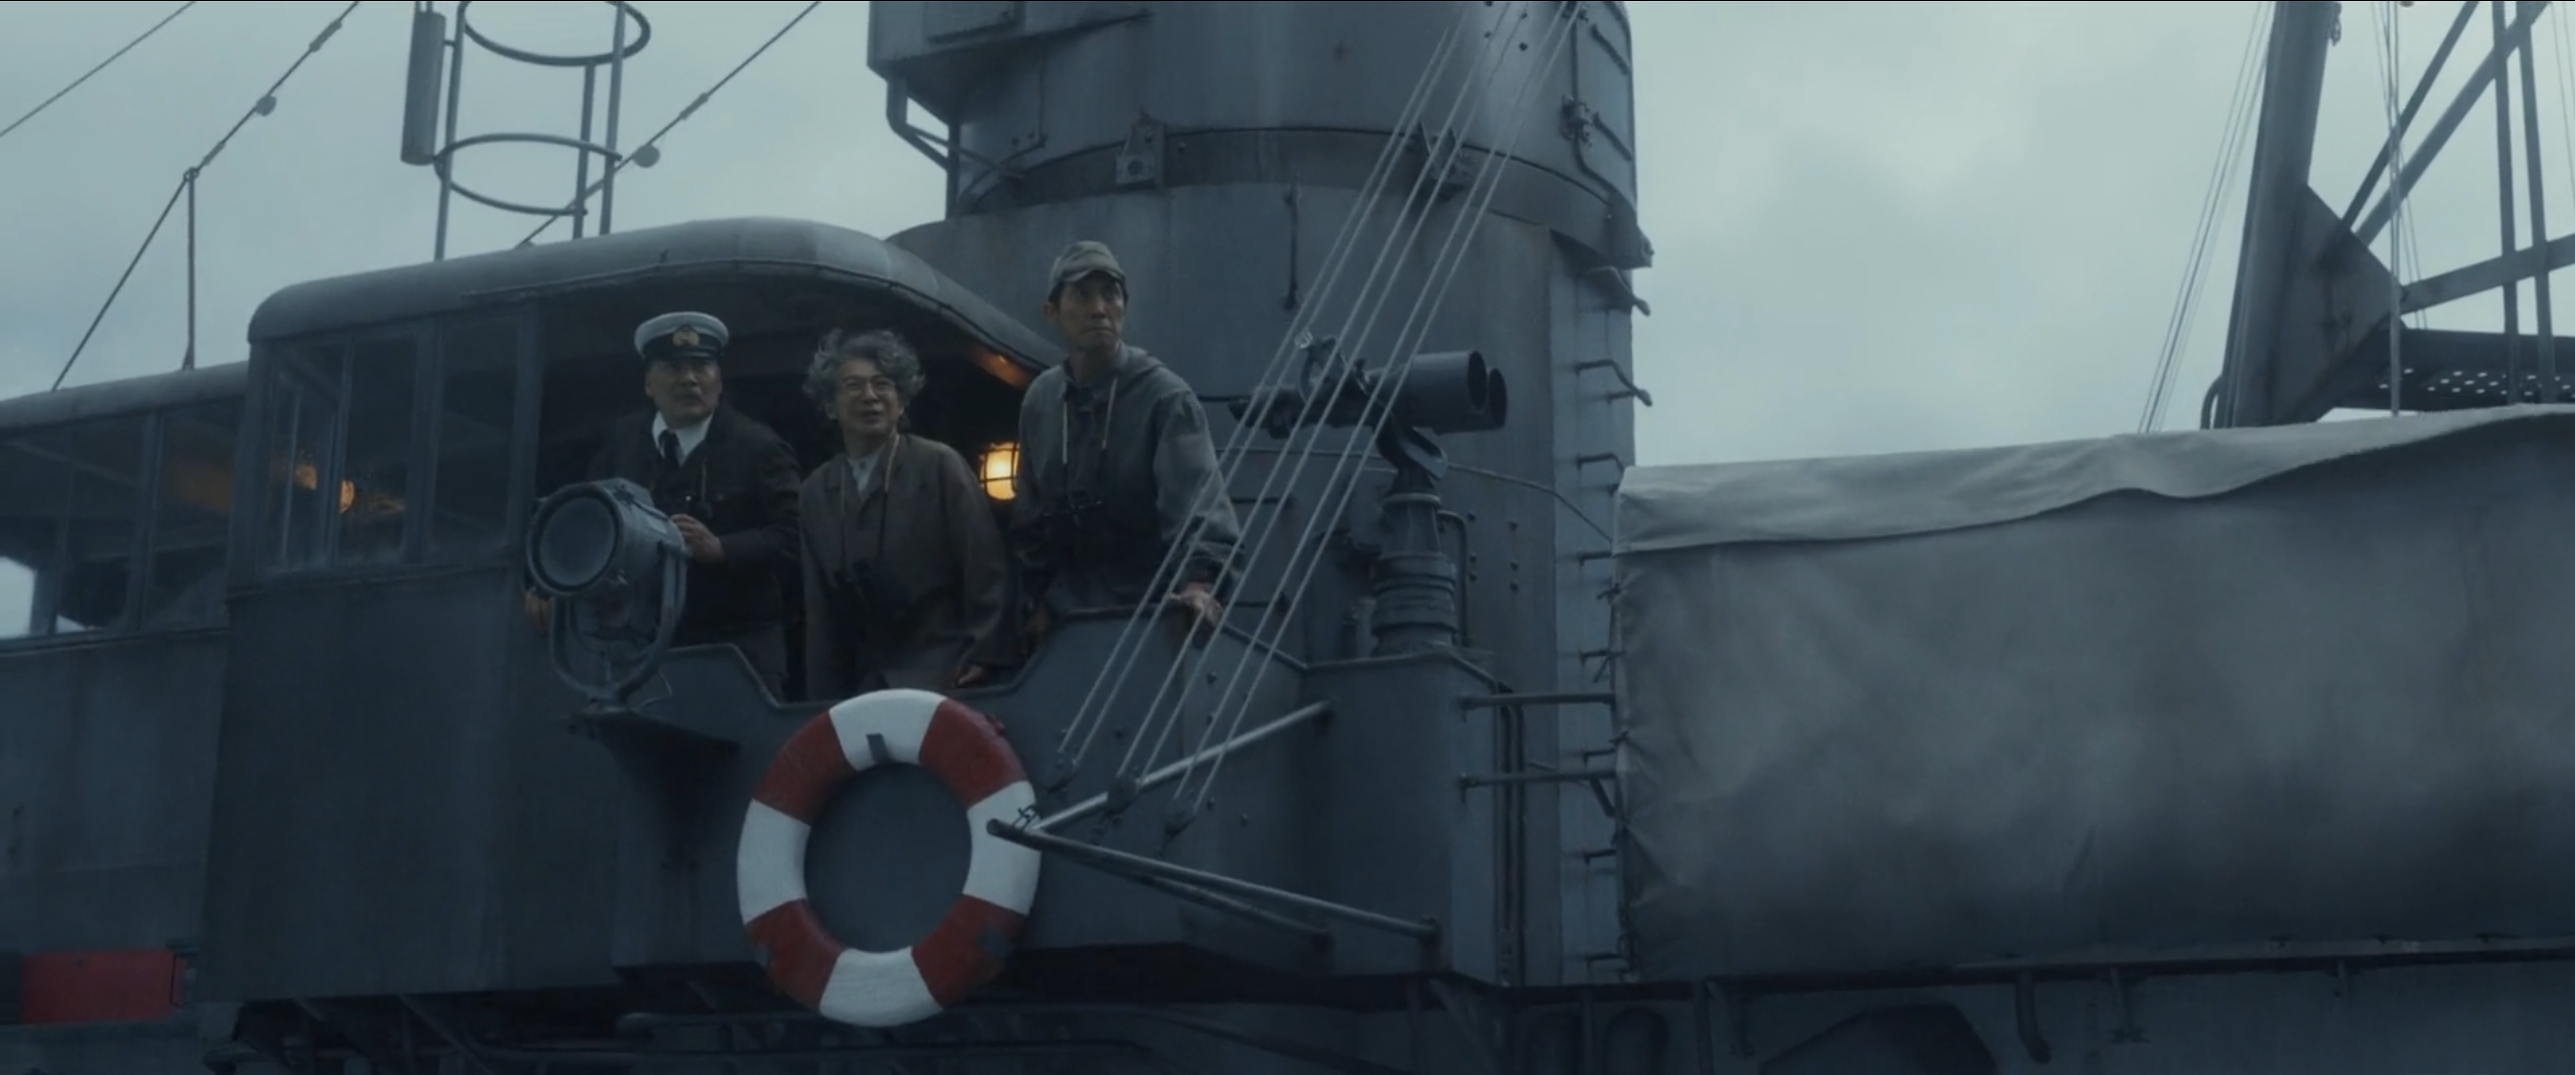
 Noda and Akitsu standing on the port bridge wing of Yukikaze
 -
 Yukikaze overlooking Godzilla as his body disintegrates following the destruction of his head by the Shinden's bombs
 -
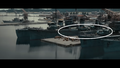
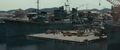
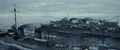
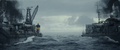
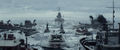
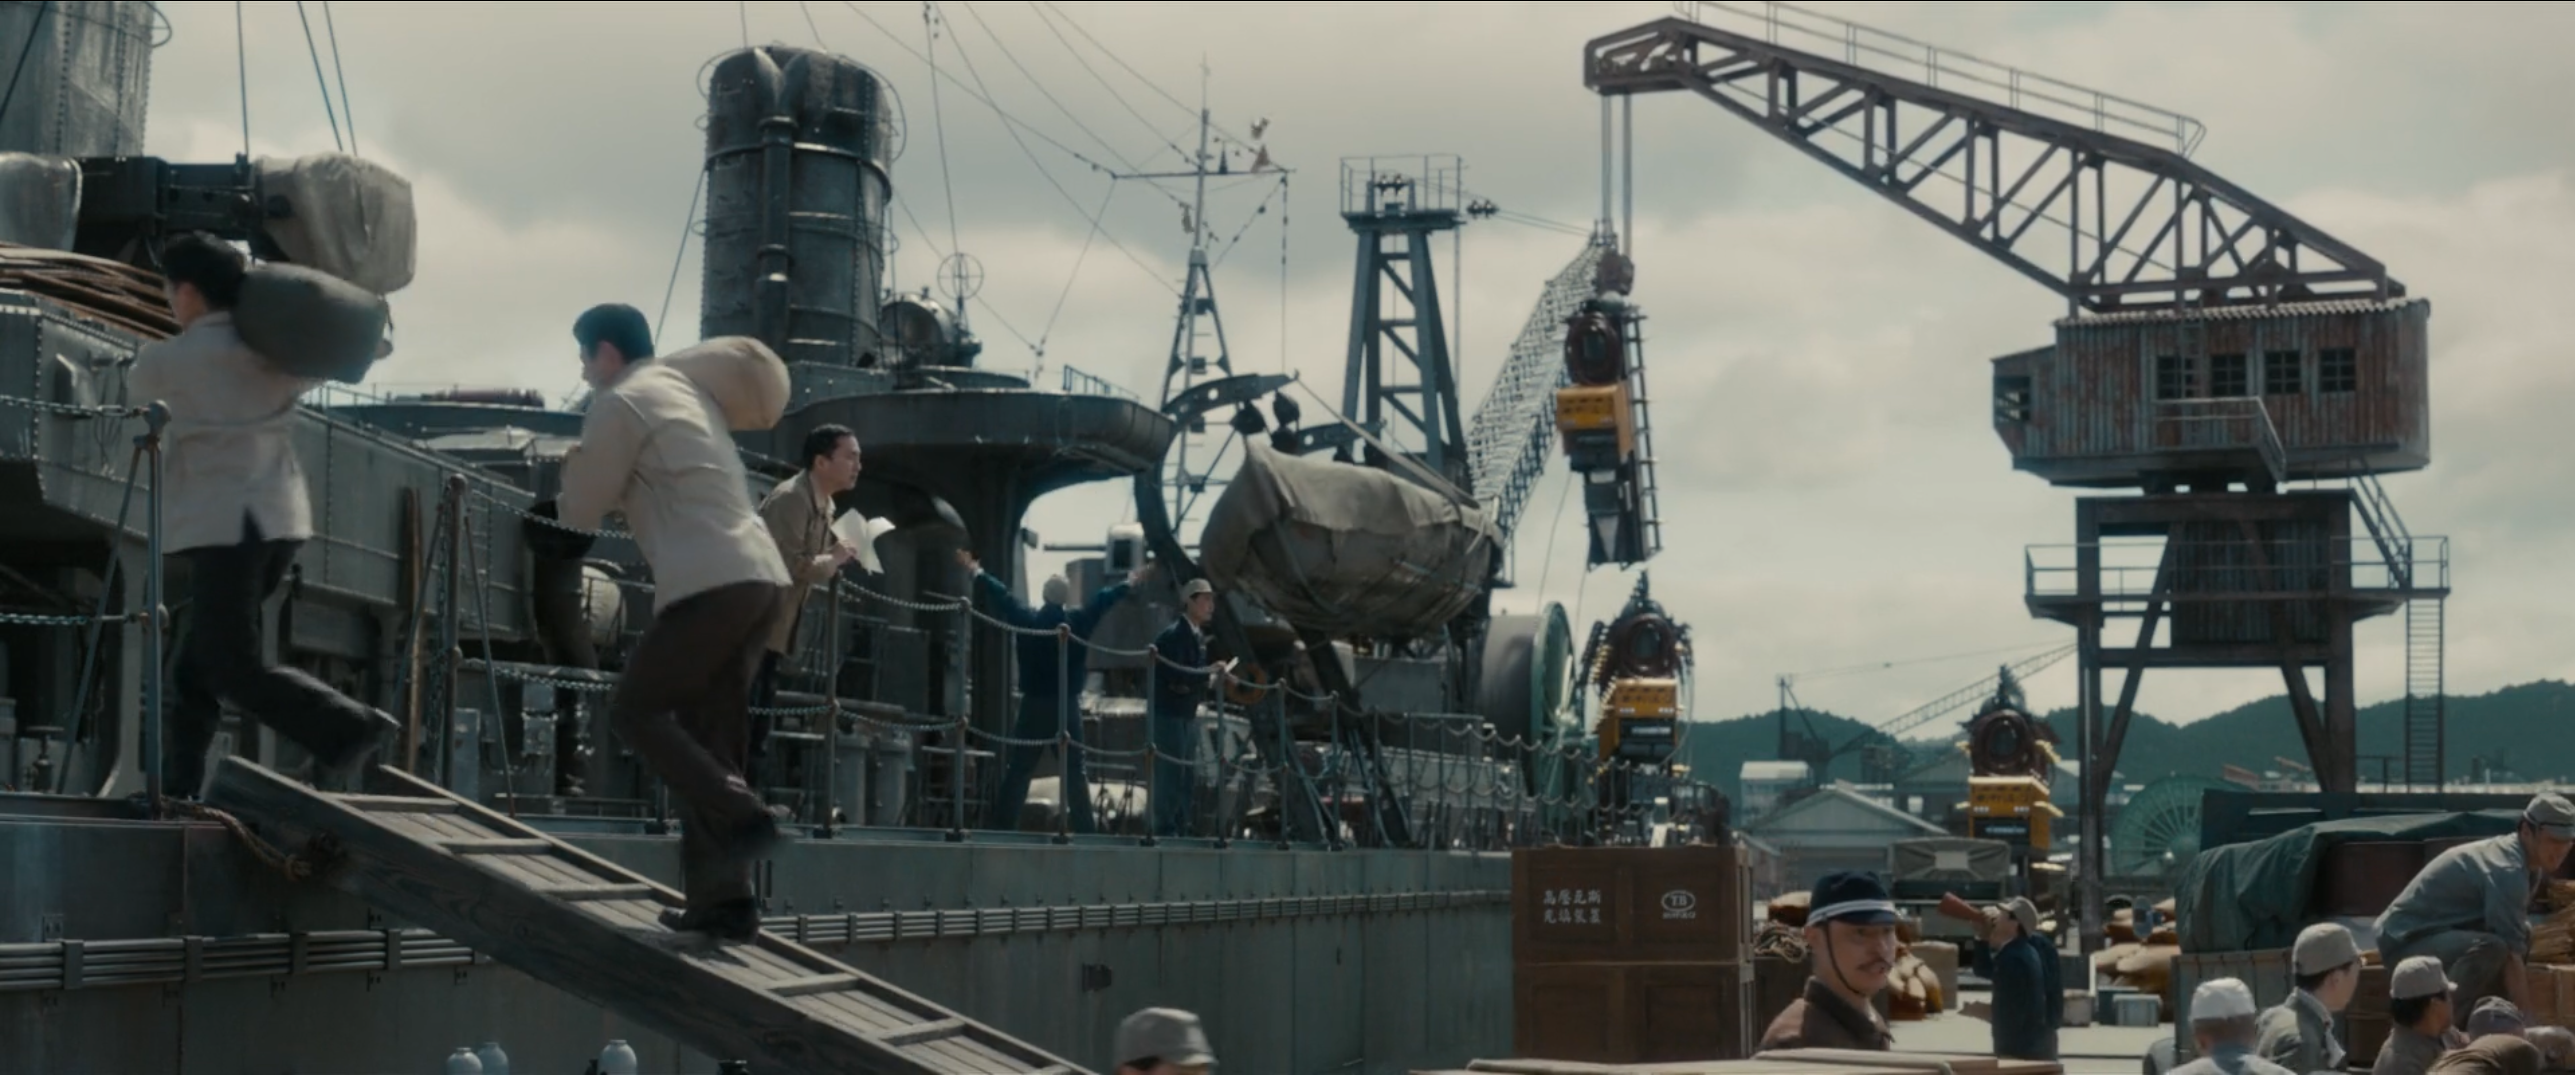
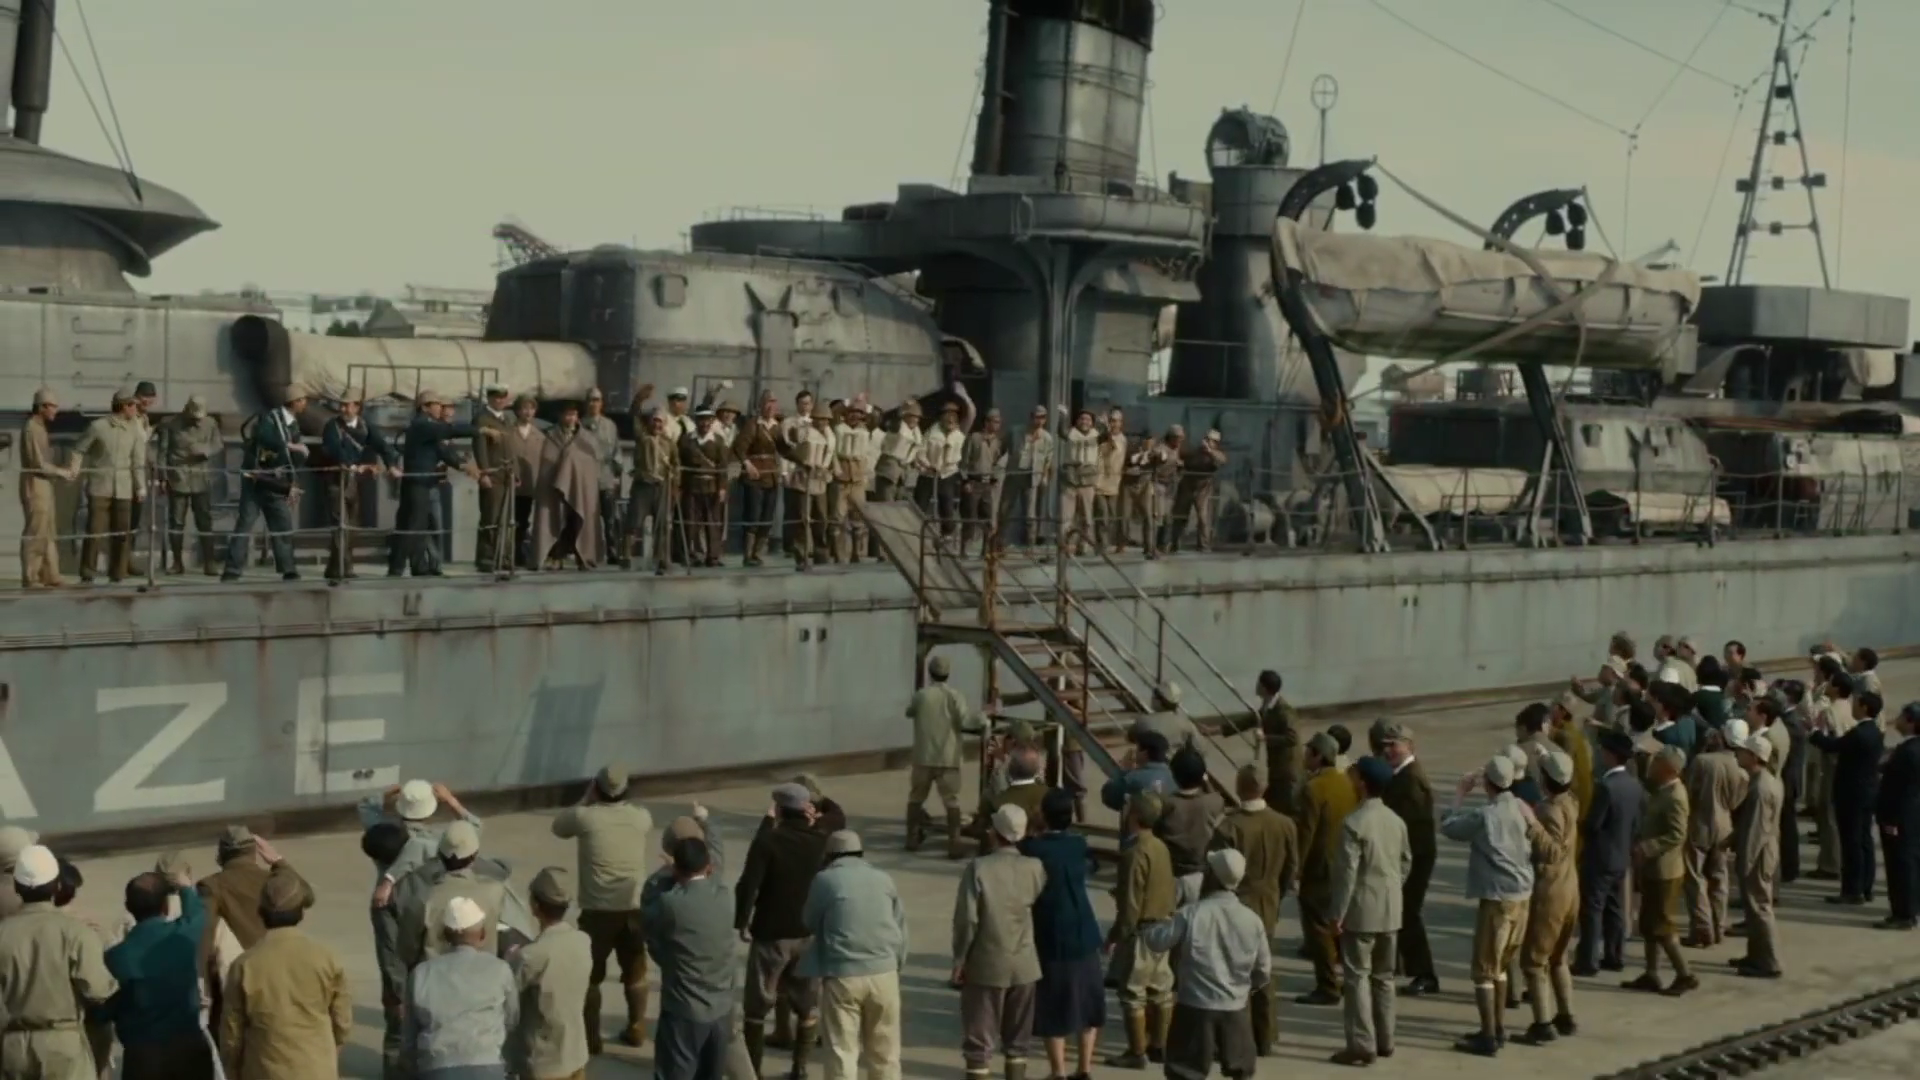
 Yukikaze returning to port


Trivia
- As with the other vessels used in Operation Wada Tsumi, Yukikaze bearing its name on its hull references the condition it was in immediately post-World War II, prior to it entering service with the Republic of China Navy.[3]
See also
References
This is a list of references for Yukikaze. These citations are used to identify the reliable sources on which this article is based. These references appear inside articles in the form of superscript numbers, which look like this: [1]
|
#/media/File:Destroyer_Yukikaze_after_the_war_(1945-1947).jpg)
Comments
Showing 3 comments. When commenting, please remain respectful of other users, stay on topic, and avoid role-playing and excessive punctuation. Comments which violate these guidelines may be removed by administrators.